
So this iHeart Faces challenge for this week is before and after. It isn't about editing your photos, but about what you've learned on your journey. So, here goes.

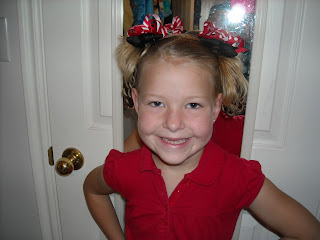
These first two pics were at a time when I started really getting serious about photography. I was mostly doing point and click on auto focus. And there was absolutely zero post-editing.

Although I loved these pictures, I know I could do better now. I have been reading magazines and blogs. I've taken a few lessons/classes and enjoyed learning new things.

This picture I just took a few days ago and I just love how it came out;) I know I still have a long way to go! I have a better camera and have learned to go manual;)

I've also learned some basic editing and use Adobe Photoshop Elements. It has some wonderful features and is a great place to start. At least I think so;) I did very simple stuff here. I used the magic wand tool to select her skin, hair and the flower then created a new layer with them. I warmed up the tones a little, increasing the red and lightening the midtones. (I think I could have done this a little more). I set this layer at 65% opacity. I created a third layer with just her irises and used the burn tool on 21%(that was random, but worked great;) This layer I set at 85% opacity. I'm sure there is a simpler way to do these things, but this is what I ended up with;) And for this last pic, I cropped, simple as that;)

Beautiful!
And for you hair fanatics out there, this flower hat will be available during the upcoming holiday season;)
 So I tied three rolled knots along the top of her head, for some reason, I have a hard time getting my knots tight so I put a bobby pin in them to keep them secure
 and here she is ready for school!
  So I tied three rolled knots along the top of her head, for some reason, I have a hard time getting my knots tight so I put a bobby pin in them to keep them secure
 and here she is ready for school!


 So here she is all finished up
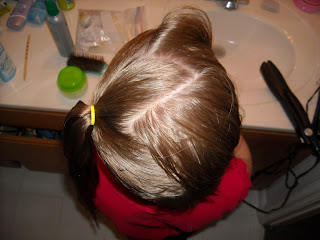 We started with a zig-zag part


