Tampilkan postingan dengan label pull throughs. Tampilkan semua postingan

Selasa, 25 Mei 2010

Easy Pull Through Headband on Short Curly Hair!


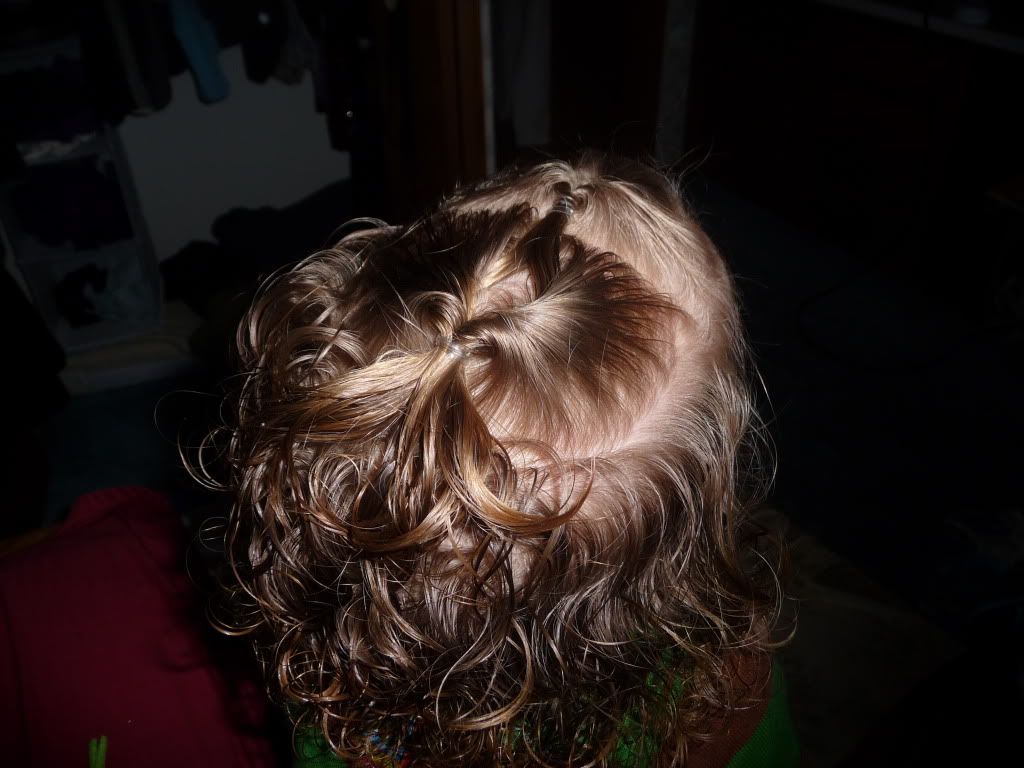
This is how Q wore her hair to Grandpa's funeral. 

I wanted something simple (had to wake up early) yet special. I wanted something that let her curls hang out and free, yet I wanted it pulled back and out of her face. I had put a little too much shea butter in her hair the day before and thought the crown might look a bit greasy - but there was no time for a bath, so I wanted something that would sort of mask that. 

(As it turned out her hair loved the extra Shea Butter and soaked it up so much by morning you couldn't even tell that there might have been too much the day before! ha!)

Anyway, this is what we ended up with.


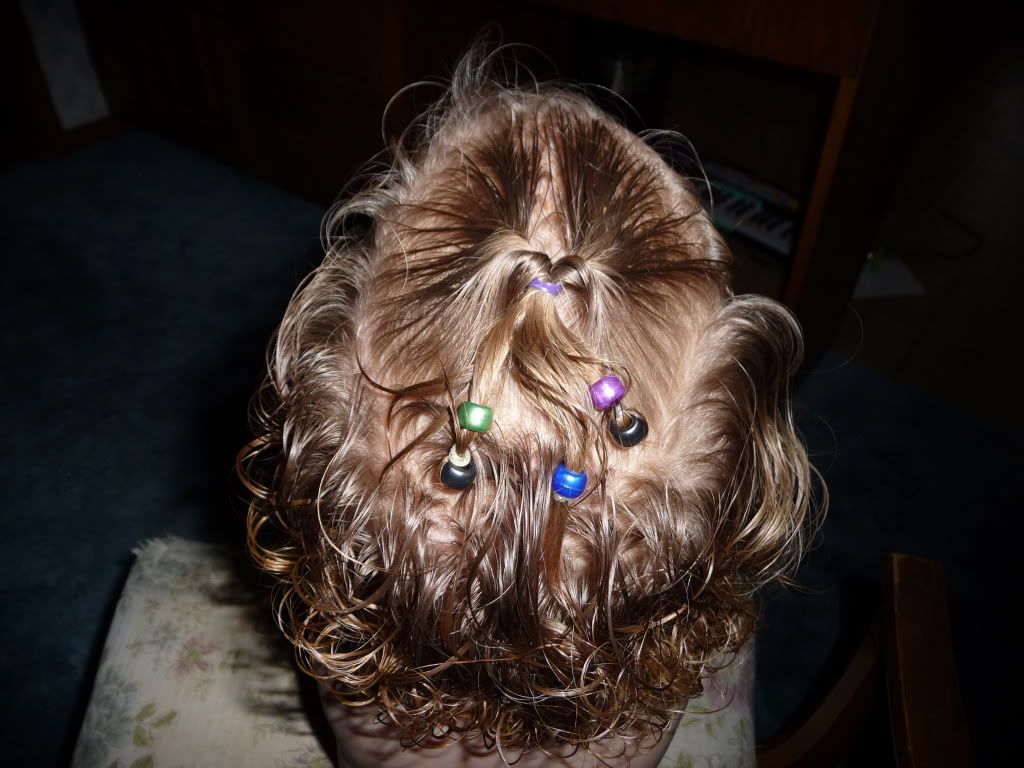
Basically, it's just a pull through on each side of her head, by the ears, and two on top. 
I did the top front one first, then the sides, then pulled them all back to the second top pull through.

I don't have step by step pictures, but this is a simpler variation of THIS style from Princess Hairstyles, and she has great step by step photos if you want to see. The only difference between the two styles is that I didn't split the side "tails" I pulled all the hair back into the second top pull through.

(I'm sure that won't make any sense unless you see her pics! Sorry!)
 
Top view

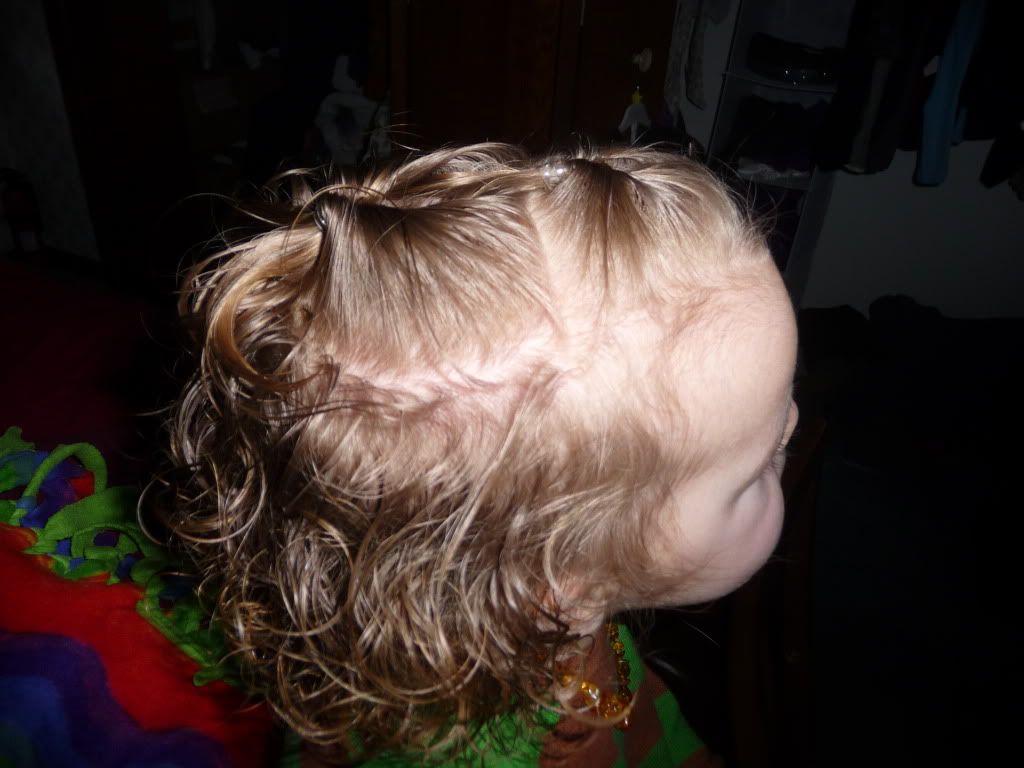
I also added a ribbon. I thought the black would be cute, but appropriate (plus it matched her dress). I added the ribbon after the style was completed by threading each end of the ribbon under the ponytail (one on each side of the "tail") and then tucking it back down under itself. 

(Wow - what a terrible explanation! Hopefully you can see a bit in the picture what I did. It stayed fairly well and looked very "natural" which I liked. It wasn't a big added clip on top of the style, it just seemed to fit with the style. If that made any sense! lol)

Side View
(and showing off her Baltic Amber necklace :) )

That's it. I hope you like it! 
Oh, and if this one and the princesshairstyles.com ones aren't enough, I've also posted two other similar styles on the blog previously :) HERE and HERE. Enjoy!

We LOVE you, Grandpa! and will miss you forever. 
We miss your music, your laughter, your wisdom, your guidance, your never ending acceptance and Love. Thank you for everything. You were a blessing in more ways than I can count. We only wish we'd gotten the chance to love you longer.

Senin, 29 Maret 2010

Sideways Pull-Throughs


I don't really have step by step's for this style, sorry! But it's pretty self-explanatory... 
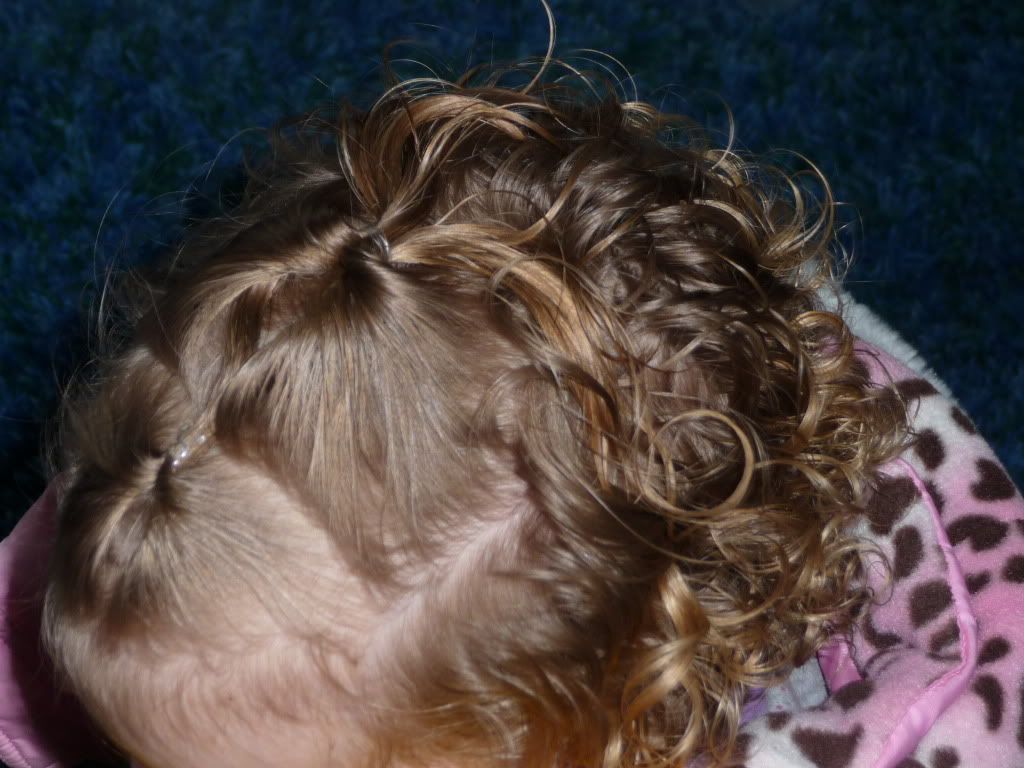
One pull-through on each side of a middle part
Then a pull-through facing sideways (compared to the first ones) with added hair!


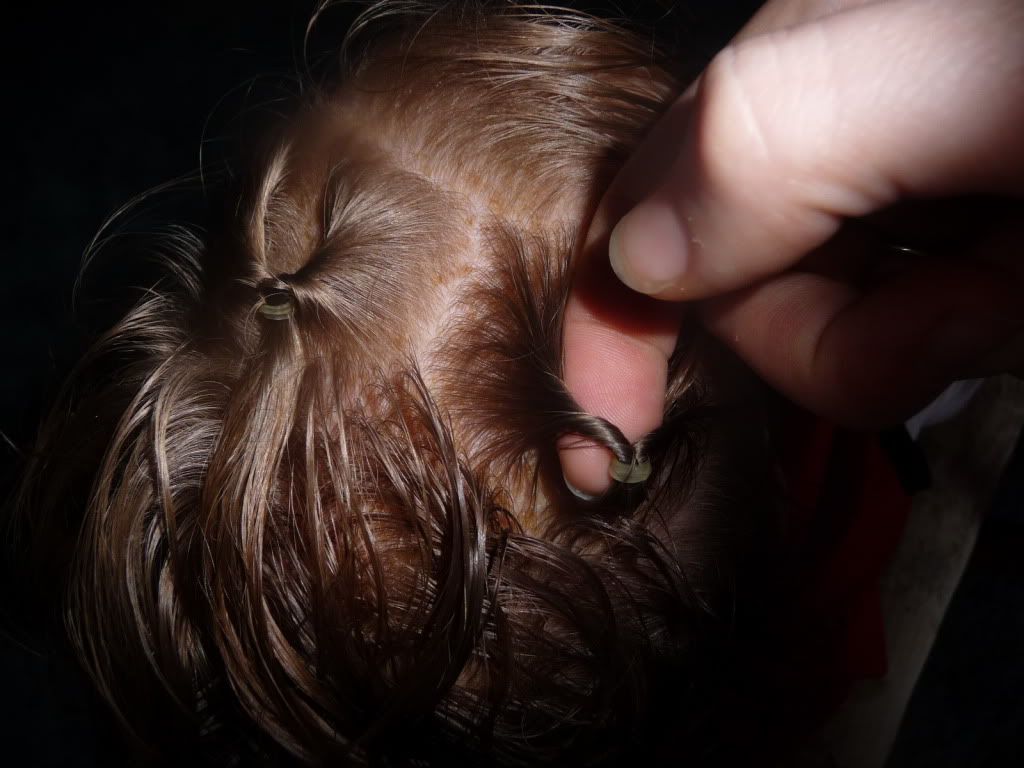
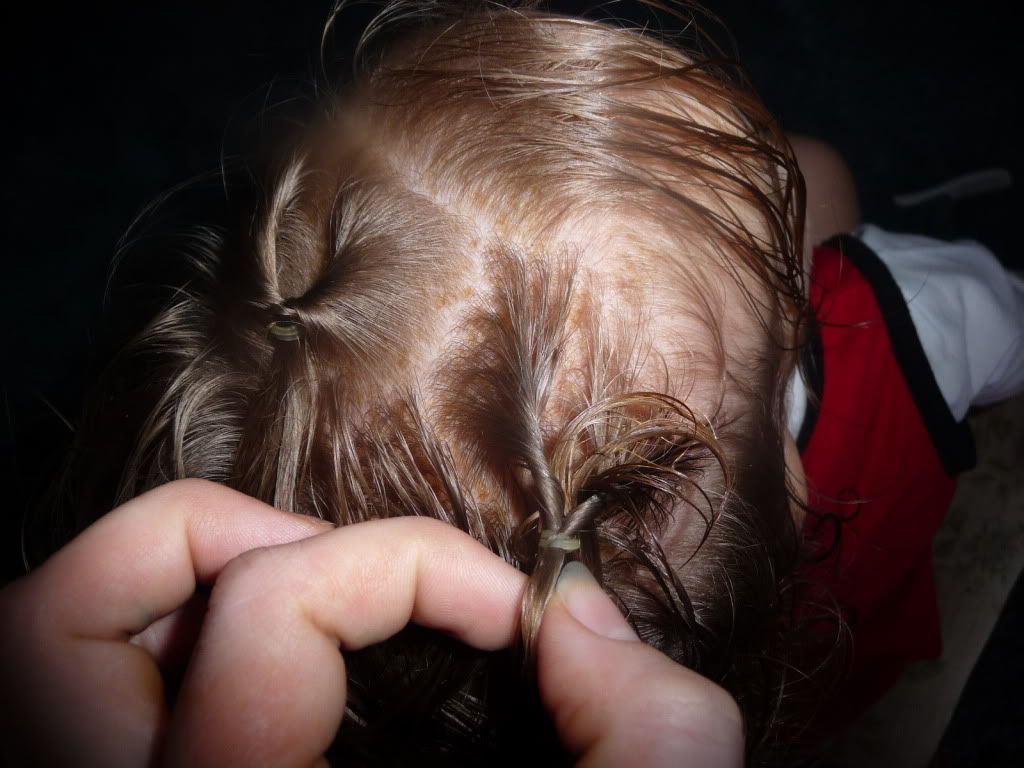
This picture shows me prepping the ponytail for the pull-through - splitting the hair behind the ponytail and then flip the "tail" through the opening!


And there you have it! :) 
Yes, Q's watching "kidsongs" music videos on youtube.com :)

Enjoy!

Sabtu, 06 Maret 2010

Double Pull-Through

Here's another quick and easy style! I posted one veeery similar to this in the past, but this one's just a bit easier for those days that are even more hectic!


Again, I forgot to take "how-to" pictures! I guess because this is a style I fall to when I'm in a hurry! :) If anyone isn't clear on how these are done - please let me know! I could try to get a video up :) They are easy once you know what you're doing - however, very very hard to take still photos while doing it with just one hand! Two hands is very helpful here! lol
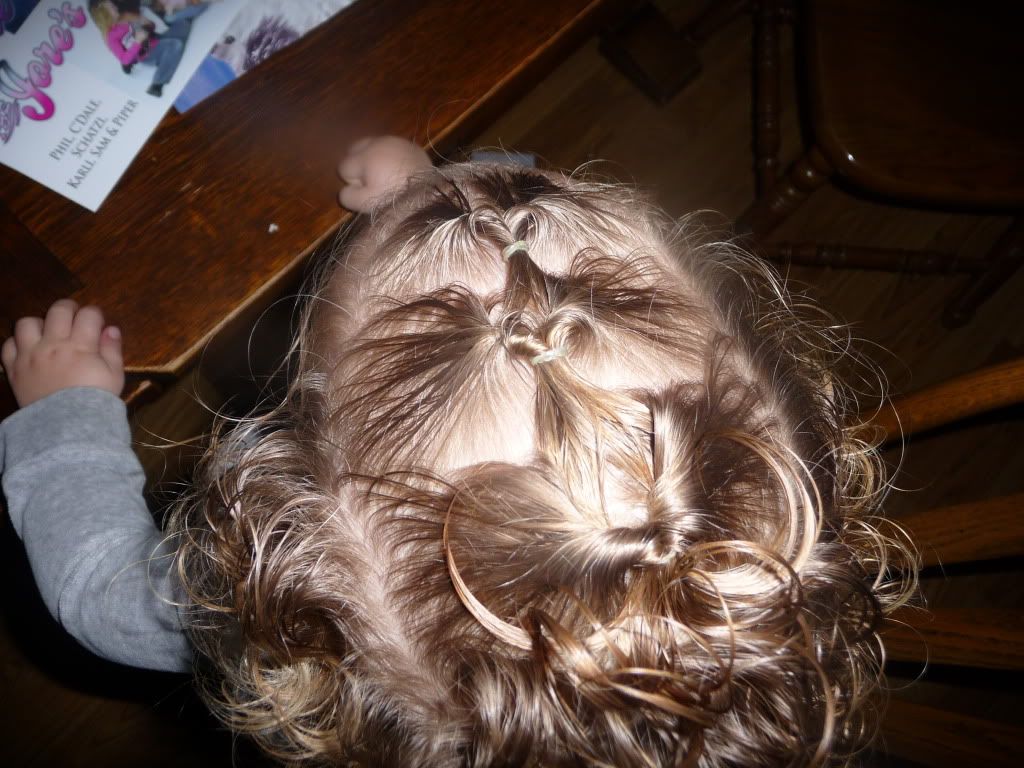
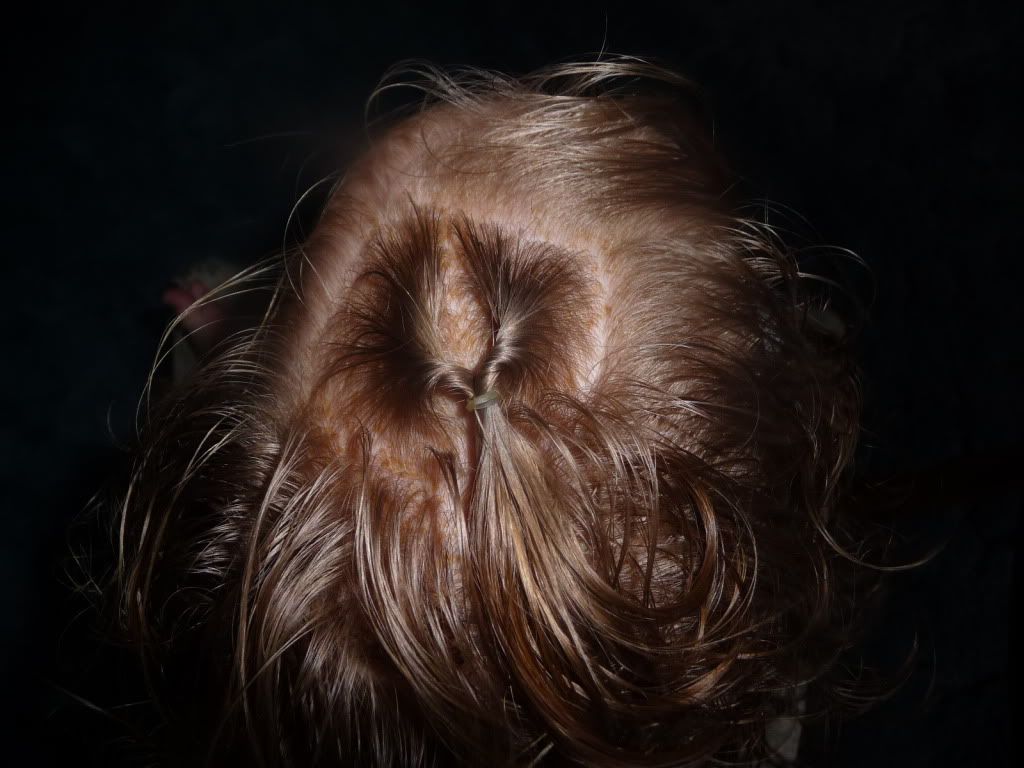
Anyway, what I did was to take up Q's bangs, add a loose elastic, then flip the "tail" through - underneath the elastic. (part the hair under the elastic, making a hole, then tuck the tail thru the hole)

Then I did it again, a bit father back! I used lots of hair so that only 2 pull thru's used up most all of the hair on top of her head. :)


Another angle:


And Curls! I was trying to get a picture of them while they're dry - not immediately after being detangled like I so often do!  Ahhhhhh! I just LOVE curls! :D

Jumat, 15 Januari 2010

Triple Flip

Just a quick post today, no "how-to" pictures, sorry!


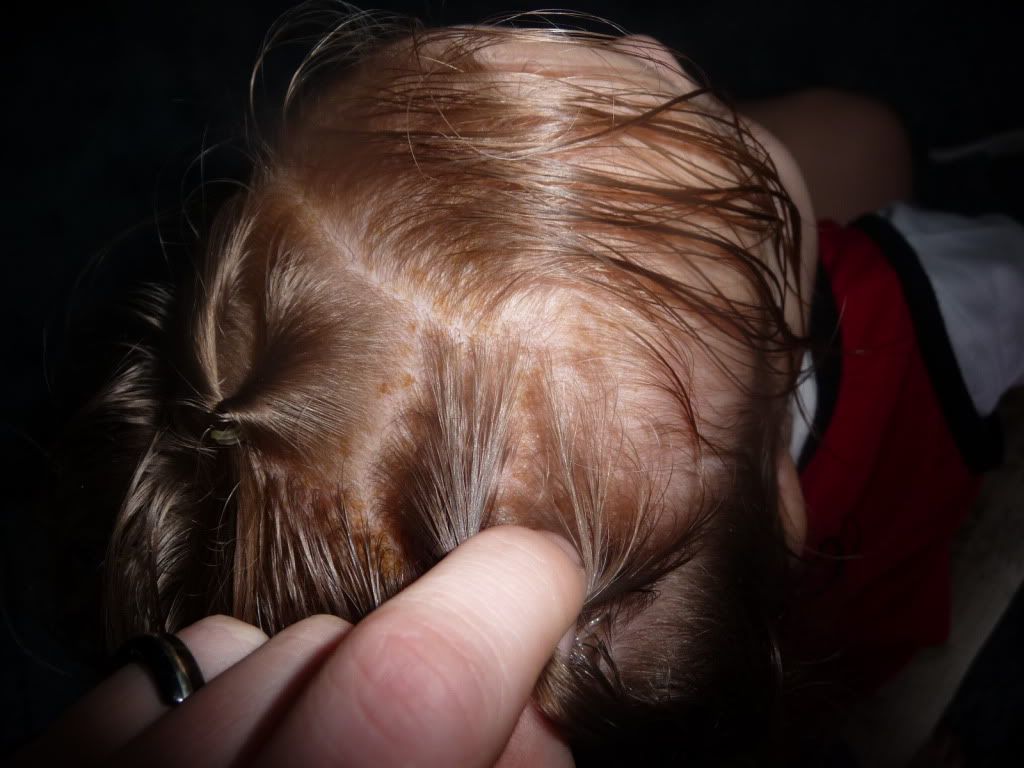
This is a series of 3 pull-throughs (or topsy tails!) I just started by gathering some hair near her forehead, then add a loose elastic, and flip it in on itself! If you need to tighten the elastic after you've done that - go ahead, I did a little bit. Turning is easier when the elastic is loose. (and the hair is wet!)

Then gather some hair behind the first one, including the "tail" from the first flip. and do the same thing again!

And one more time, and that's that!

Minggu, 03 Januari 2010

Fancy Twisty Hair

Q didn't feel like sitting still today! But here we go ...


First I left out some bangs, Then I made a little ponytail ...


and turned it ...


Here's some pics of how to do that (Topsy Tail! or Pull-Through, etc.)

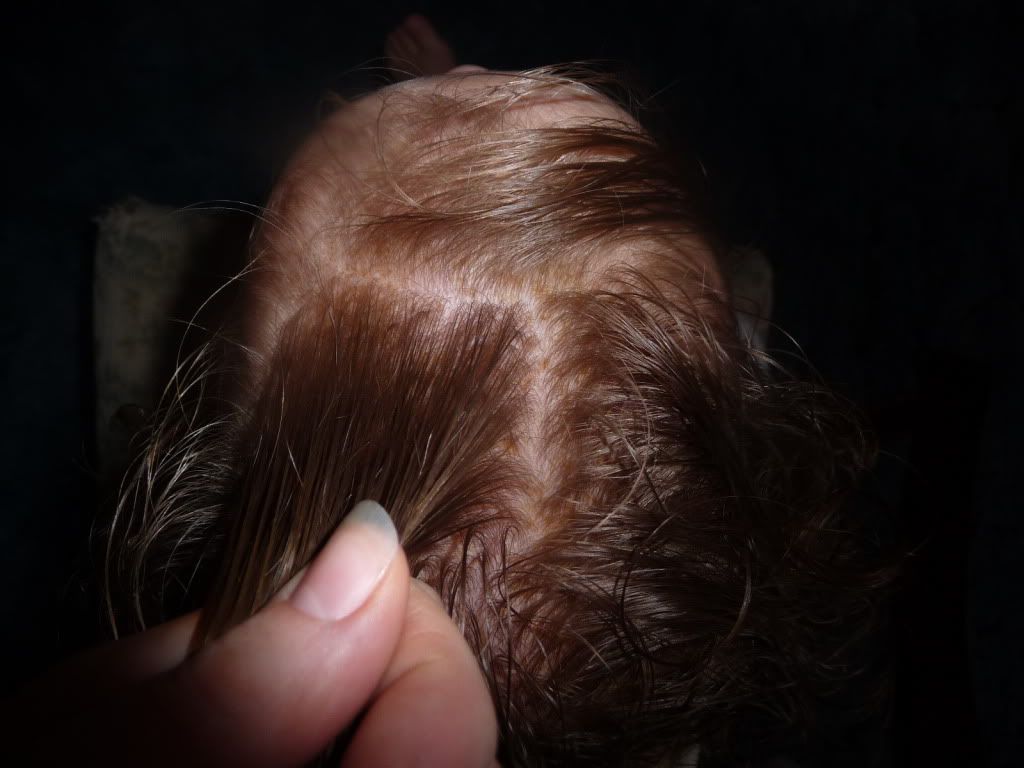
(Make a loose pony tail and split it)


(Then tuck the "tail" through the part you just made)


(and pull it tighter if you want)

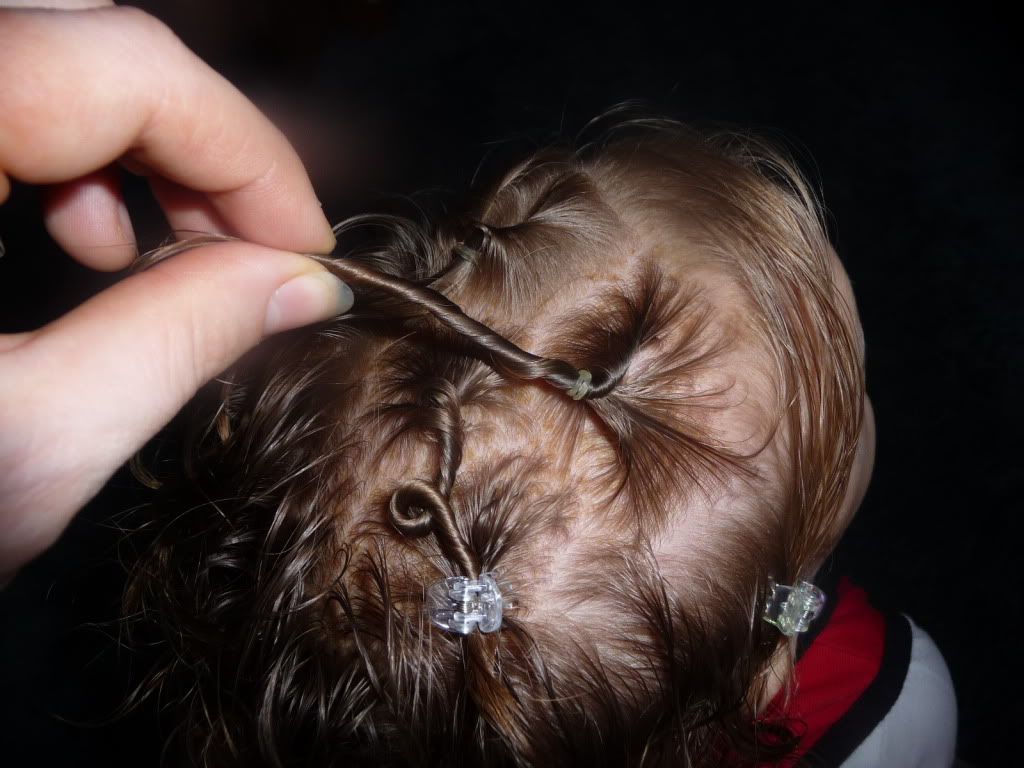
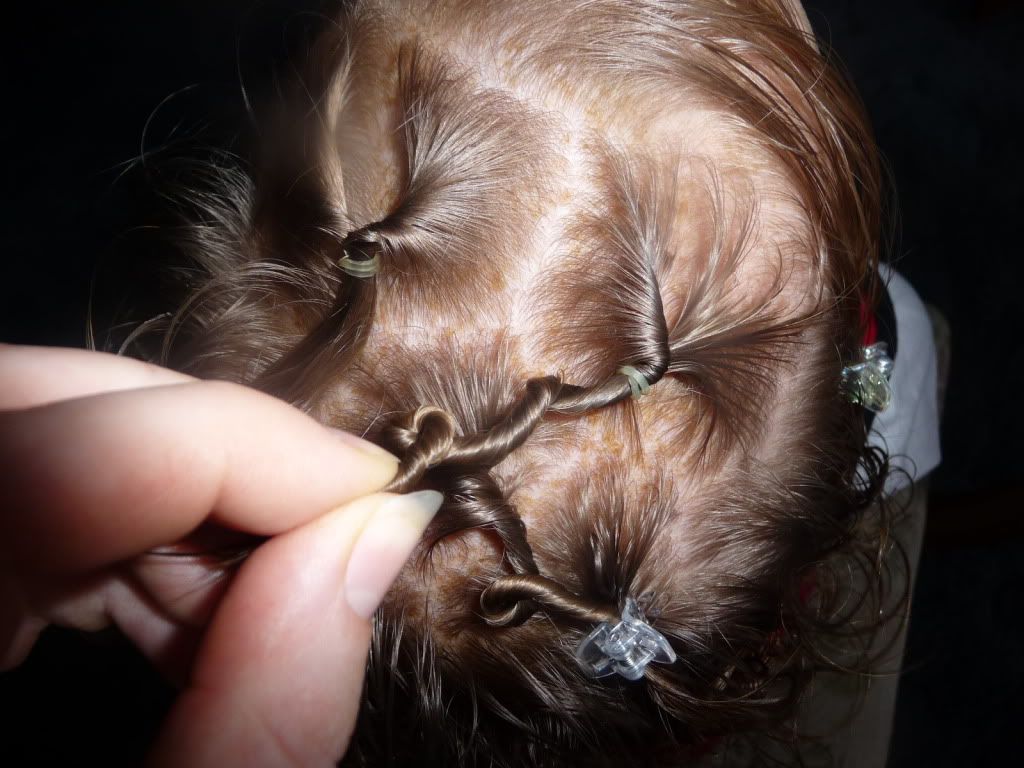
Then I just started twisting! I twisted the two "tails" I had just made, plus two more. I attached them randomly to other hair with a little claw clip.


I also clipped back her bangs with a matching claw clip.


And that's that!

I did go back and put in some little elastics under the claw clips because she just didn't have enough hair to hold it tight. And in retrospect, next time I probably won't bother with the pull-through's for her hair, it would look just as cute without them (almost) and they are time-consuming on a little one with a short attention span! :)

Thank you to princesshairstyles for this idea!

Minggu, 20 Desember 2009

Things to SEE!

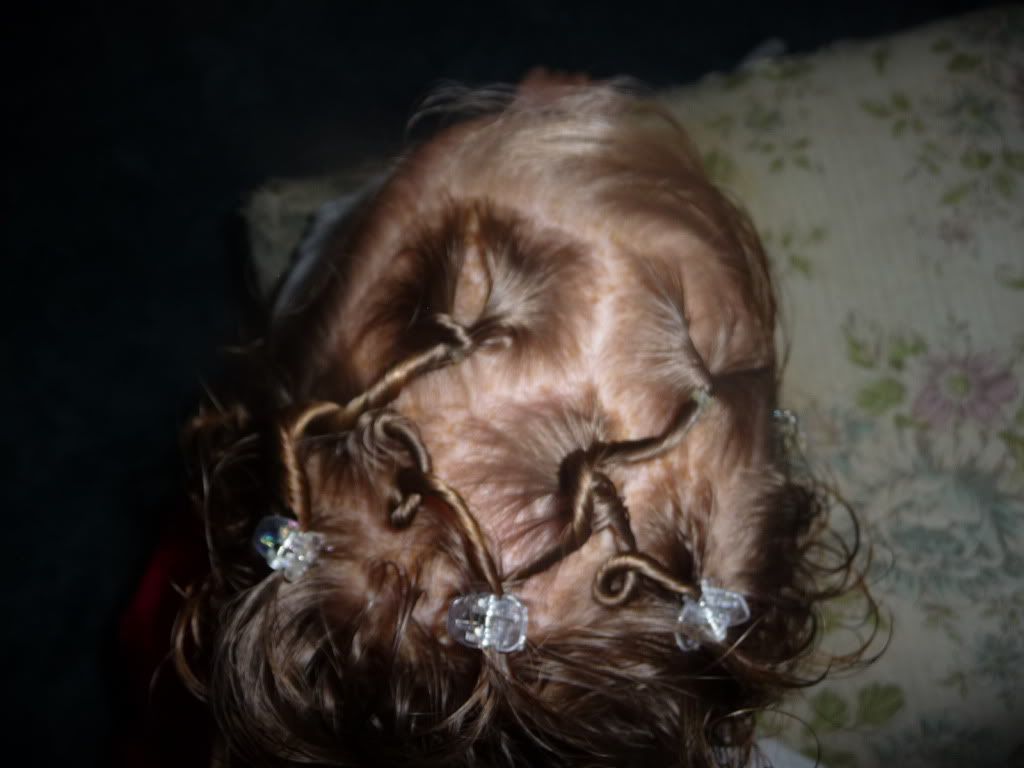
Q's hair is at that perfect length where if I leave it down it hangs in her eyes and she has to tip her head back to see (and walk!). Basically she's a collision waiting to happen! So here's the way I used today to keep her nose out of the clouds. :)


To do this, just take up the amount of hair you want in a little ponytail on top of her head... then loosely add an elastic to make the ponytail. Next, part the hair under the elastic and slip the hair that's in the pony - through the hole! You now have an inverted (or pull-through) ponytail! I added beads to make it interesting. :) (and once I get that method perfected, I'll be sure to post about it! lol)