Tampilkan postingan dengan label headband. Tampilkan semua postingan

Selasa, 13 Juli 2010

Ribbon Tiara Hairstyle for Girly-Girls!

This is the "second day 'do" or "recycled hairstyle" of the post BIRTHDAY HAIR!  I thought the tiara look across her hair was so cute! and it was staying in so well, I just couldn't take it out after only one day! So here's what we did with it on day 2 ....

Take out all the elastics, but leave the ribbon-braid tiara in.
(I actually took out all the ribbons and elastics before she went to bed the previous night)

Then part the hair in half (just the top section - the back is staying down in loose curls again) and pull one side up into a little ponytail - the ponytail is going to be centered over the base of the braid.


Make matching ponytails on each side! (I just held the tail of the ribbon with the other hair, so it's in the ponytail as well)


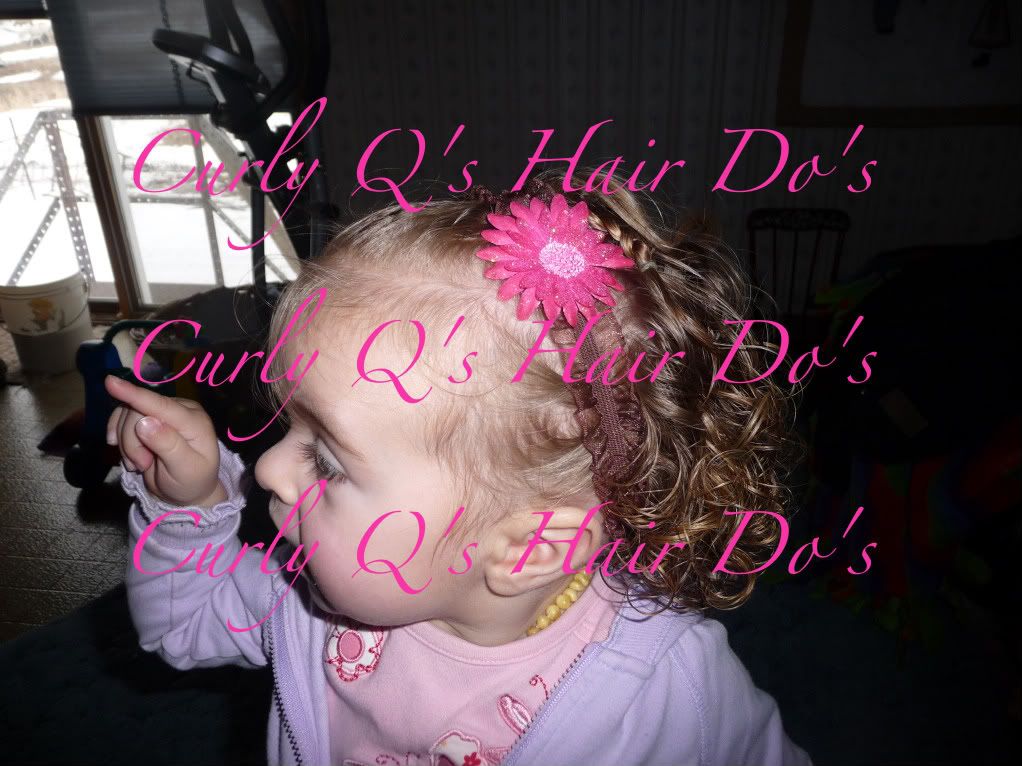
Add some accessories and you're good to go!

Posted by Picasa

Senin, 12 Juli 2010

Birthday Hair!

Q will be 2 at the end of July! Where has the time gone anyway? But before that, we've had a request for Birthday Hair from Mo (Hi!!) because her little curly girl is turning 2 years old on July 17th!! 

Happy Birthday!!

Here were the request requirements (yes, I kept asking for more!):

"I do have another question for you... lol... For her birthday I want a half up and half down hairstyle. I want to show off her hair length and curls but don't just want to leave it all down. Any ideas? 

... she plays like a boy but likes to (as she says)'be pretty'. So a girly do that wouldn't fall apart would be great!"

How did we do?? ...

I chose to use elastics to hold it together instead of clips or bobby pins because I felt that they would be more secure and last longer. I chose ribbon because 
1) it's easy to find in lots of colors, and 
2) I thought it would stay in well regardless of the level of playing happening at the party, and 
3) I think it's so pretty and girly!

(gotta love that face!)

So here's how we did it:
Start by parting the hair from ear to ear. I angled it back a bit because Q's baby hair still likes to fall forward (the back hairs) and cover up all the cuteness I worked so hard to put in the front hair! LOL

After the initial part, section out a piece of hair just off to the side of one eye. Braid that section.


Then do the same to the other side.


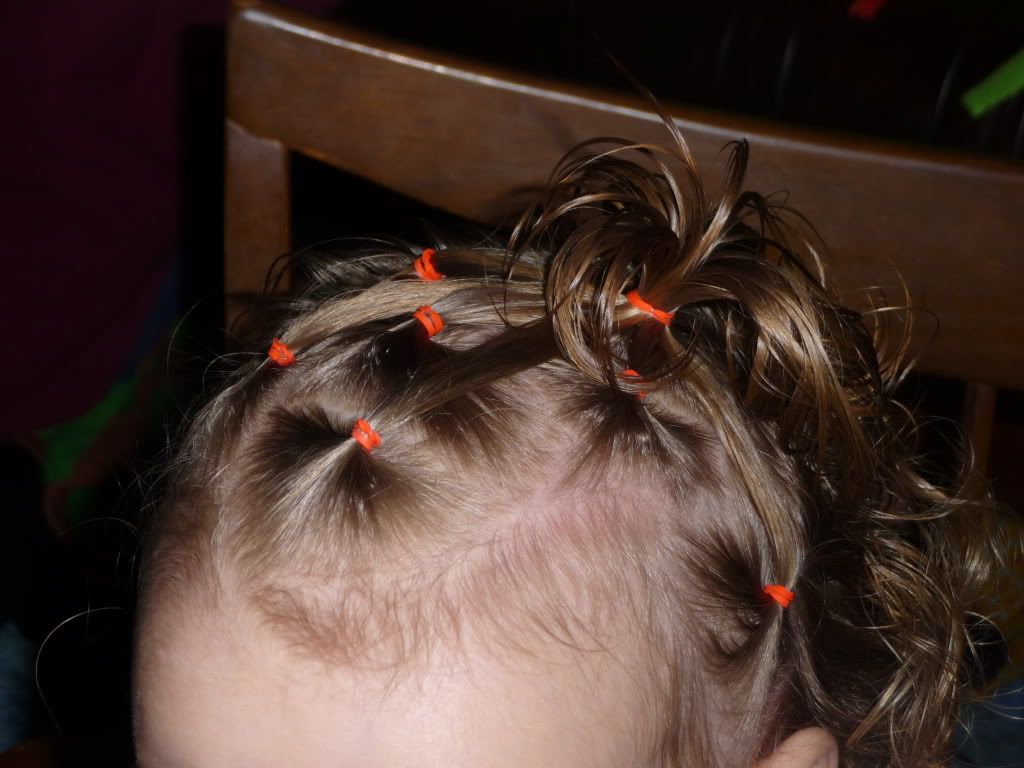
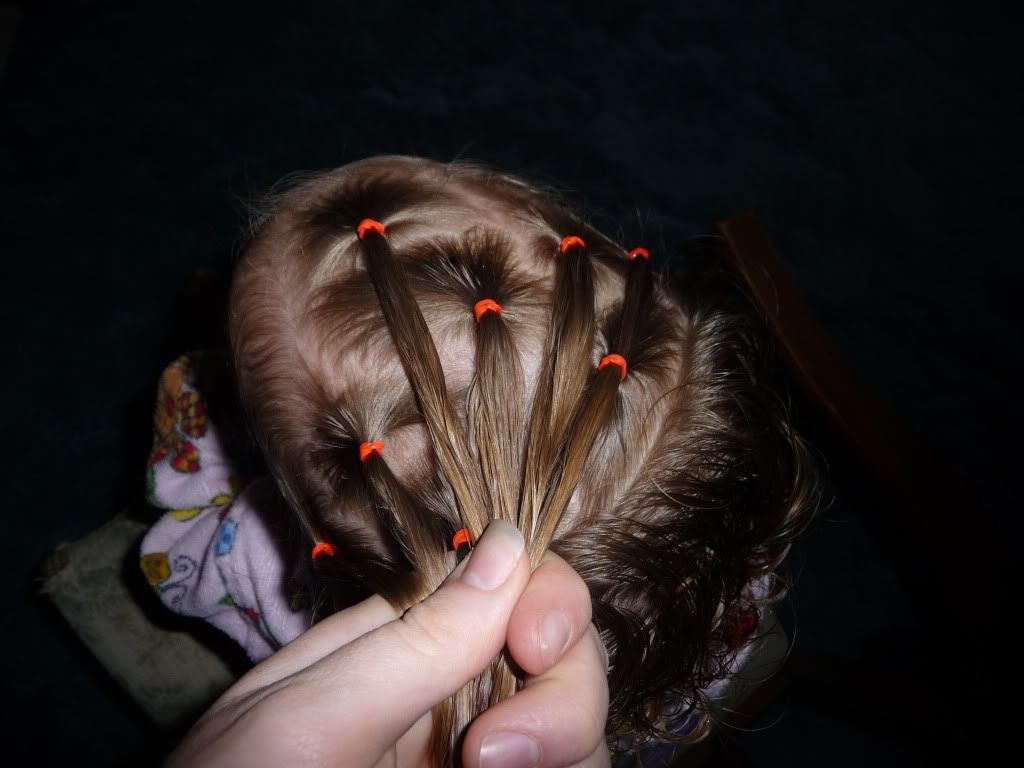
Next make 3 ponytails in the middle, between the two braids.


Then I flipped the ponytails inside out! This part is optional - gauge how much "sitting time" you think you have left if you're doing this on a very little energetic one! It definitely takes longer. I sort of parted the ponytail and then flipped the "tail" up through the opening I just created. In THIS post I did the same sort of thing, but flipped it down. For this birthday style I flipped it UP.


Make at least one ponytail by each ear.
(the braids are in no special place right now - just out of the way)


Next, add ribbon!
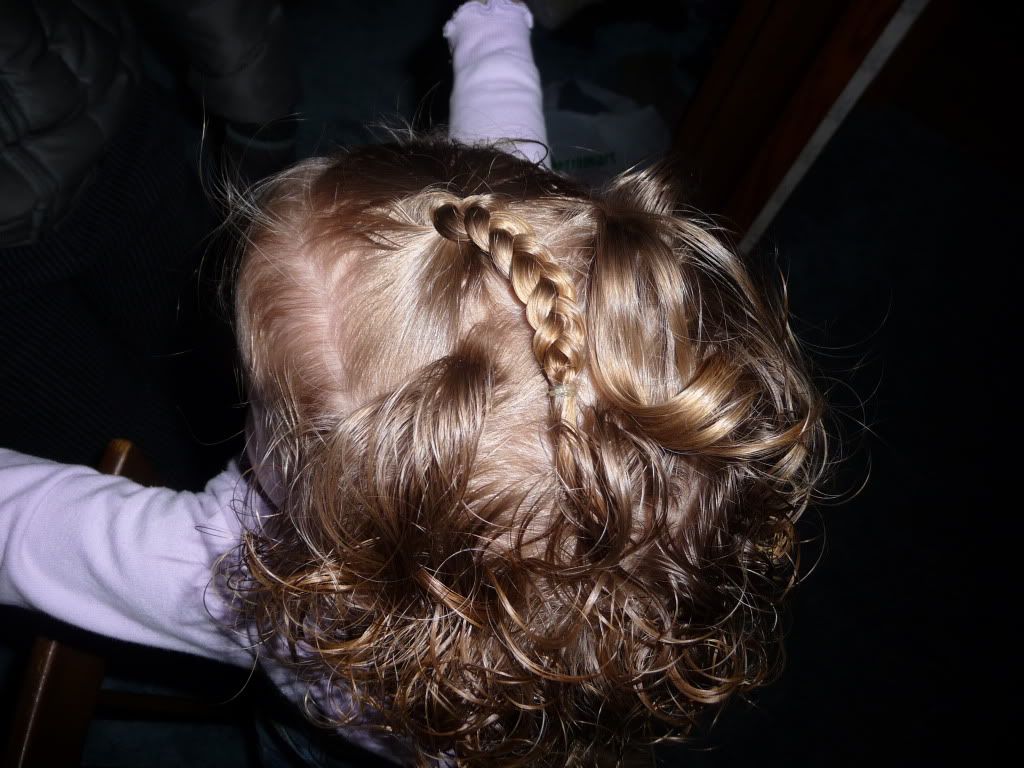
Place the braids where you want them in a "halo" or "Crown" fashion.
Overlap them if you need/want to. (we did)
Then using a plastic craft needle thread your ribbon around the braids, weaving through the hair underneath to hold it all in place.

I hadn't taken the little elastics holding the ends of the braids out yet, but next time I probably would before I started with the ribbon. They can also be cut out later with fingernail scissors - very carefully! :)


I didn't get more pictures of the step-by-step as I added ribbons in this time. Q was getting ants in her pants, so I was in a hurry to finish before she wanted down. :) I actually wasn't planning on SO many ribbons, but after I started, I couldn't stop!!


Next time I will make the ribbons a bit longer (like the one long one you see here) so they hang down more. As the day went on, some of them took to standing straight up! LOL


Top view! :)

To add the ribbons to the ponytails I used the needle and starting on the side towards her forehead I threaded the ribbon next to her ponytail holder, then up over the ponytail, and threaded it back thru the hair toward her forehead on the opposite side. (I hope that makes sense!) Then I just tucked the ends thru the loop and pulled it snug!


Half up, Half down, girly but secure - and definitely lets the curl shine through! :D
...and... as an added benefit, this style is secure enough to keep in the next day, too! Check back later (THIS post!) to see what we did with it!

Let me know if you have any special requests and I'll do my best to fill them! email me at curlyhairdoideas@yahoo.com

Posted by Picasa

Selasa, 25 Mei 2010

Easy Pull Through Headband on Short Curly Hair!


This is how Q wore her hair to Grandpa's funeral. 

I wanted something simple (had to wake up early) yet special. I wanted something that let her curls hang out and free, yet I wanted it pulled back and out of her face. I had put a little too much shea butter in her hair the day before and thought the crown might look a bit greasy - but there was no time for a bath, so I wanted something that would sort of mask that. 

(As it turned out her hair loved the extra Shea Butter and soaked it up so much by morning you couldn't even tell that there might have been too much the day before! ha!)

Anyway, this is what we ended up with.


Basically, it's just a pull through on each side of her head, by the ears, and two on top. 
I did the top front one first, then the sides, then pulled them all back to the second top pull through.

I don't have step by step pictures, but this is a simpler variation of THIS style from Princess Hairstyles, and she has great step by step photos if you want to see. The only difference between the two styles is that I didn't split the side "tails" I pulled all the hair back into the second top pull through.

(I'm sure that won't make any sense unless you see her pics! Sorry!)
 
Top view

I also added a ribbon. I thought the black would be cute, but appropriate (plus it matched her dress). I added the ribbon after the style was completed by threading each end of the ribbon under the ponytail (one on each side of the "tail") and then tucking it back down under itself. 

(Wow - what a terrible explanation! Hopefully you can see a bit in the picture what I did. It stayed fairly well and looked very "natural" which I liked. It wasn't a big added clip on top of the style, it just seemed to fit with the style. If that made any sense! lol)

Side View
(and showing off her Baltic Amber necklace :) )

That's it. I hope you like it! 
Oh, and if this one and the princesshairstyles.com ones aren't enough, I've also posted two other similar styles on the blog previously :) HERE and HERE. Enjoy!

We LOVE you, Grandpa! and will miss you forever. 
We miss your music, your laughter, your wisdom, your guidance, your never ending acceptance and Love. Thank you for everything. You were a blessing in more ways than I can count. We only wish we'd gotten the chance to love you longer.

Kamis, 11 Maret 2010

What a day! - The French Knot Headband

I'm just exhausted! Guess I shouldn't have stayed up so late last night :) lol

Nah, it was worth it!

**Don't forget to enter our giveaway! The deadline is drawing near!**

For today I wanted something somewhat quick and easy. I decided on a headband theme. And since I have French Knots on the brain, here's what happened! (sorry there's no step by step pics, but you can find the French Knot instructions here. Then just turn it sideways and braid from ear to ear!)


(This one's blurry, but you can see that I didn't do the loop ending this time - I swirled the hair around and made a sort of bun-thing. I stuck a small bobby pin thru it to hold it in place. After I had tied the braid off with an elastic.)


Enjoy! (and enter the giveaway!!)

Kamis, 04 Maret 2010

Simple Braid

We were low on time, yet I wanted her to be able to see! So here's what we did...
 

I gathered up the hair that likes to fall forward and braided it! I did an "underneath" braid, just for kicks. It wouldn't have looked much different than a "normal" braid. (Where the strands pass over each other as you braid) But the method is nice to practice like this, then once your hands kinda get used to the idea, you can try a french braid like this - an inside out french braid!
Then I added her new elastic headband!


I put it just in front of the top of the braid, and then coaxed the braid to curve around the flower. :) The headband stayed in a long time this time - probably a whole 4 minutes!! lol Goofy girl! Oh well, I'll keep trying! (She doesn't like the elastic headbands because they go all the way around her head, I think she thinks they're too tight. Fair enough! She does, or has in the past anyway, left the teen size workout headbands in.)

One last one to show off that cute headband!!

Selasa, 02 Maret 2010

Random Little Ponytails - To Side Pony!

I was wanting something new this time. And didn't have too much of an idea what I was doing before I started! If I were to do it again, I think I'd make the parts straighter - either purposely wonky yet straight, or straight and box-y. :) Here's it is:


I don't do many side ponytails, so I thought it was time to expand my horizons :) lol
To accomplish this 'do, I first detangled Q's hair gently while wet with a wide tooth comb. Always start at the ends and work you way toward the head!  Once that was done, I started with a square "anchor" ponytail in the spot where I wanted the style to end up.
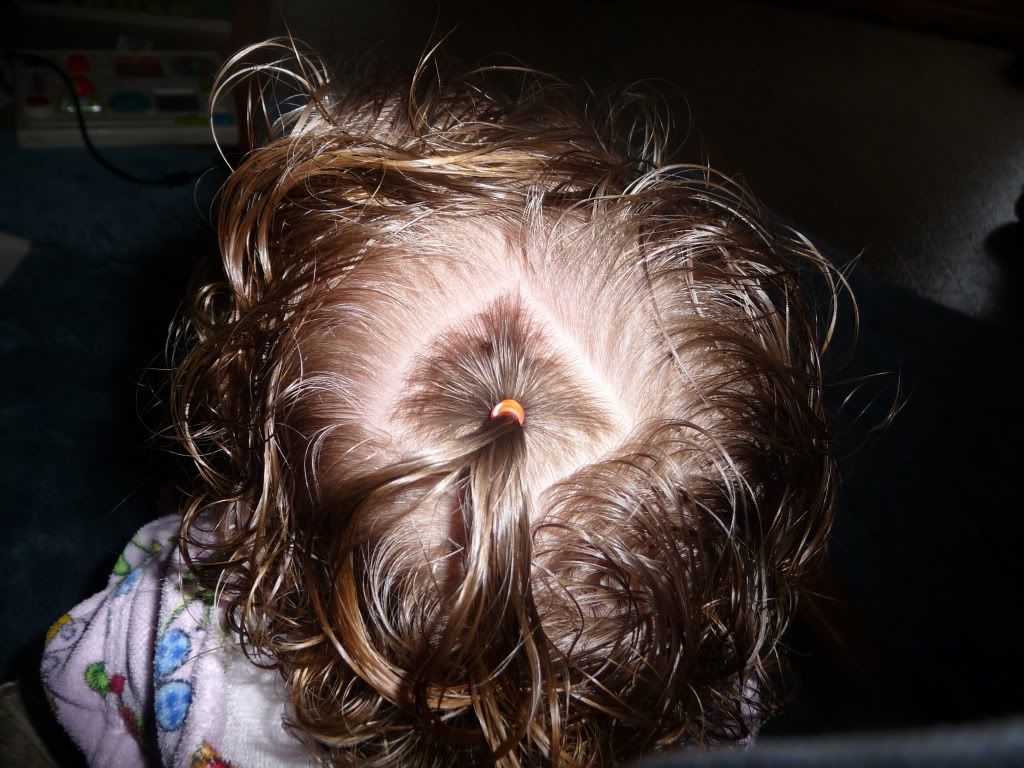
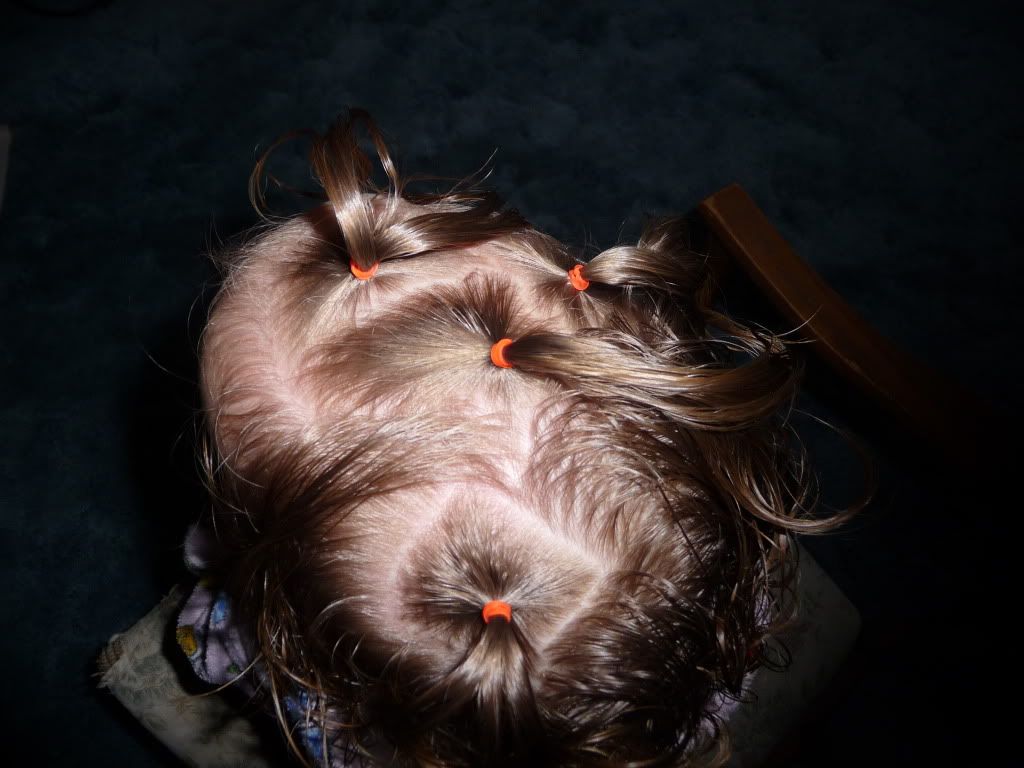
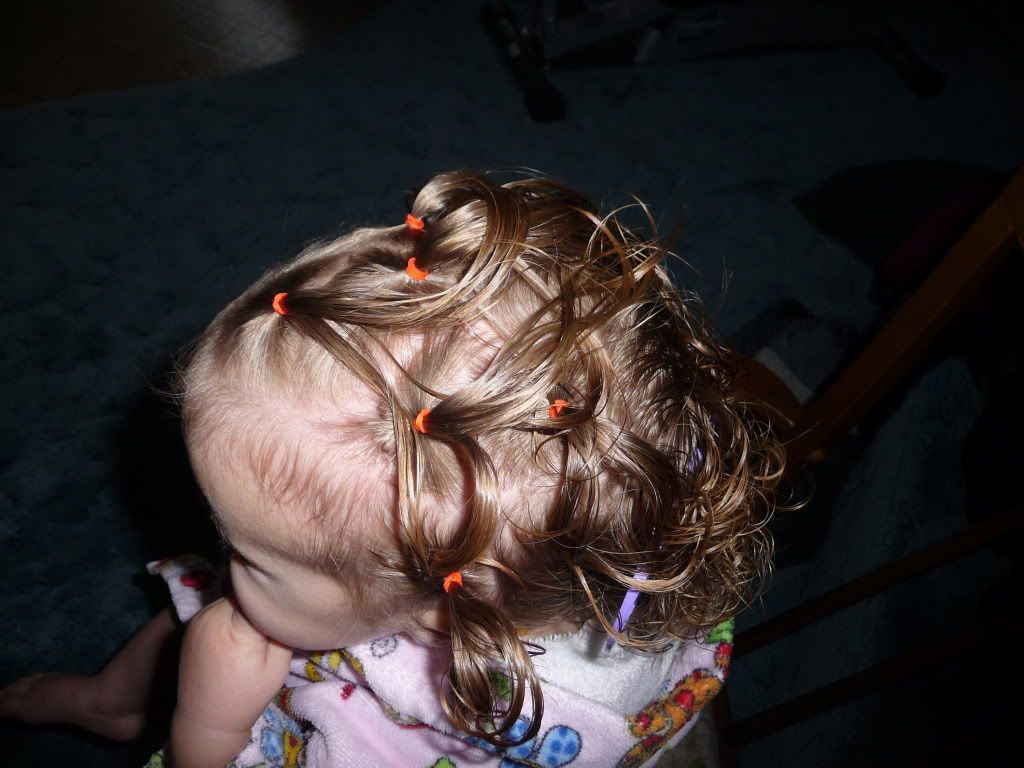
(why is it square? -- I don't know! I guess I started the style with the intention of straight parts and just lost the ambition? Who knows?!)

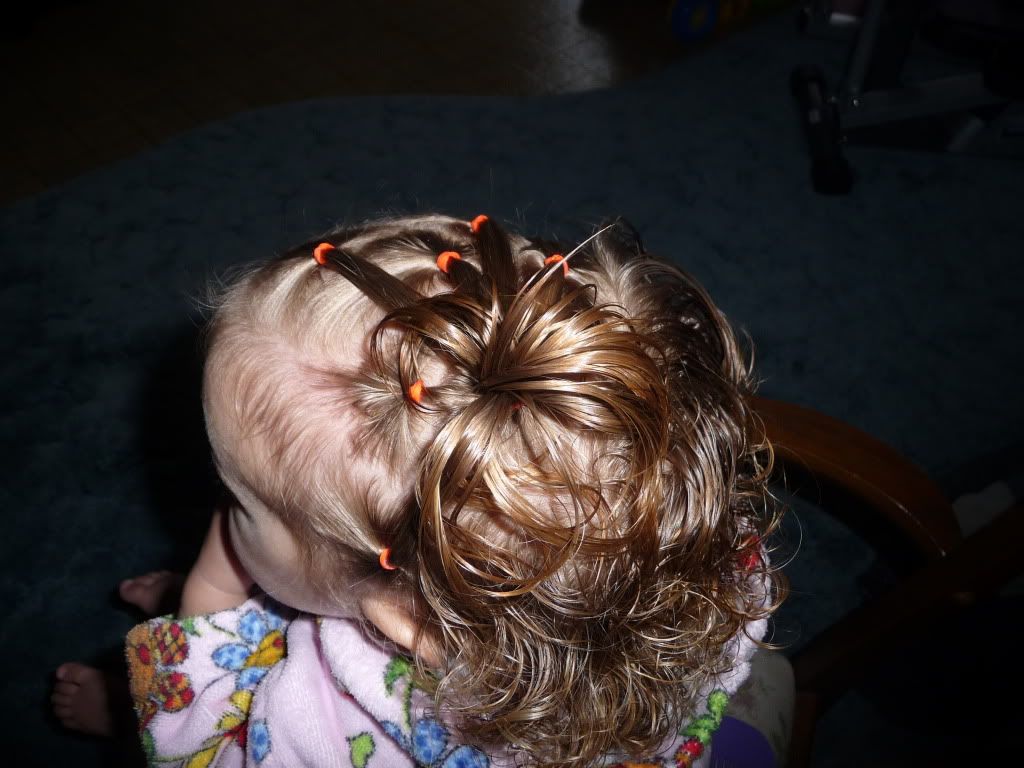
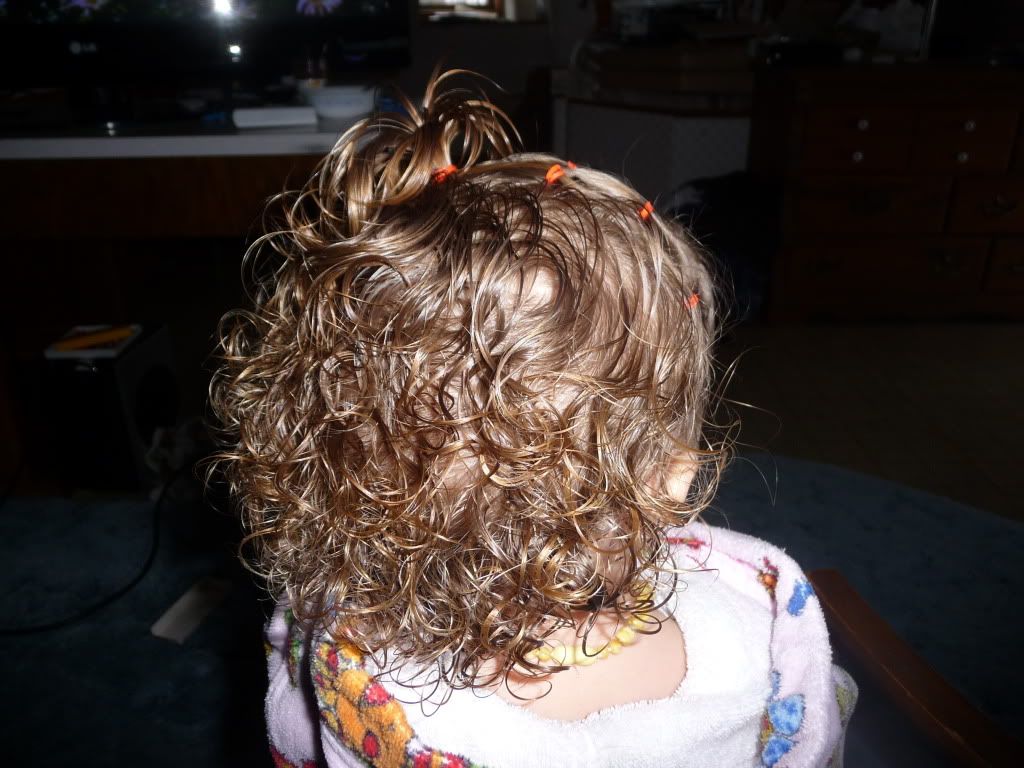
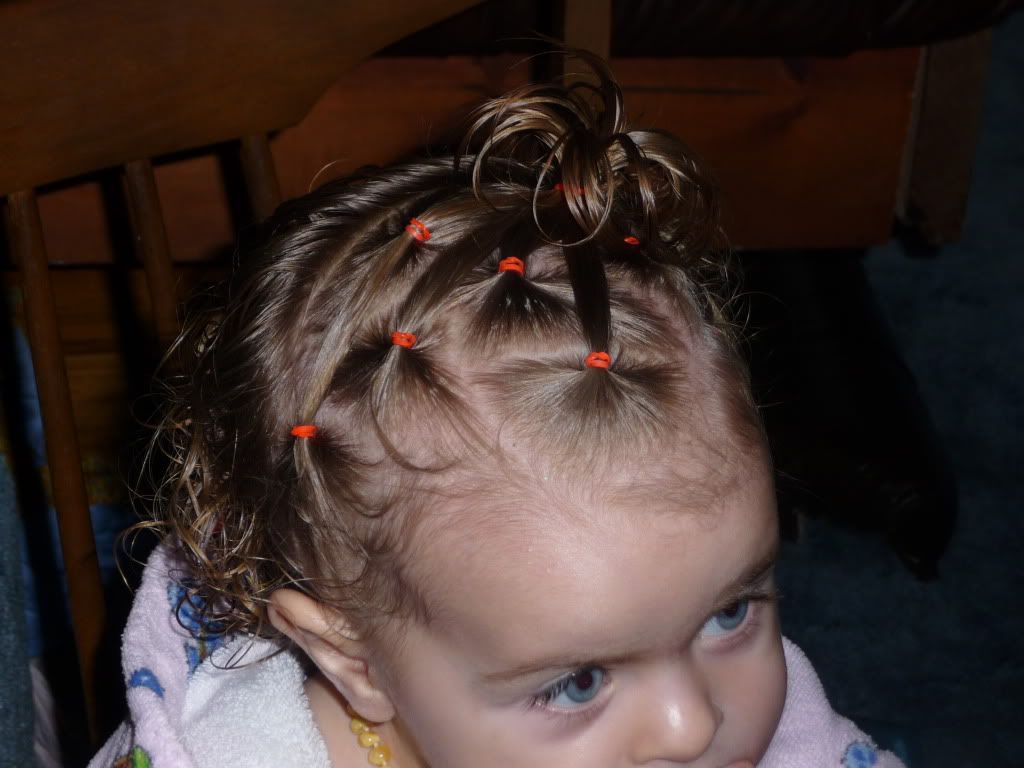
Next I started adding random ponytails all over the "headband" area of her head! (ear to ear)


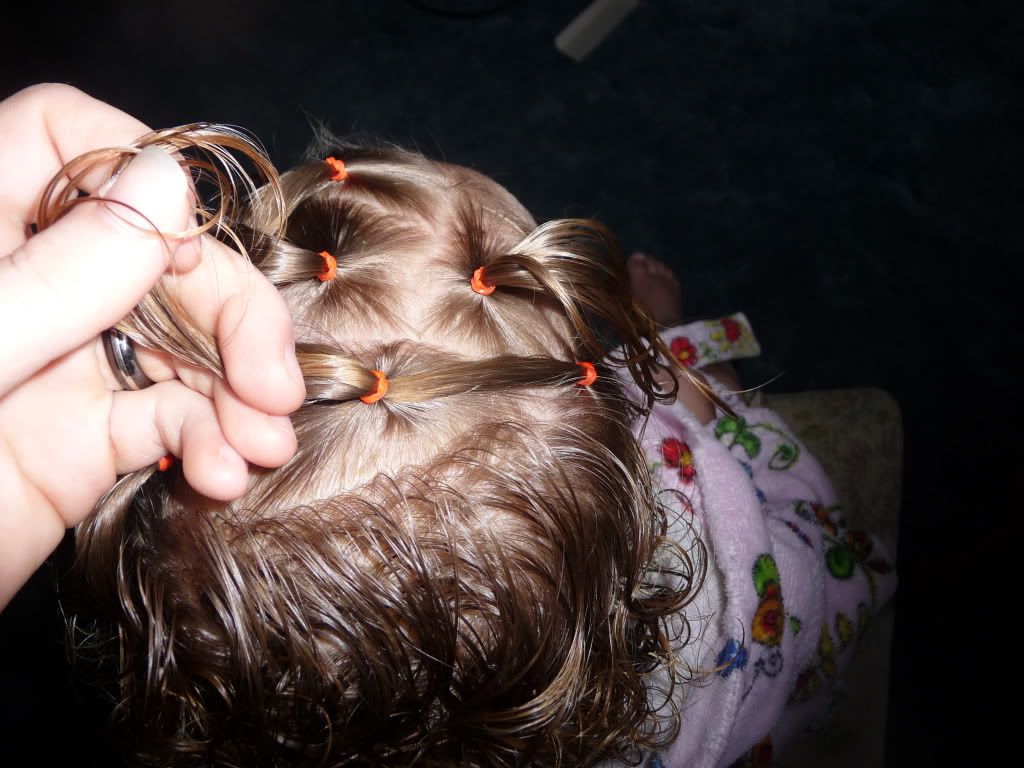
Somewhere along the line I decided I was going to pull all of the "tails" from all these different ponies back to that first anchor ponytail. However, I knew that the hair from near her right ear wouldn't quite reach all the way (since that anchor ponytail was more toward the left side of her head.) So I needed a Step-Pony! 


(This is the only step-pony in this style. You can see it's the one closest to her loose hair, and I'm holding the tail...)
Then I gathered together all the loose "tails" I had created (and tried to finger-smooth them out a bit) and brought them all back to that very first anchor pony!


Using a new elastic, I secured all those "tails" into one side ponytail! And that's it! (She got lots of comments on this style when we were at the store :) So apparently it was a hit!)


CURLS!!
(still wet from detangling, no product added)


Final 'Do :)

Senin, 01 Maret 2010

Mini Ponytails and Tiny Claw Clips

This one is pretty basic. I just ended it differently than before :)

(her hair was still wet from detangling in this picture)


To do this hairstyle, I just parted Q's hair in half down the middle and then put 3 little ponytails in on each side. So we ended up with 6 little ponytails total. Then I added a claw clip to each ponytail!

Here are more step by step pictures to get that far. :) (This is actually the style I was setting out to do - but then changed my mind mid-style.)

Minggu, 21 Februari 2010

Ribbon Headband

I just love this hairstyle! I think it's an adorable yet fancy toddler hairdo! What do you think!?
 

I started by separating the hair I knew I didn't want involved and pinning it back temporarily with a claw clip.


Then I parted the hair in front (the "headband" section and made little ponytails. Keeping the elastics at the back edge of the section of hair. I made 6 ponytails. 3 on each side of her head.


then I removed the temporary claw clips and fluffed Q's curls :)

and the other side!
 

Now, you could be done at this point! 
 
I think it's cute. Especially if it had been done with colored elastics, or add claw clips to each ponytail, etc.
But I chose to add RIBBON!

I use a craft "sewing" needle to thread the ribbon thru the hair :) 

The threading process... I just "sewed" the ribbon thru each ponytail, nice and close to the elastic.
 

Here's what it looks like when you're done threading...


Then, instead of just holding the ends out of the way, like I'm doing in this picture - TIE them! :)


Make a bow if you want and cut the ribbon ends to the length you prefer...and you're done!


How can a person resist a face like that?? :)  And here you have a cute yet elegant toddler hairstyle!