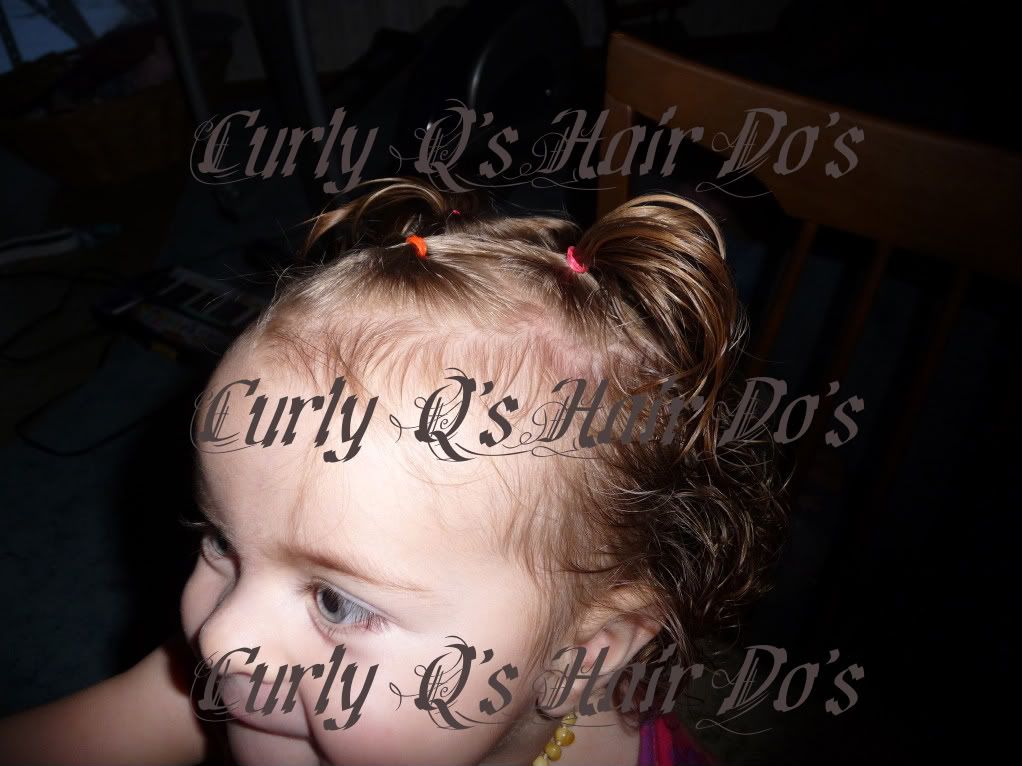
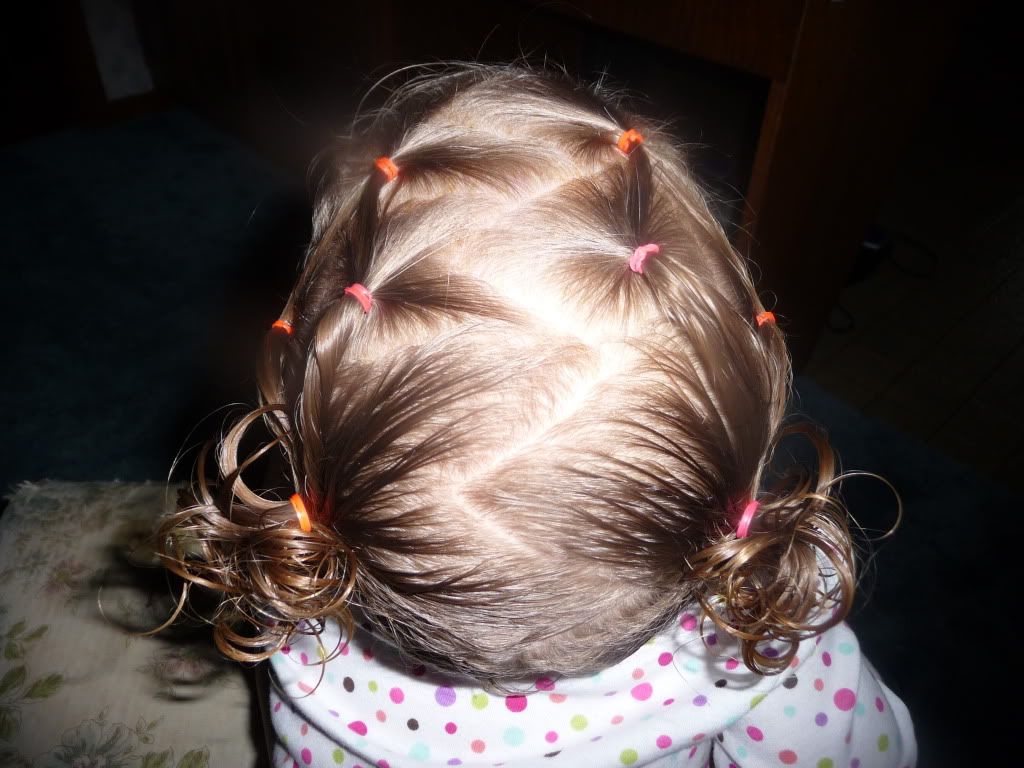
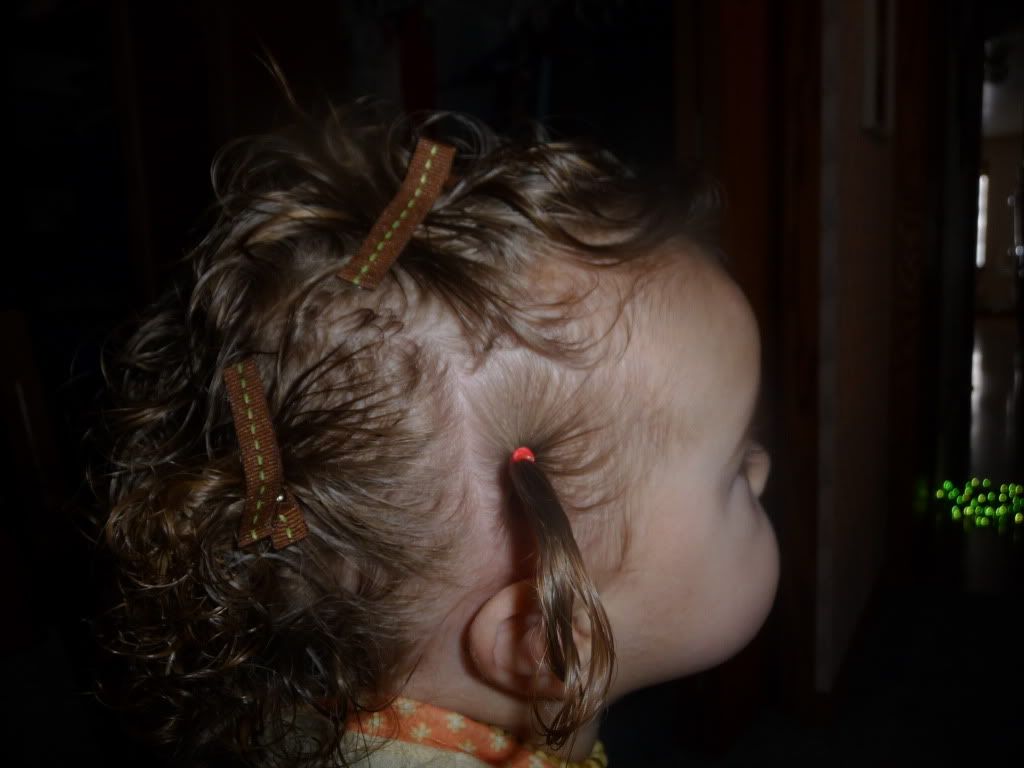
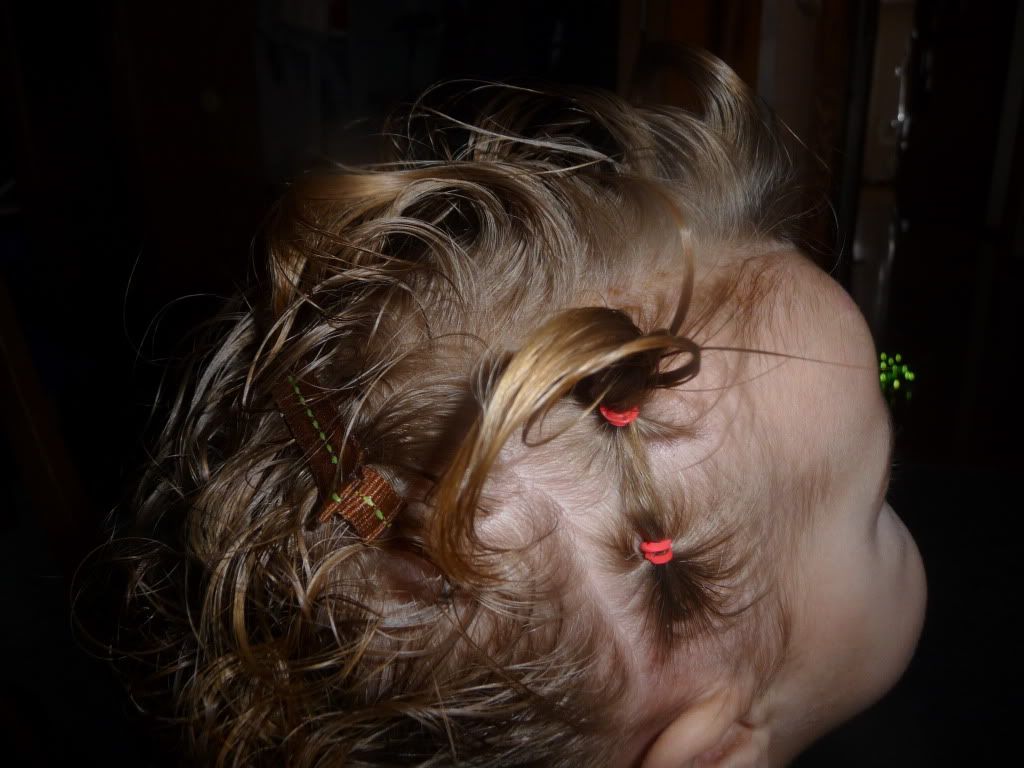
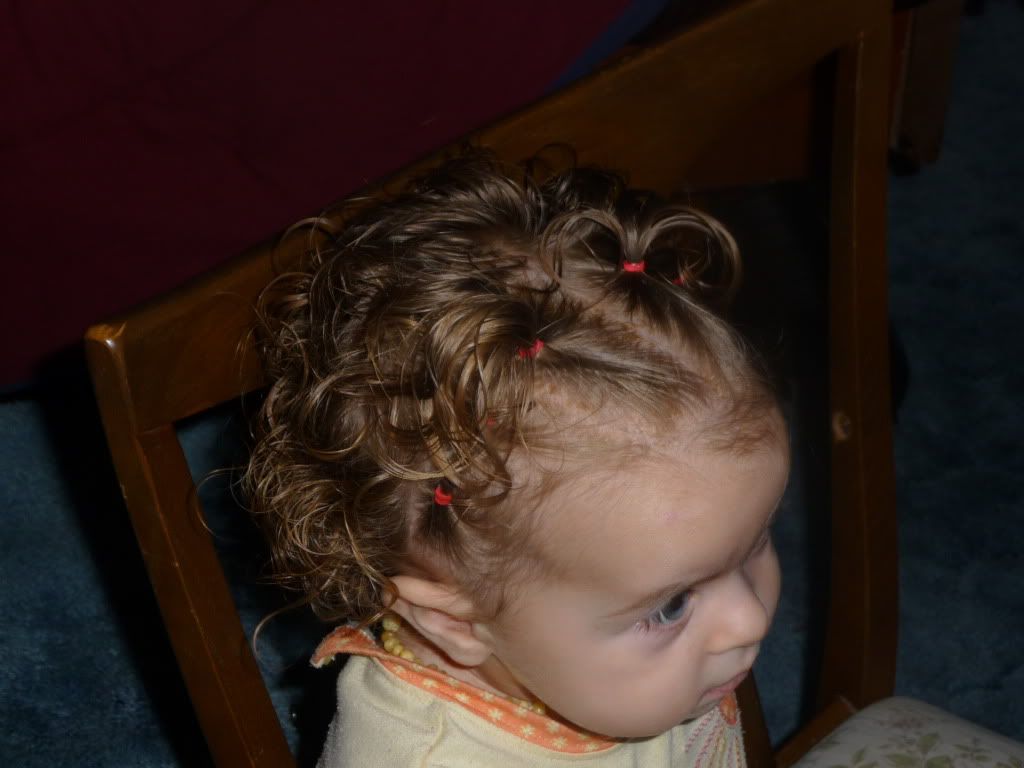
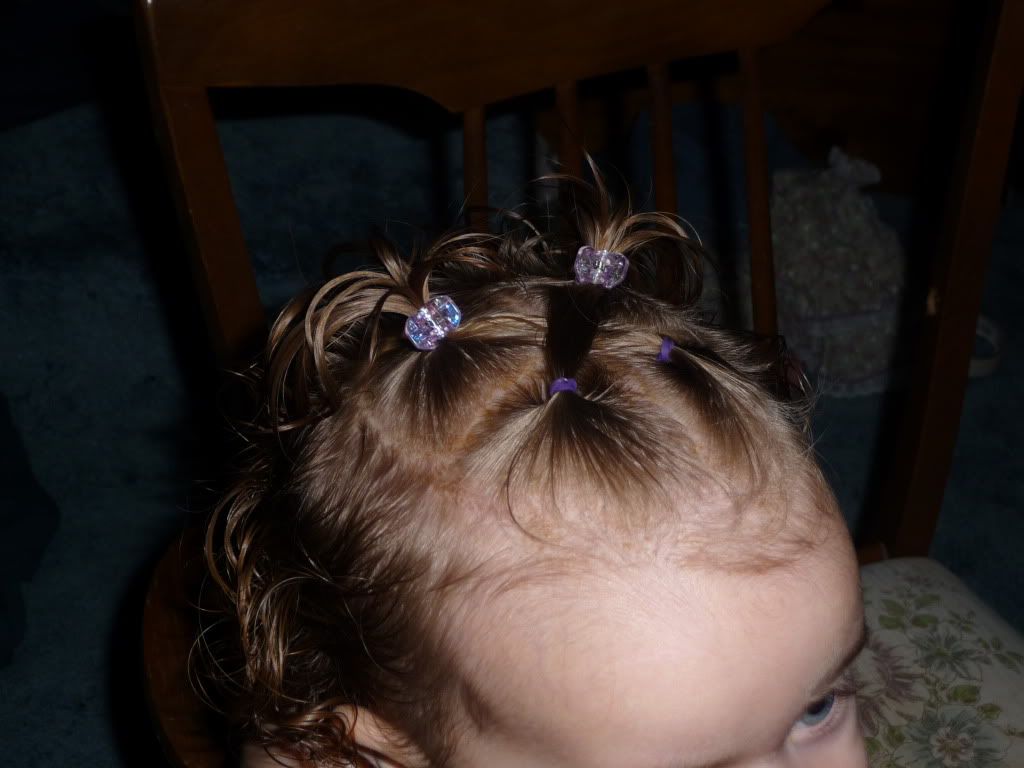
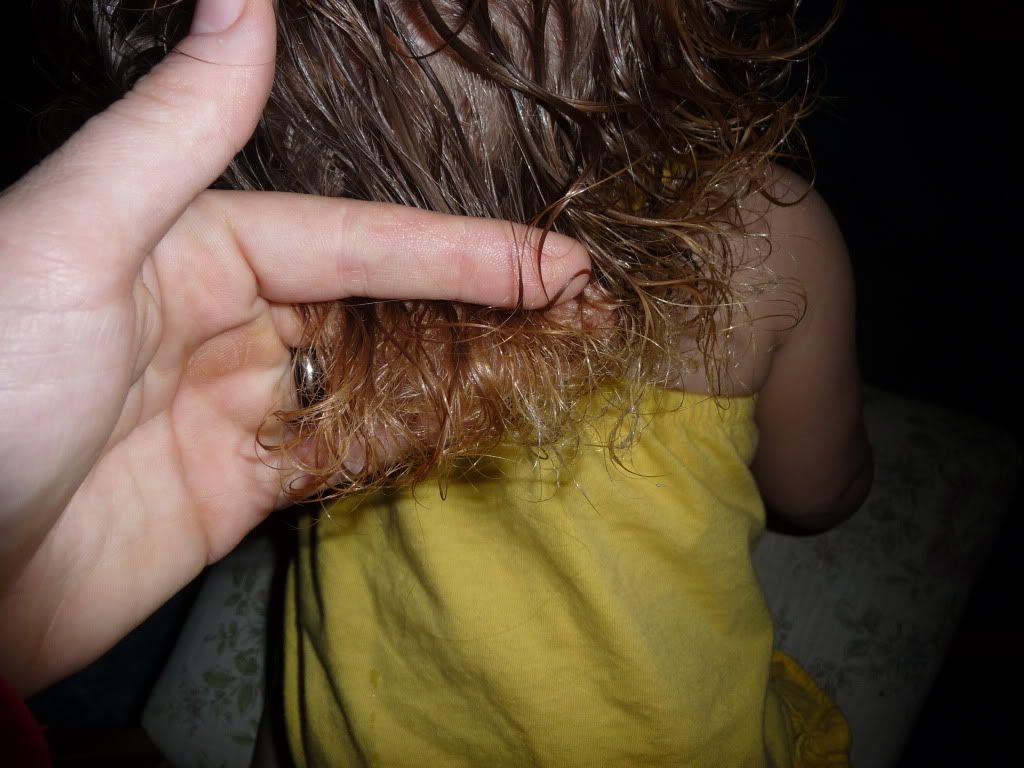
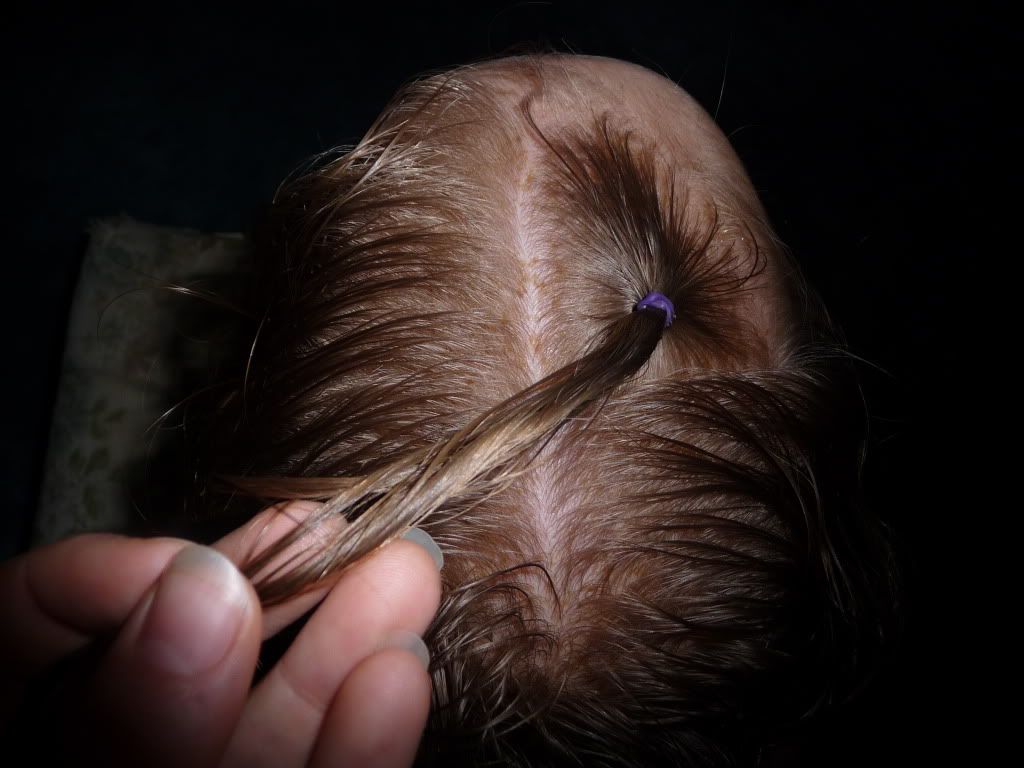
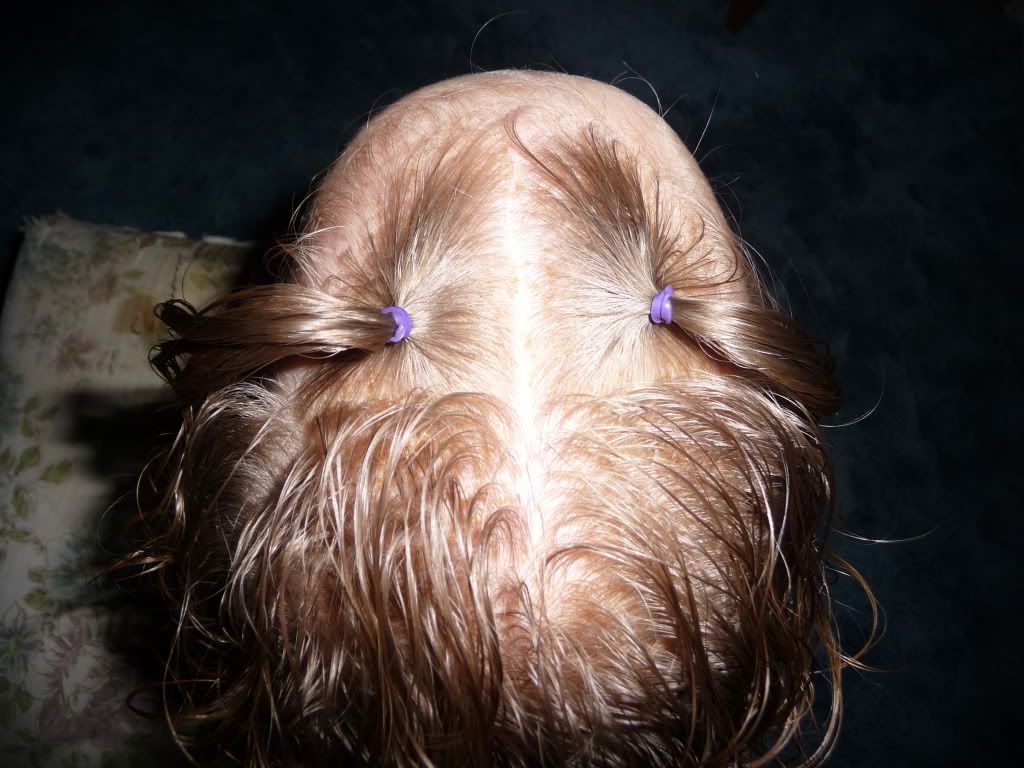
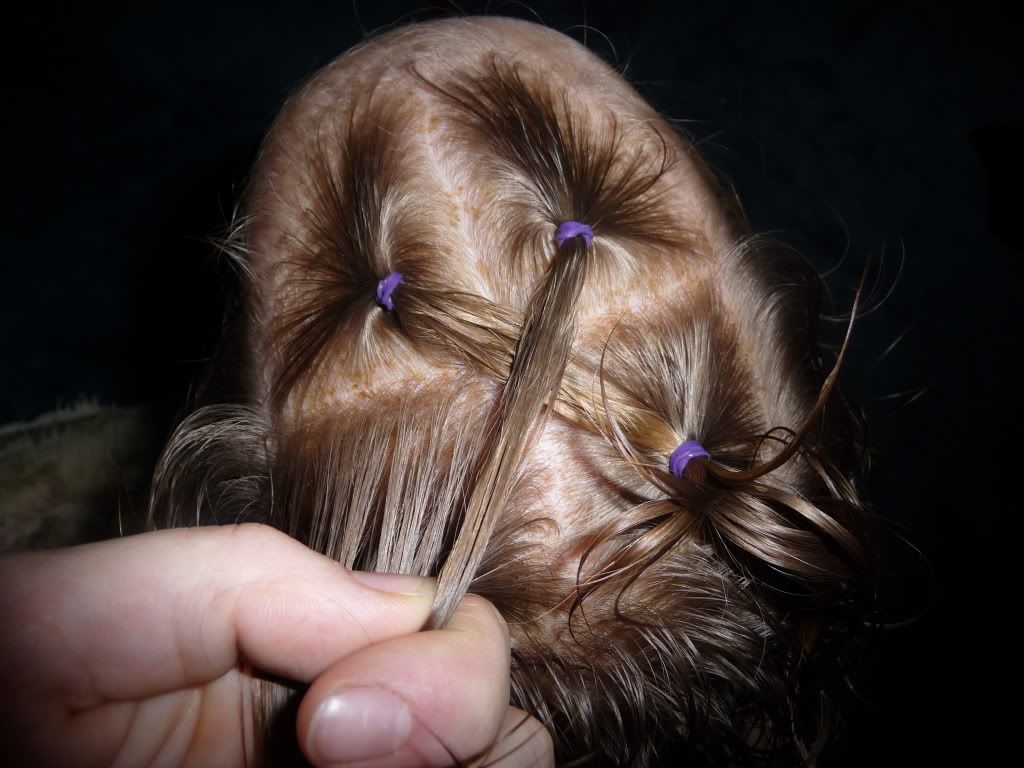
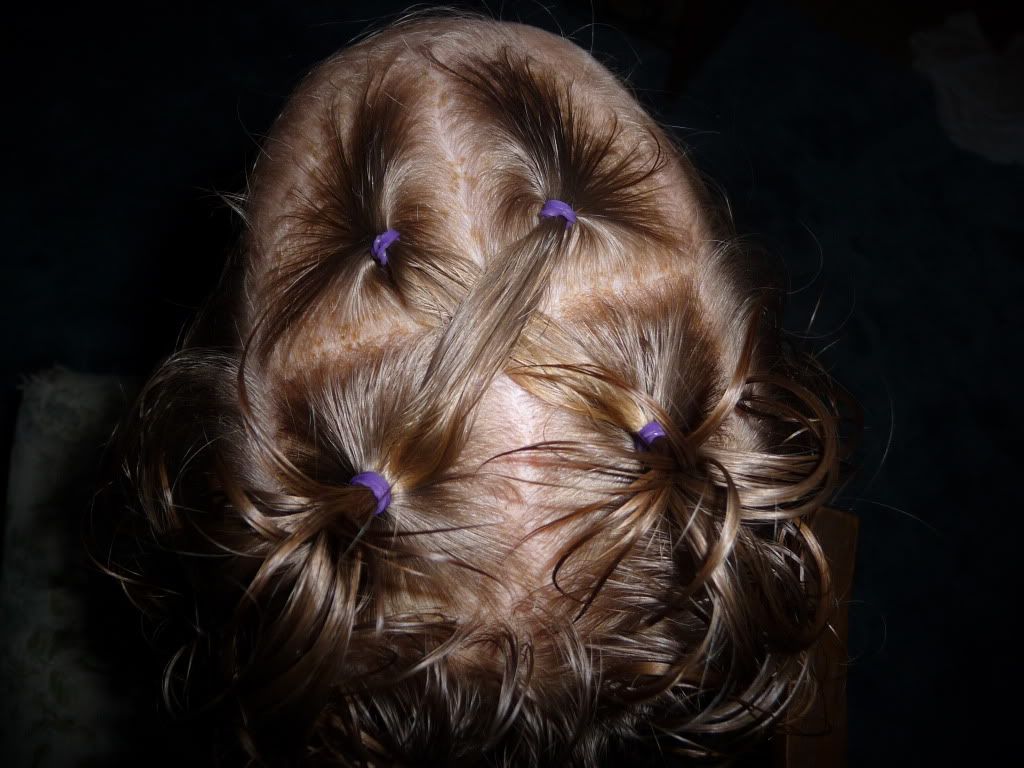
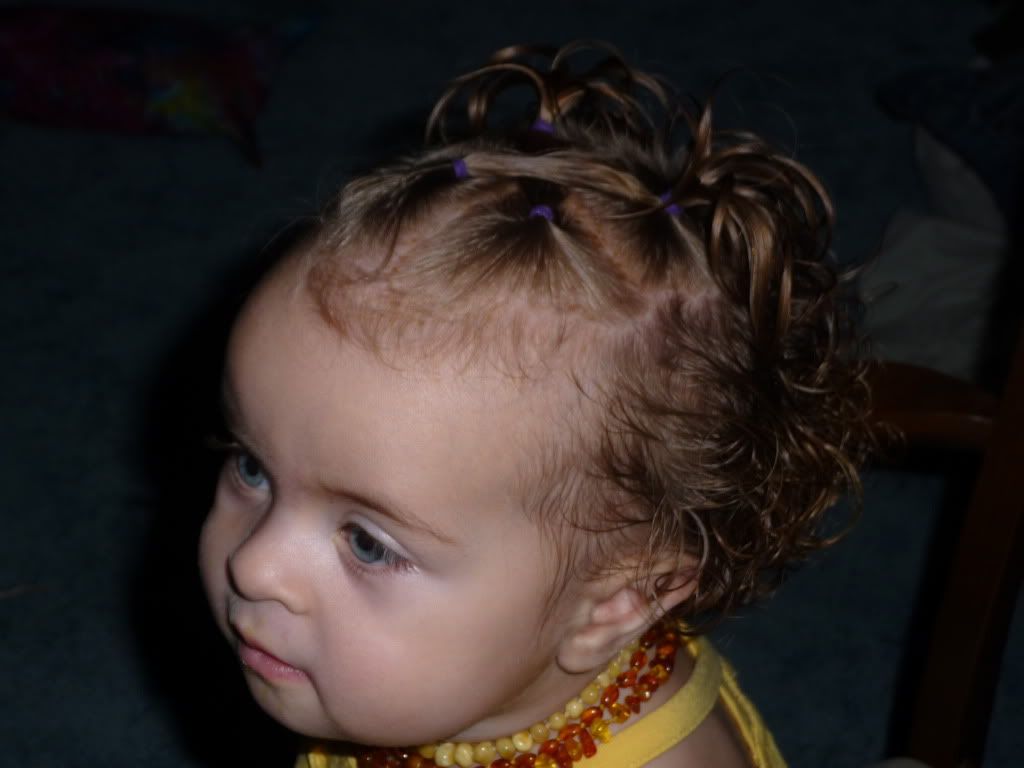
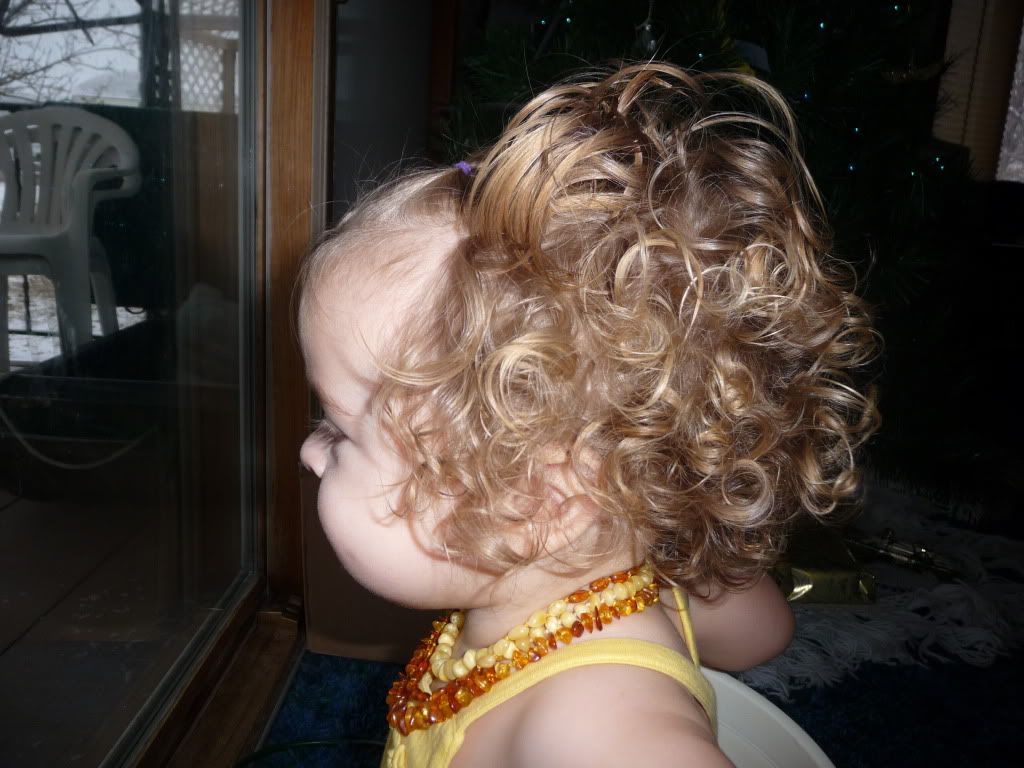
But not by much!! Here is a variation on the same theme that I seem stuck on lately ... pigtails! But who doesn't love pigtails on little girls anyway??
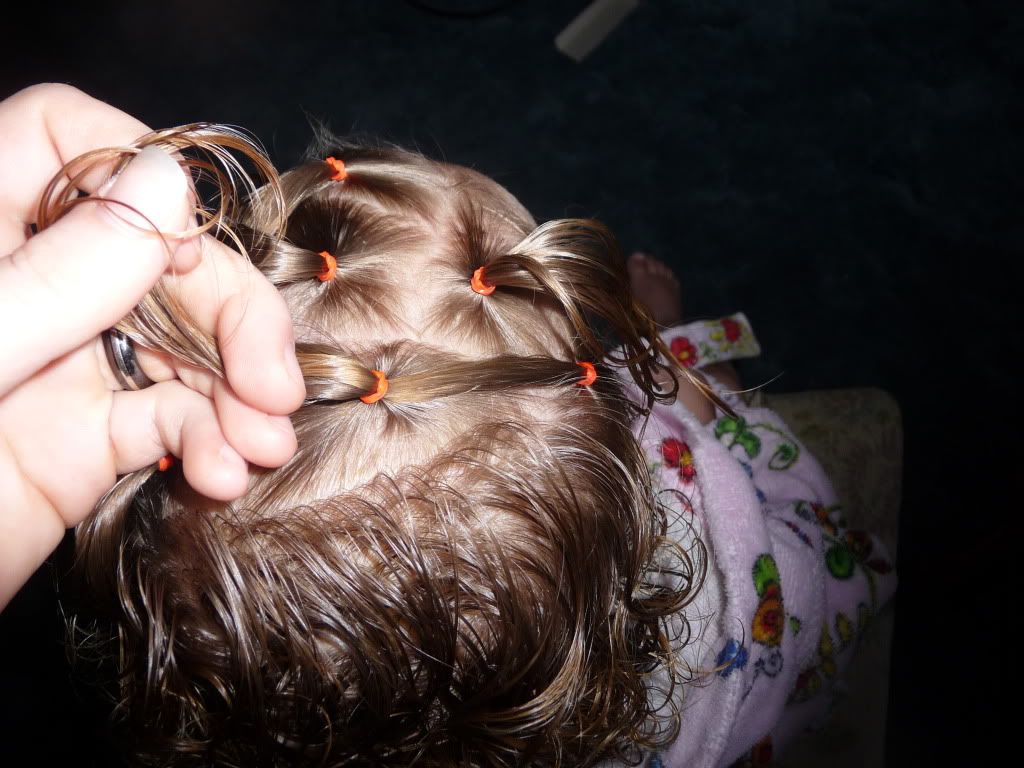
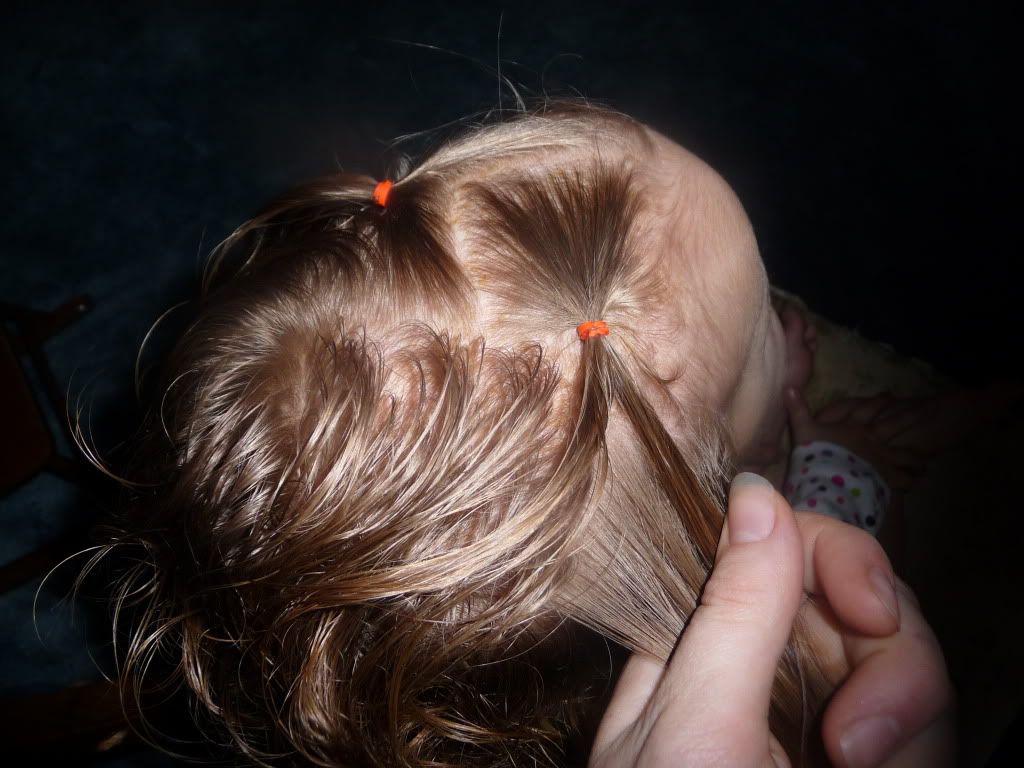
For this hairstyle I pulled all her front "bangs" hair to the side and added a soft hair elastic -
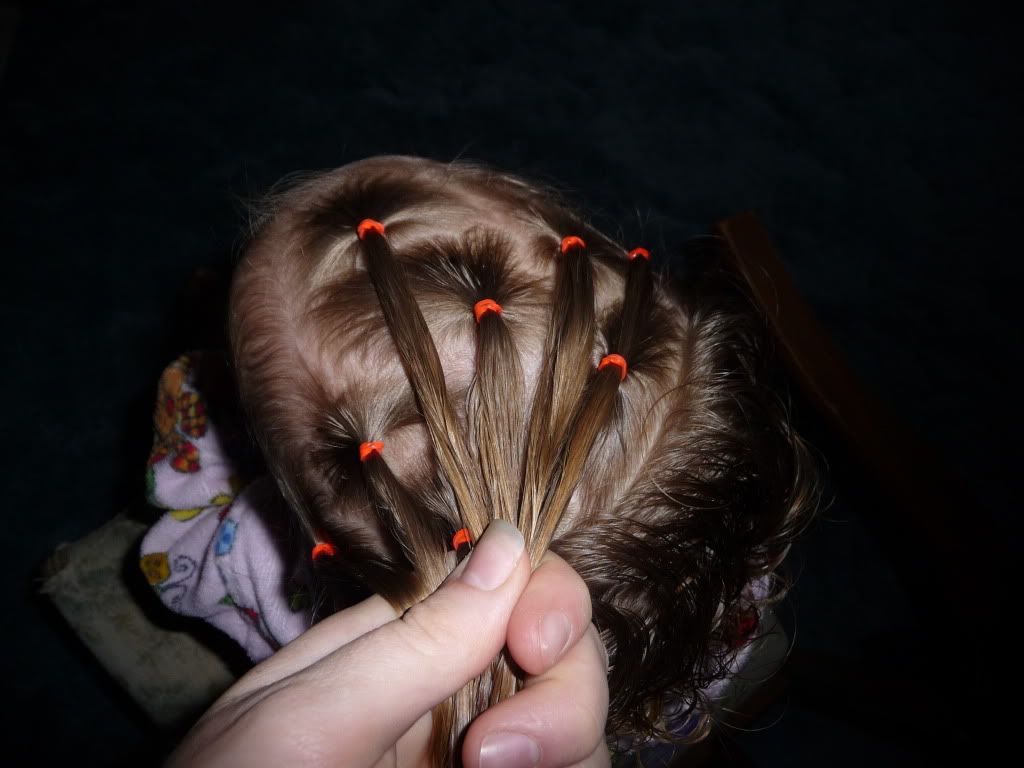
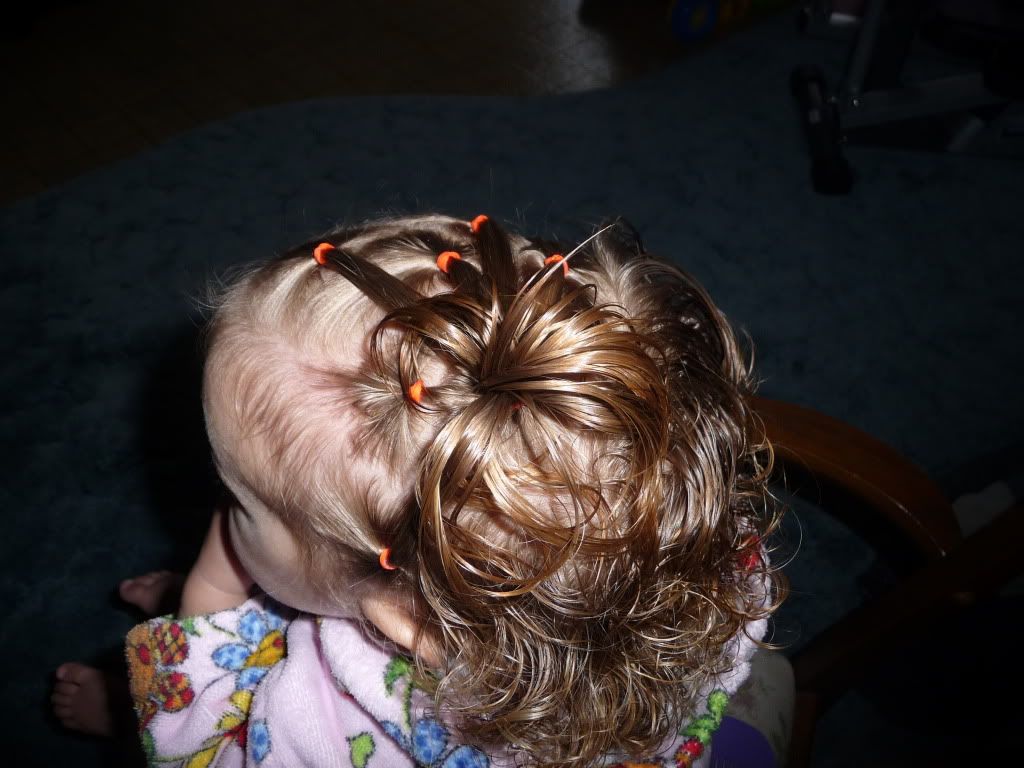
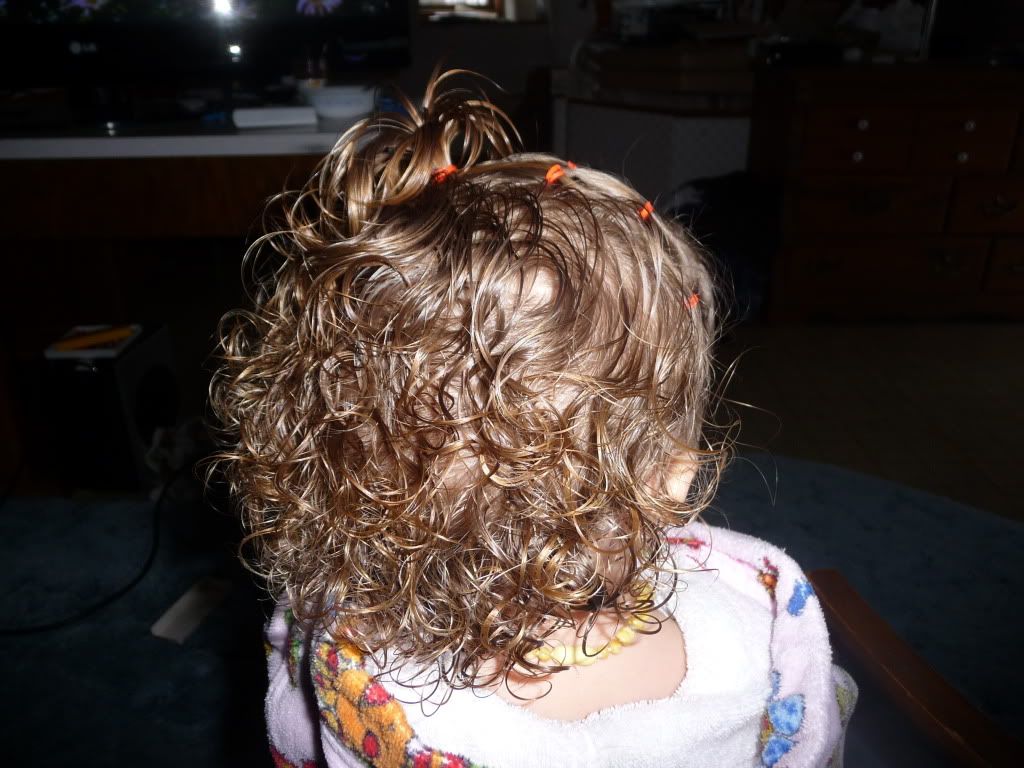
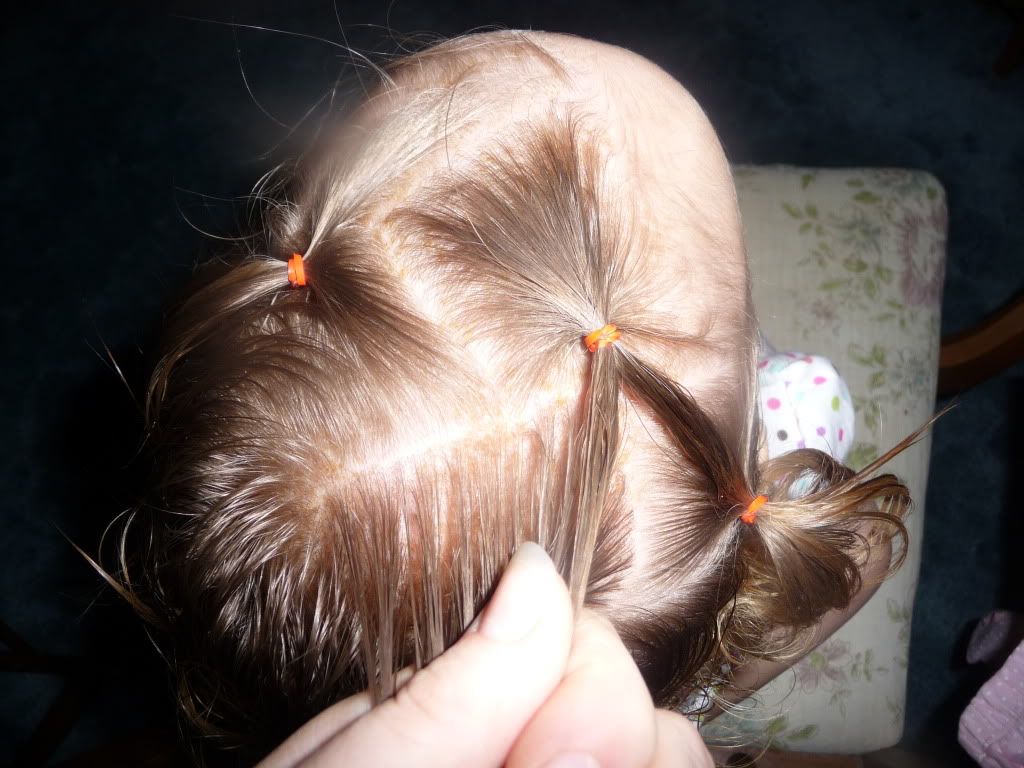
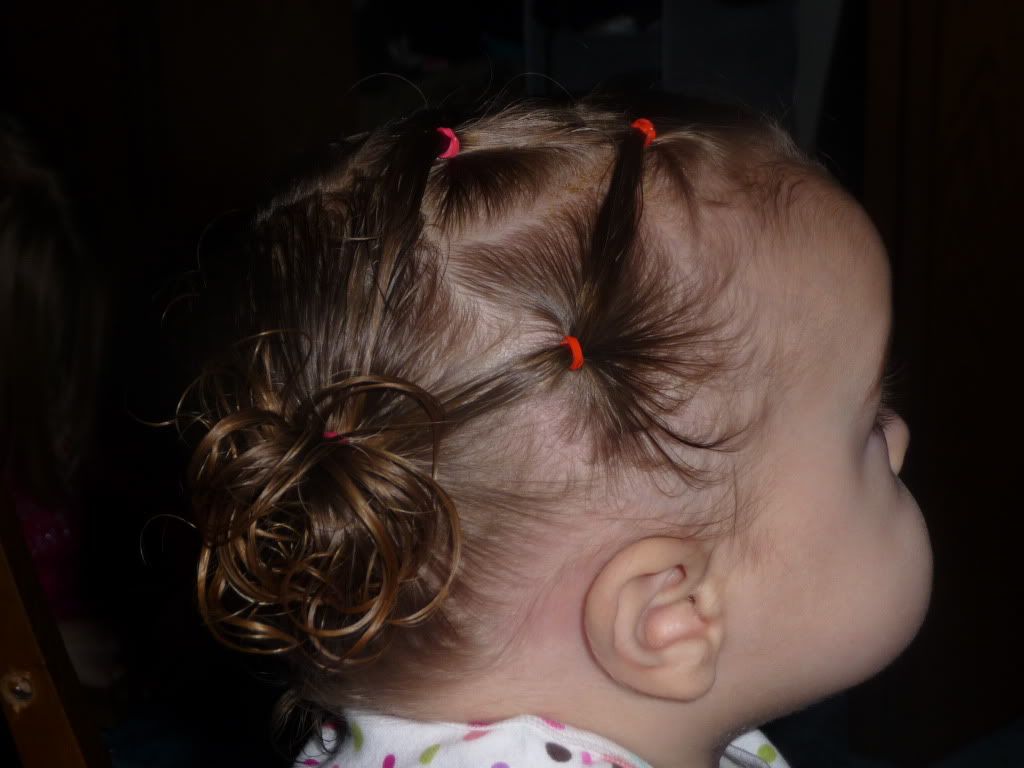
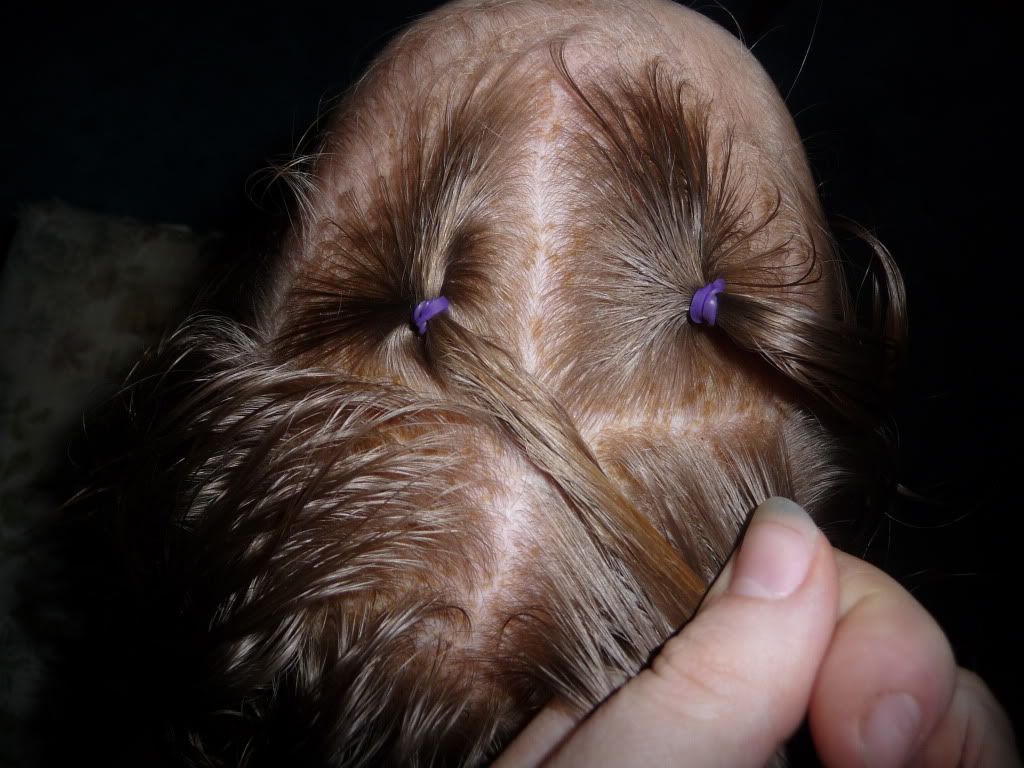
Then gathered all the hair up into two pigtails! Isn't her hair getting long?! (for comparison's sake... go HERE!)
Make sure that the "Tail" from the first pony is included in the left hand pigtail to get this look.
Tampilkan postingan dengan label step-ponies. Tampilkan semua postingan
Selasa, 15 Juni 2010
Something a little different -
Sabtu, 08 Mei 2010
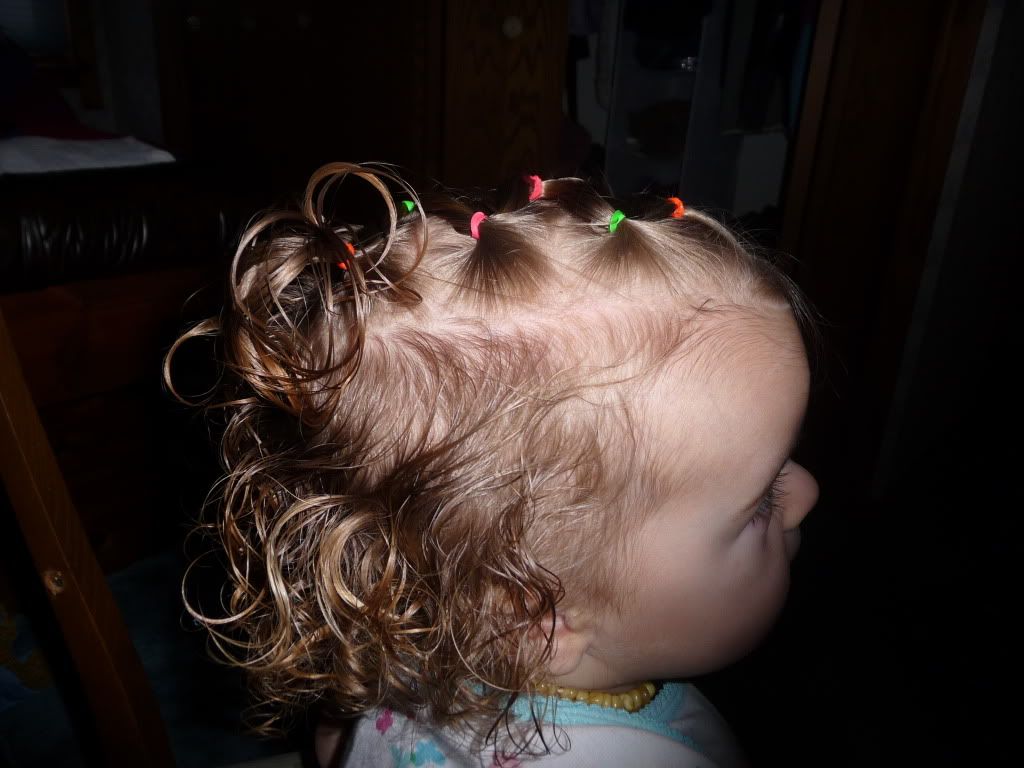
Puffy Elastic Toddler Ponytail
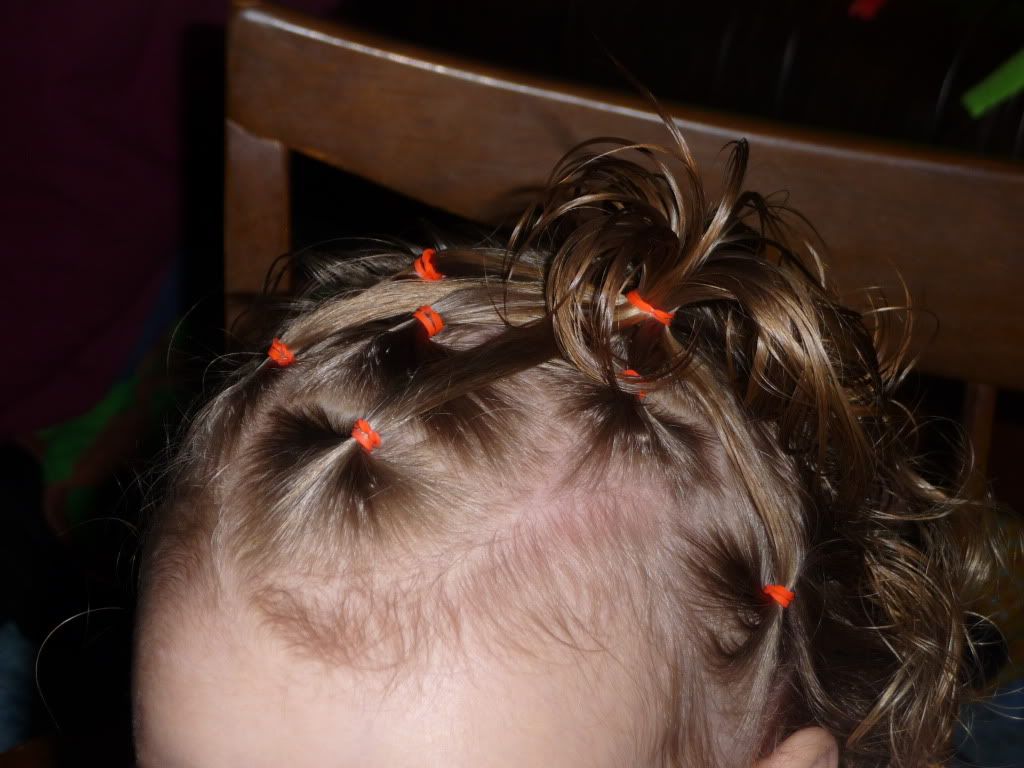
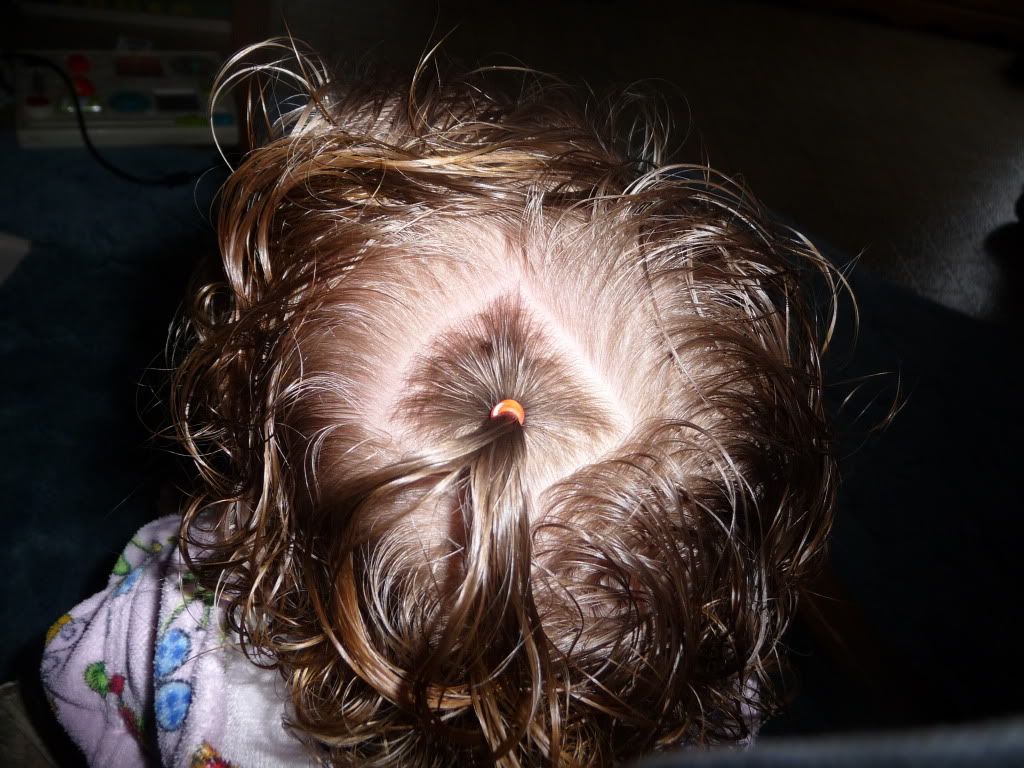
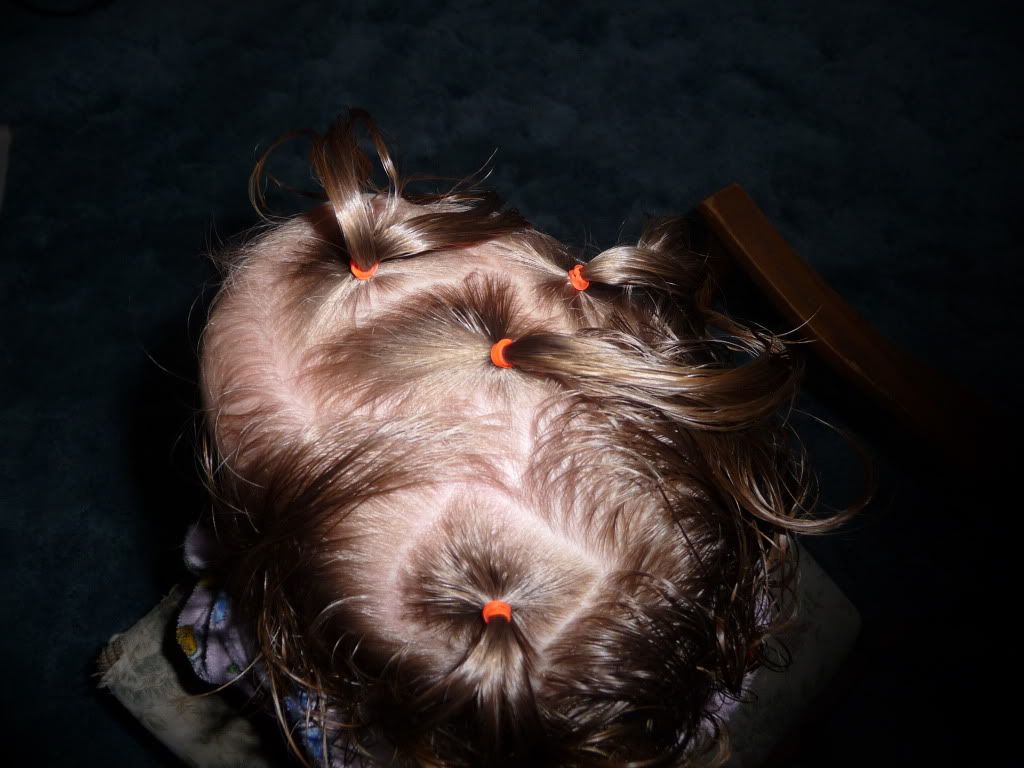
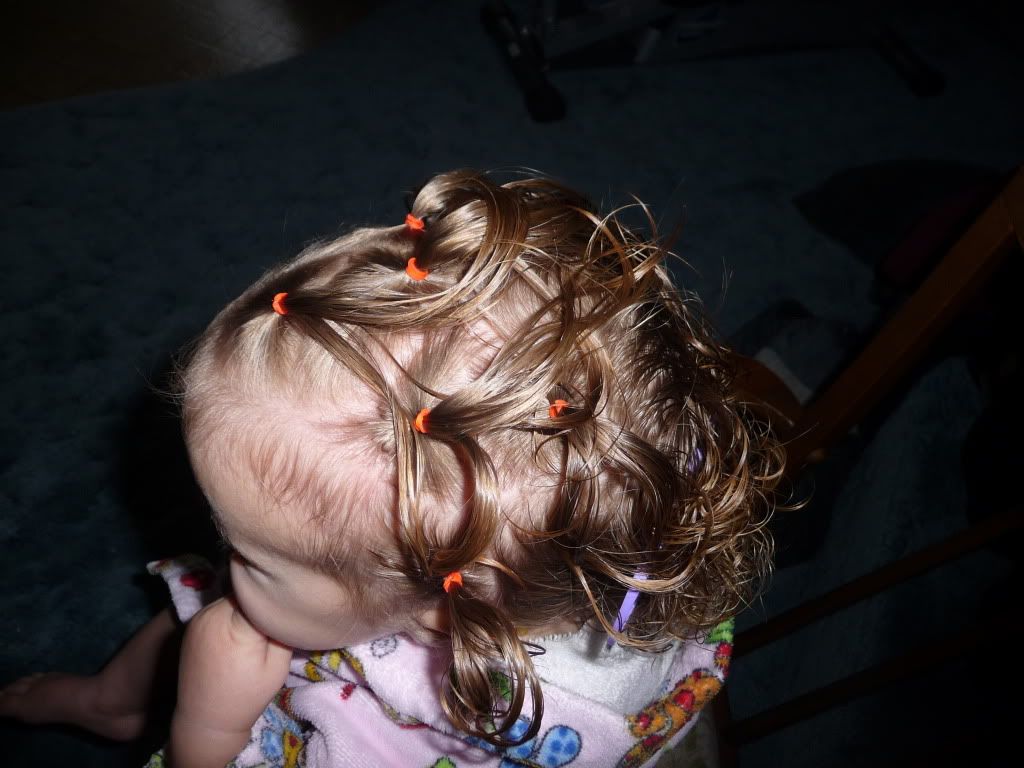
Here's another version of the toddler ponytail - when you want a ponytail but not all the hair is quite long enough! And this time I used softer hair ties (which are kinder to the hair than using the rubber elastics all the time)
I thought the look worked quite well with this shirt! (Which she would wear 24/7 if I'd let her!)
In case it's hard to tell in the pictures, I just made 3 small ponytails on the sides and top of her head - then brought them back into the "big" ponytail which included the rest of her hair.
Have a Happy Mother's Day!!
Selasa, 02 Maret 2010
Random Little Ponytails - To Side Pony!
I was wanting something new this time. And didn't have too much of an idea what I was doing before I started! If I were to do it again, I think I'd make the parts straighter - either purposely wonky yet straight, or straight and box-y. :) Here's it is:


I don't do many side ponytails, so I thought it was time to expand my horizons :) lol
To accomplish this 'do, I first detangled Q's hair gently while wet
with a wide tooth comb
. Always start at the ends and work you way toward the head! Once that was done, I started with a square "anchor" ponytail in the spot where I wanted the style to end up.
(why is it square? -- I don't know! I guess I started the style with the intention of straight parts and just lost the ambition? Who knows?!)
Next I started adding random ponytails all over the "headband" area of her head! (ear to ear)
Somewhere along the line I decided I was going to pull all of the "tails" from all these different ponies back to that first anchor ponytail. However, I knew that the hair from near her right ear wouldn't quite reach all the way (since that anchor ponytail was more toward the left side of her head.) So I needed a Step-Pony!
(This is the only step-pony in this style. You can see it's the one closest to her loose hair, and I'm holding the tail...)
Then I gathered together all the loose "tails" I had created (and tried to finger-smooth them out a bit) and brought them all back to that very first anchor pony!
Using a new elastic, I secured all those "tails" into one side ponytail! And that's it! (She got lots of comments on this style when we were at the store :) So apparently it was a hit!)
CURLS!!
(still wet from detangling, no product added)
Final 'Do :)
Senin, 15 Februari 2010
The Diamond 'Do
Now there's a spiffy name :) lol
Another variation of Step Ponies! I started by brushing her hair forward
I made a ponytail in the back- and one in the front
(I'm just holding that middle hair out of the way so we can see the two ponytails.)
Then I parted that middle hair. I also parted each ponytail in half. Then I made a new ponytail including all the newly parted strands - as you can see below :)
Sabtu, 13 Februari 2010
Combo Step Ponies
I don't have "how to" pictures for this one because it's ...well.... because I didn't remember to take them at the time! Oops!
It's a combination of Step Ponies and Weaving.
Enjoy!
Minggu, 07 Februari 2010
S Curves
For this one, I used the step pony idea, but made it swervy instead of straight. :)
(Step Pony in front)
(and curving! Notice in this picture, that how I've made the curves is to attach the "tail" hair into a new section of hair from the other side of her head - not directly behind like "normal".)
(And that's it!)
Sabtu, 02 Januari 2010
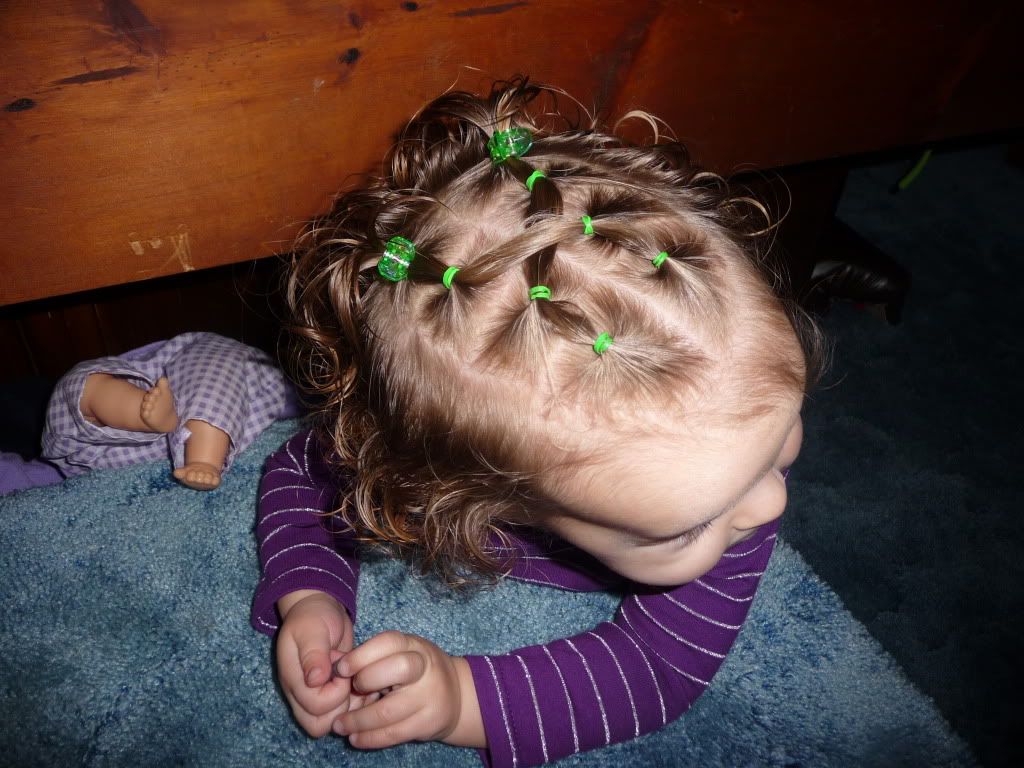
Zig Zaggy Pig-Tails
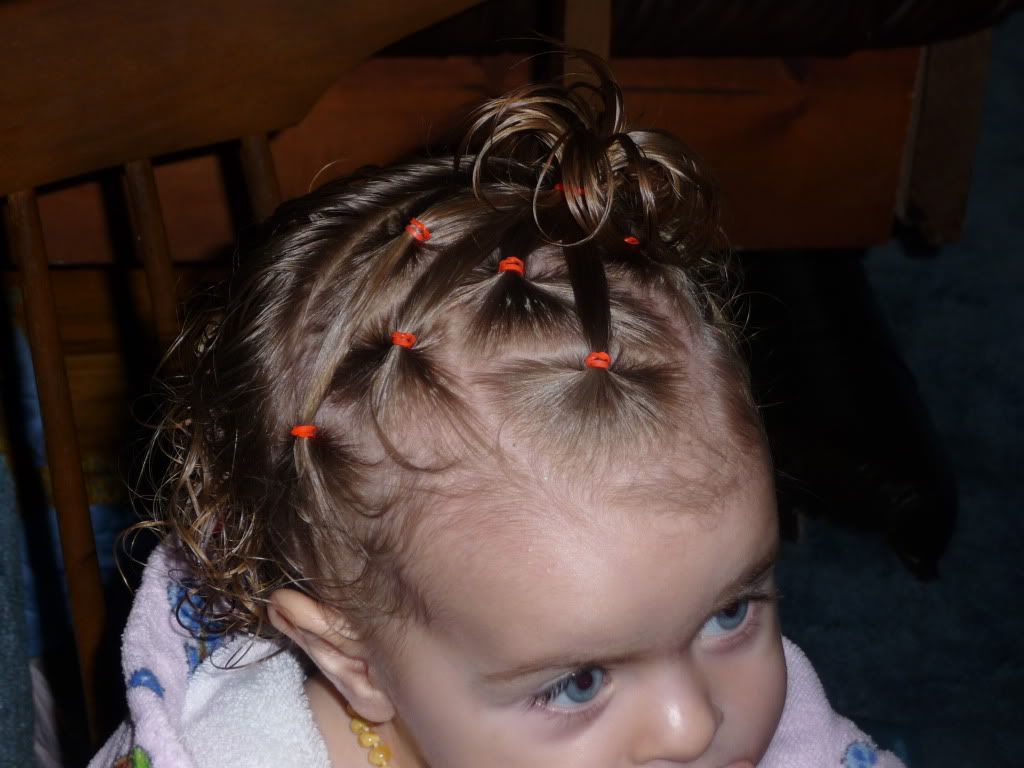
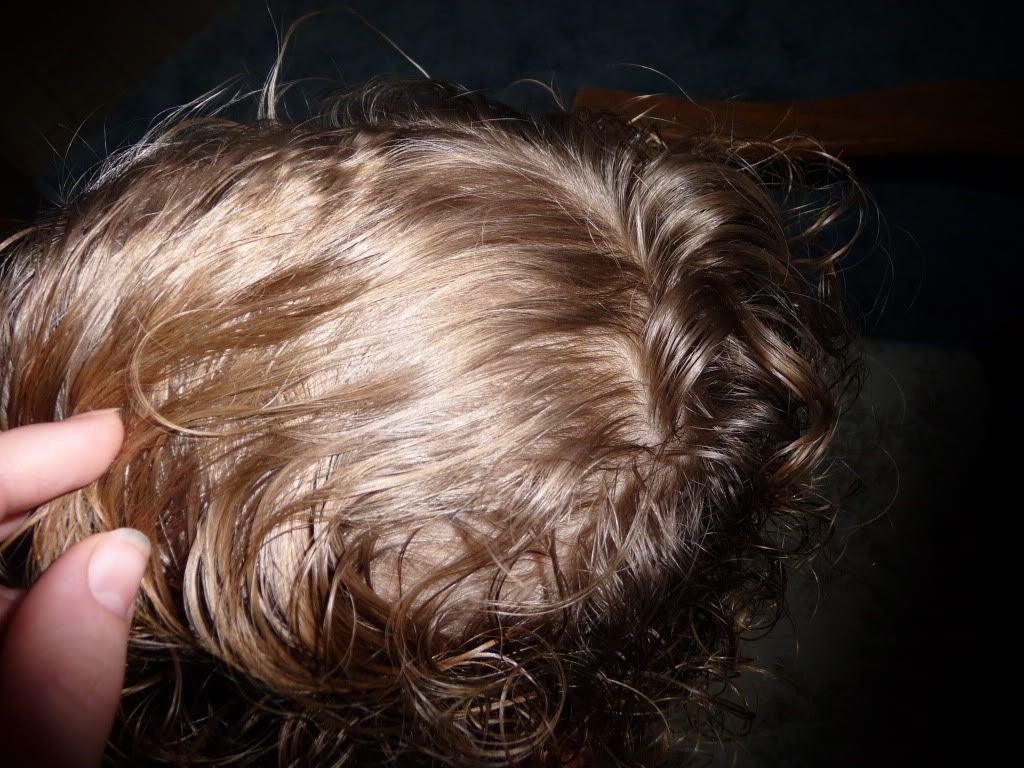
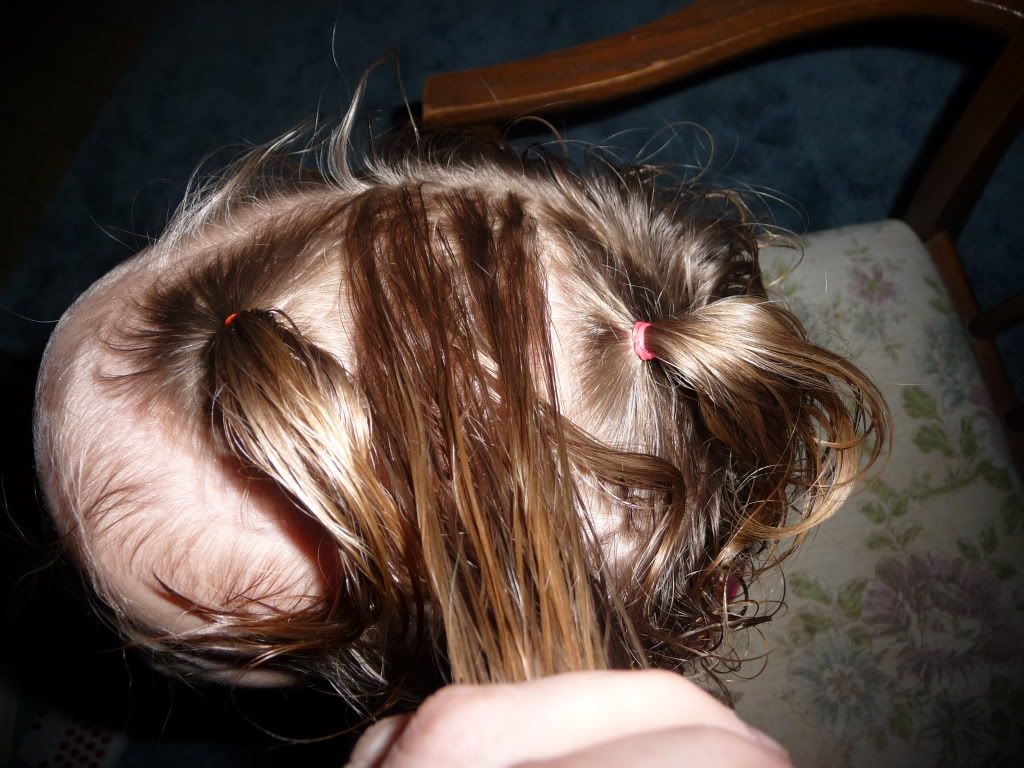
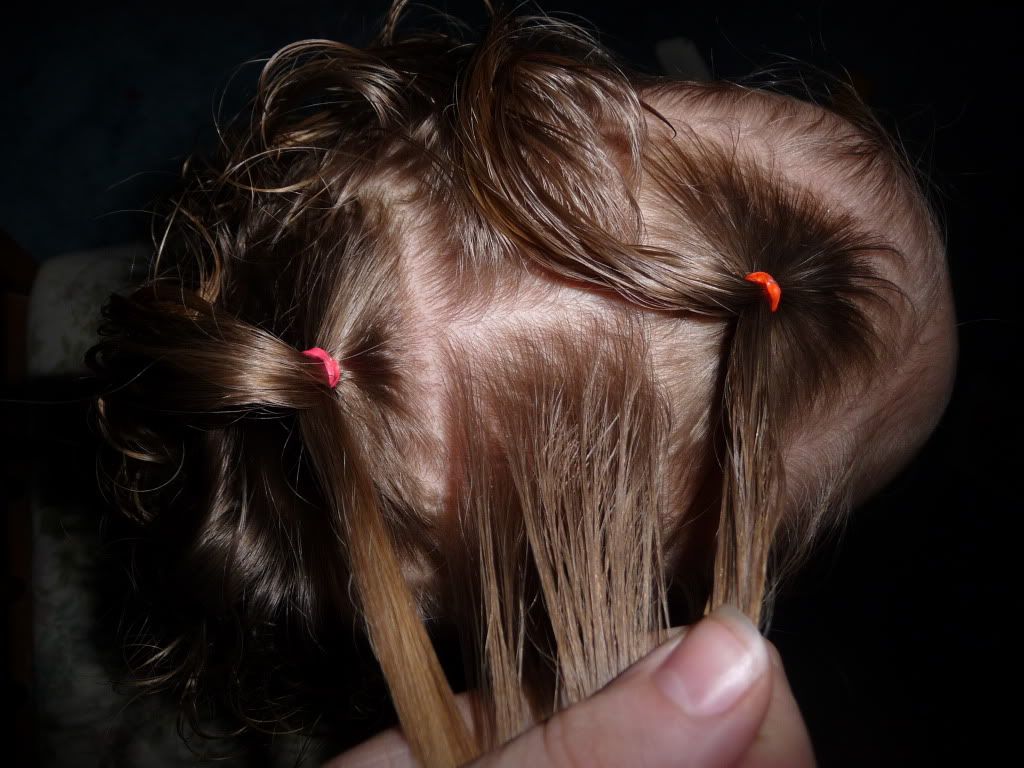
Because Q's hair isn't long enough to just do "normal" pigtails - I got to be creative. :) Basically I just gave her a zig zag part and then started adding little step-ponies. Do as many as needed until you have the hair all pulled toward the same place!
And that's it! I should have done another one under the piggie 'cuz the little hairs by her neck started falling out... but, oh well! Now we know for next time :)
Selasa, 29 Desember 2009
Zig Zag Variation of the Step-Ponies!
This is what we did yesterday - I didn't even take step-by-step photos (mainly because I forgot to!) but also because it's really just this - but with a zig zag part!
Selasa, 22 Desember 2009
Upside Down Step-Ponies
Here's a new one for us...
First, take up a section of hair starting just above the ear.
Then take a section just above it and add in the "tail" of the first one.
Now do that again! (Do this as many times as you want until you get to the top of her head.)
Then do it all on the other side!
And that's it! Congratulations!
First, take up a section of hair starting just above the ear.
Then take a section just above it and add in the "tail" of the first one.
Now do that again! (Do this as many times as you want until you get to the top of her head.)
Then do it all on the other side!
And that's it! Congratulations!
Senin, 21 Desember 2009
Quick and Easy Woven Piggies
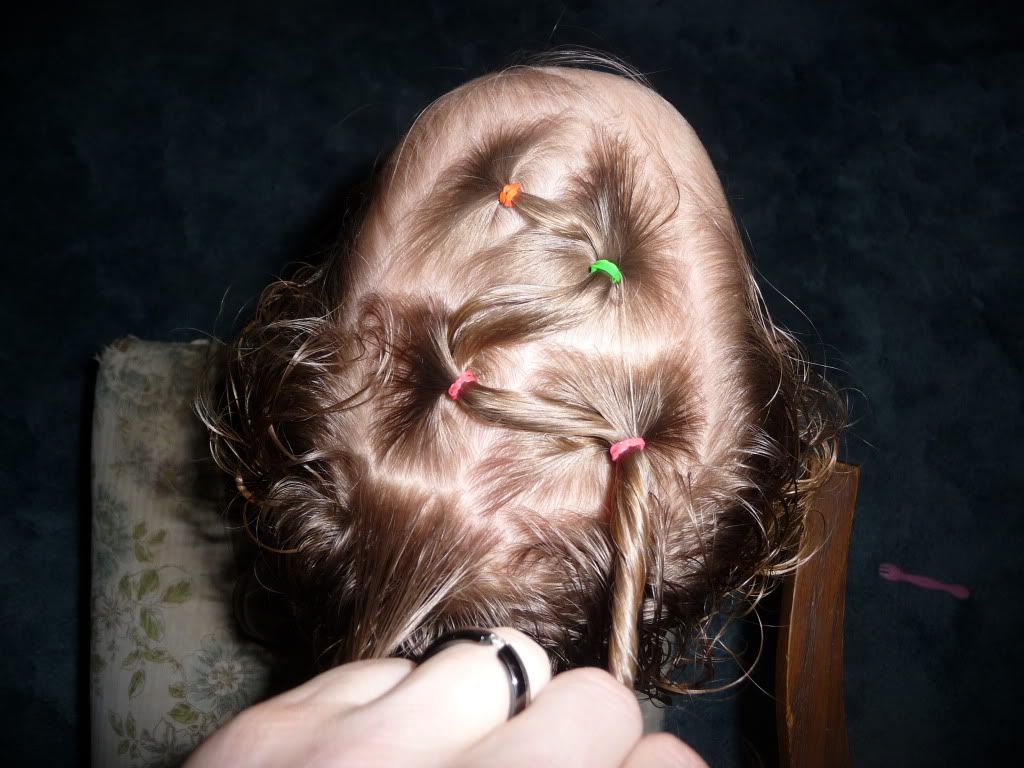
I love this one for it's simplicity! (Ok, it took me awhile to get it "quick" but after two or three times doing it - you'll see what I mean! It's pretty much just Step-Ponies gone crooked. :) )


First I get Q's hair thoroughly wet and comb out all her curls. (I've read that it's best to comb out curls while the hair is wet because it's more fragile when dry and more likely to get damaged. However, feel free to style your kiddos hair wet or dry! lol I've just found that wet hair works best for us...) I like to keep my fingers between the comb and her head and kinda pinch the hair so that if it tugs, it's not tugging on her poor little head! Also, if you have long hair - make sure to start at the ends and work your way up.
Then I put in two little piggies near her forehead...
Then section off the next piggy to be directly behind one of the first two... as you put in the elastic, add the hair from the piggytail ACROSS from it! Like this...
Then do the same on the other side!
And that's it! You're done!
Of course you could always add some claw clips or other fancier accessory if you wanted to :)
p.s. I have to say a GREAT BIG Thank You to Rebekah for first teaching me this style and giving me the encouragement and interest to learn more! THANK YOU!
Langganan:
Postingan (Atom)