Tampilkan postingan dengan label smocking. Tampilkan semua postingan

Senin, 15 Februari 2010

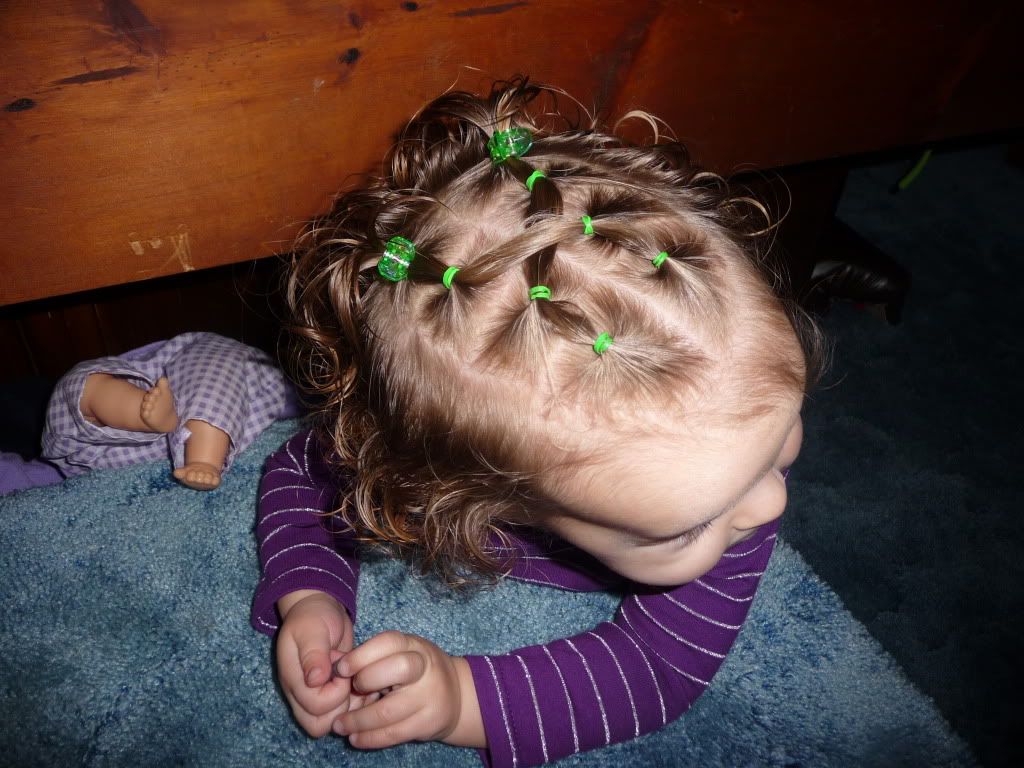
The Diamond 'Do

Now there's a spiffy name :) lol


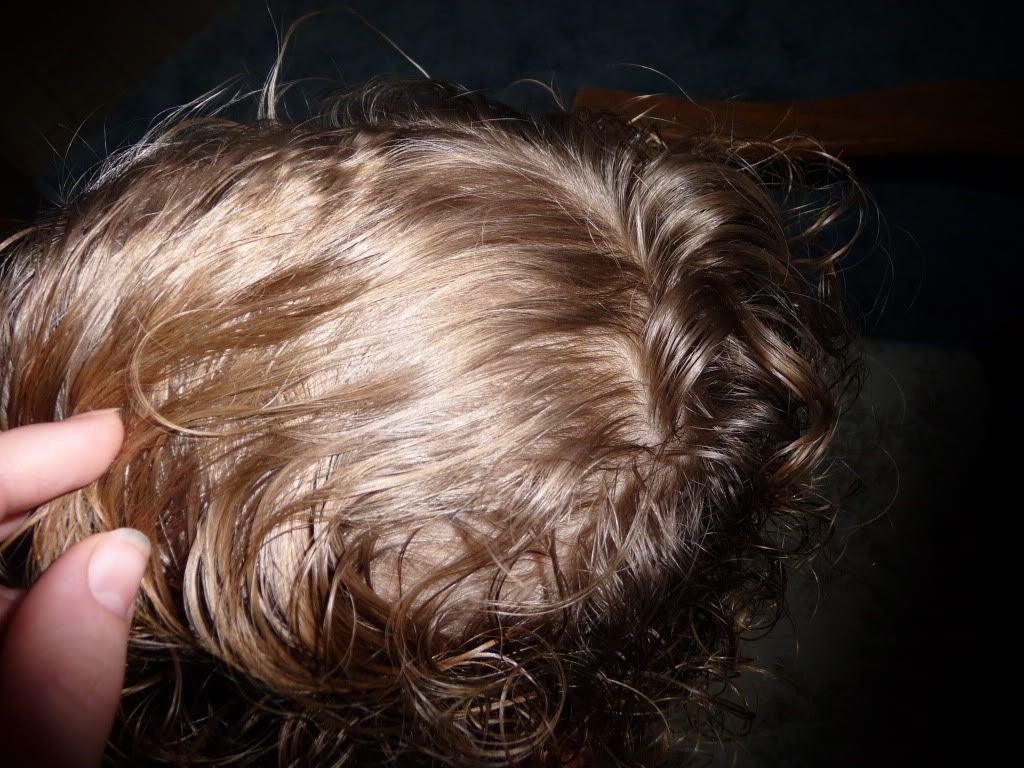
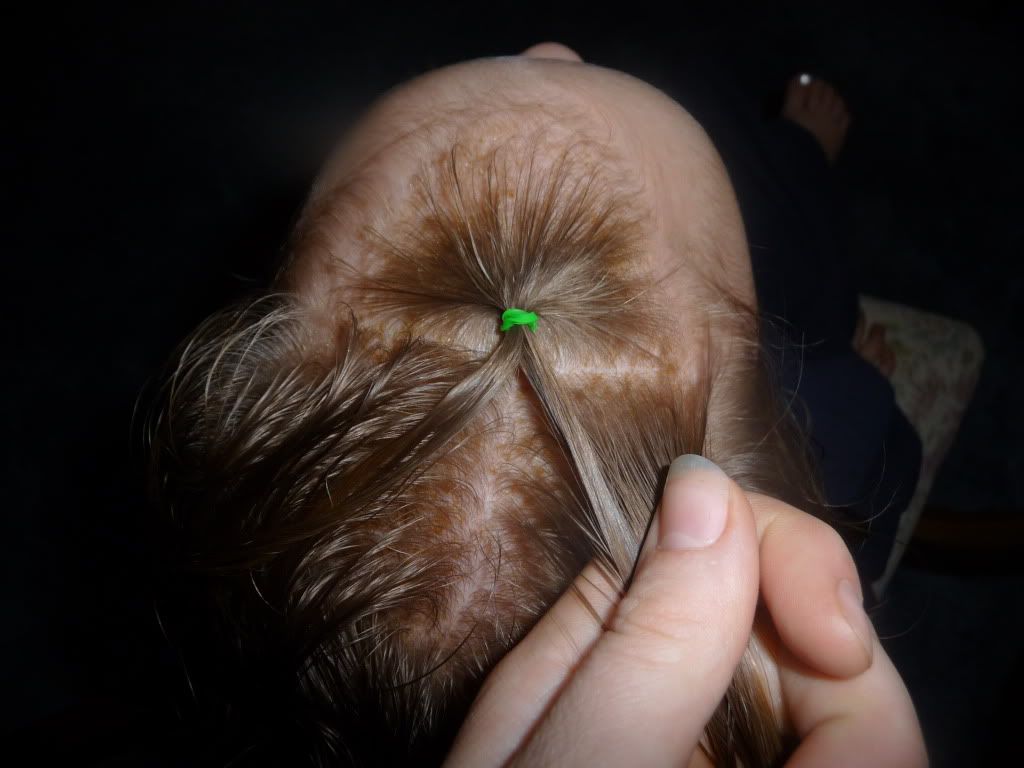
Another variation of Step Ponies! I started by brushing her hair forward


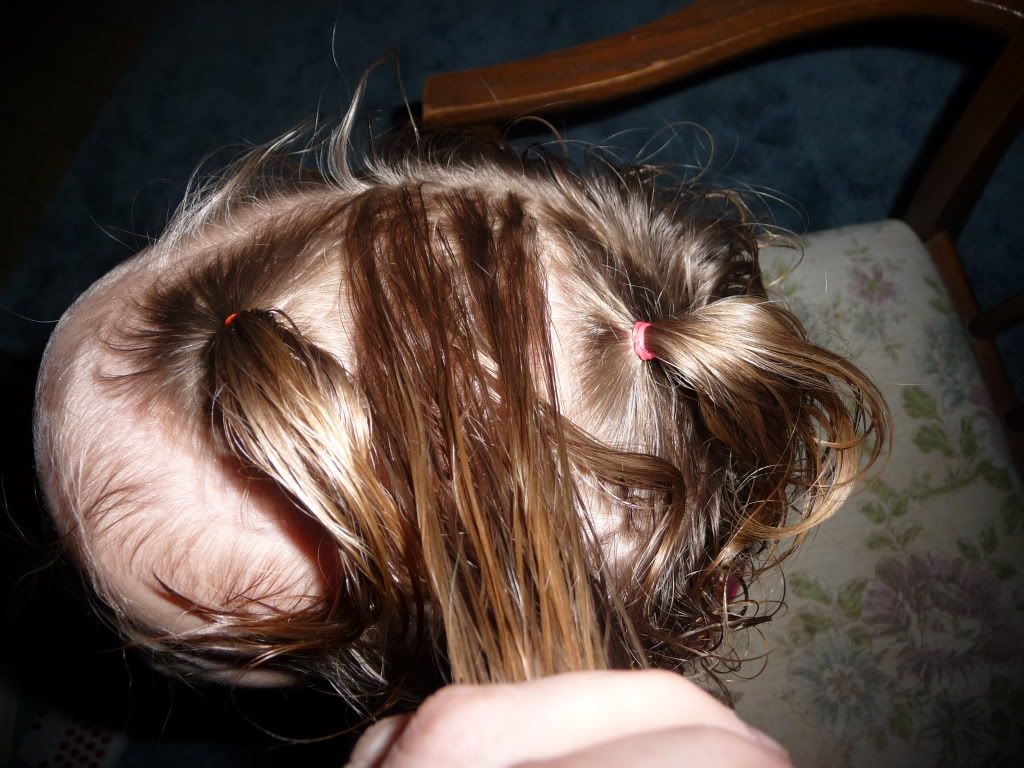
I made a ponytail in the back- and one in the front


(I'm just holding that middle hair out of the way so we can see the two ponytails.)

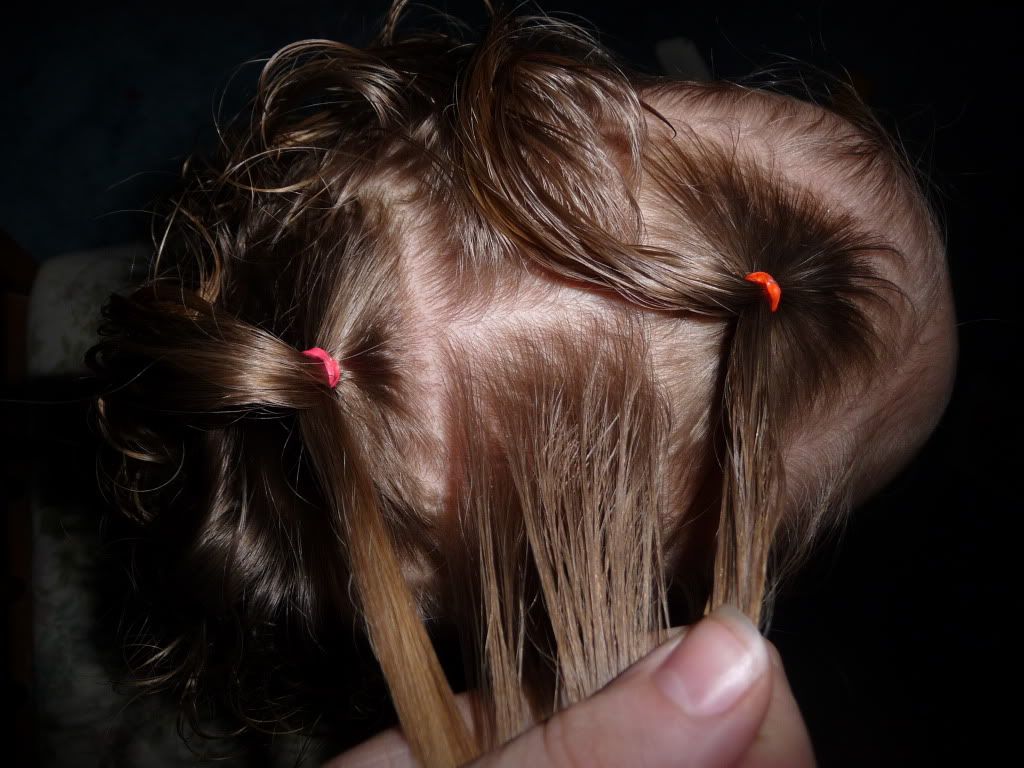
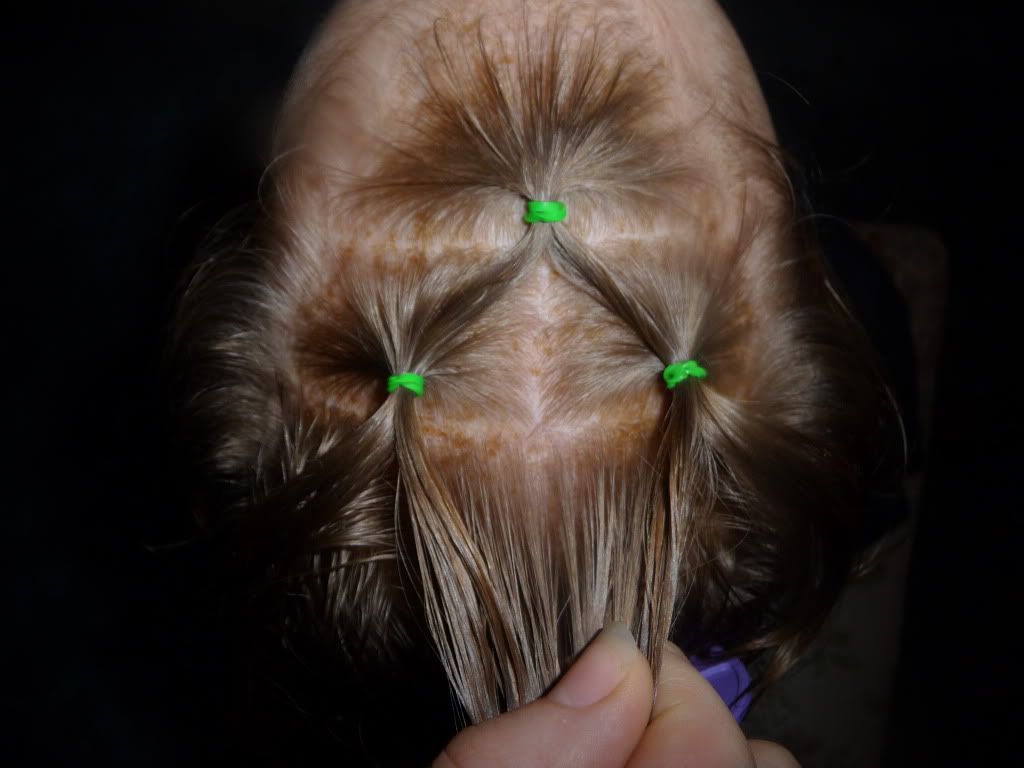
Then I parted that middle hair. I also parted each ponytail in half. Then I made a new ponytail including all the newly parted strands - as you can see below :)


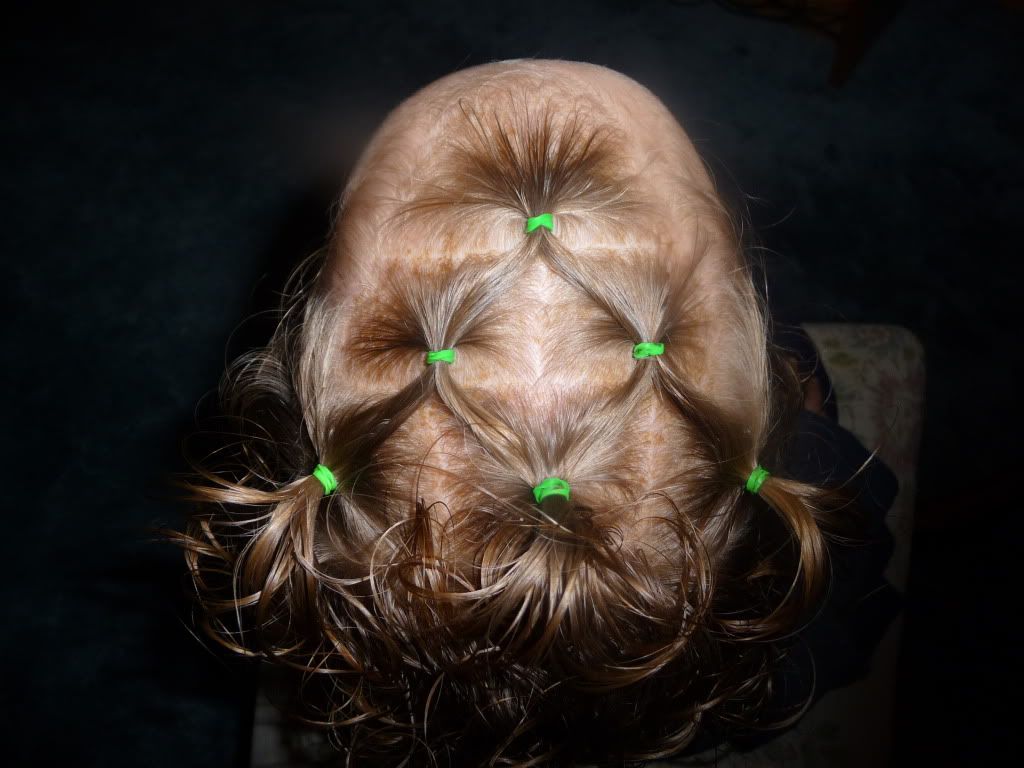
Then I did the same on the other side and ended up with a diamond shape!
 

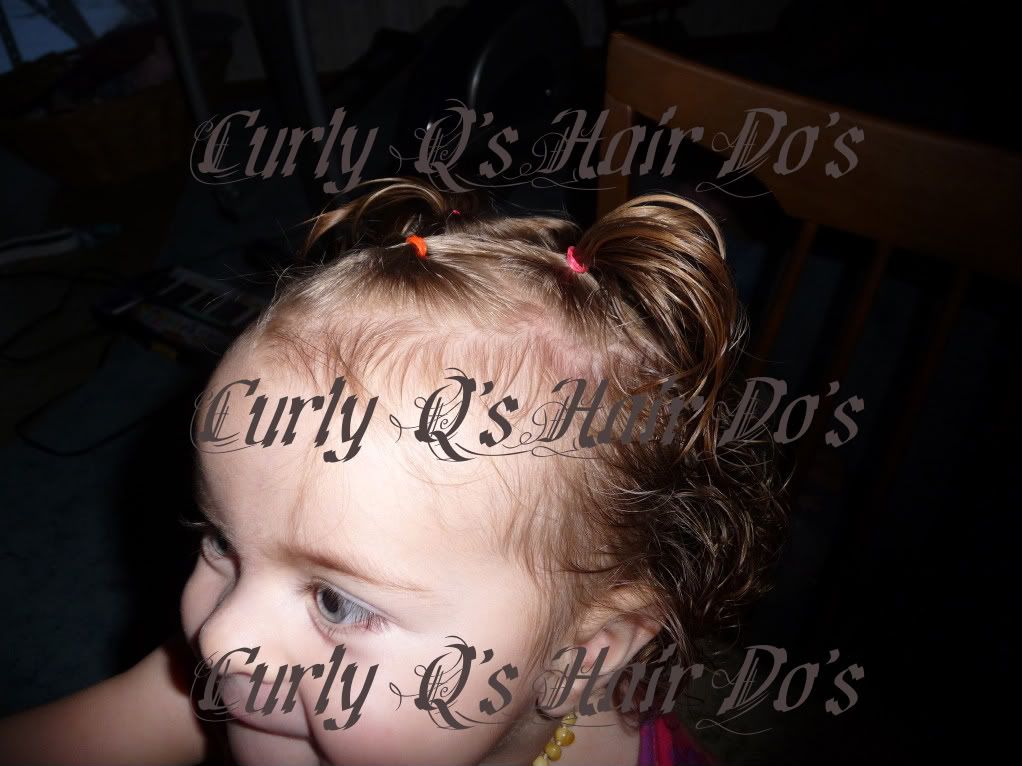
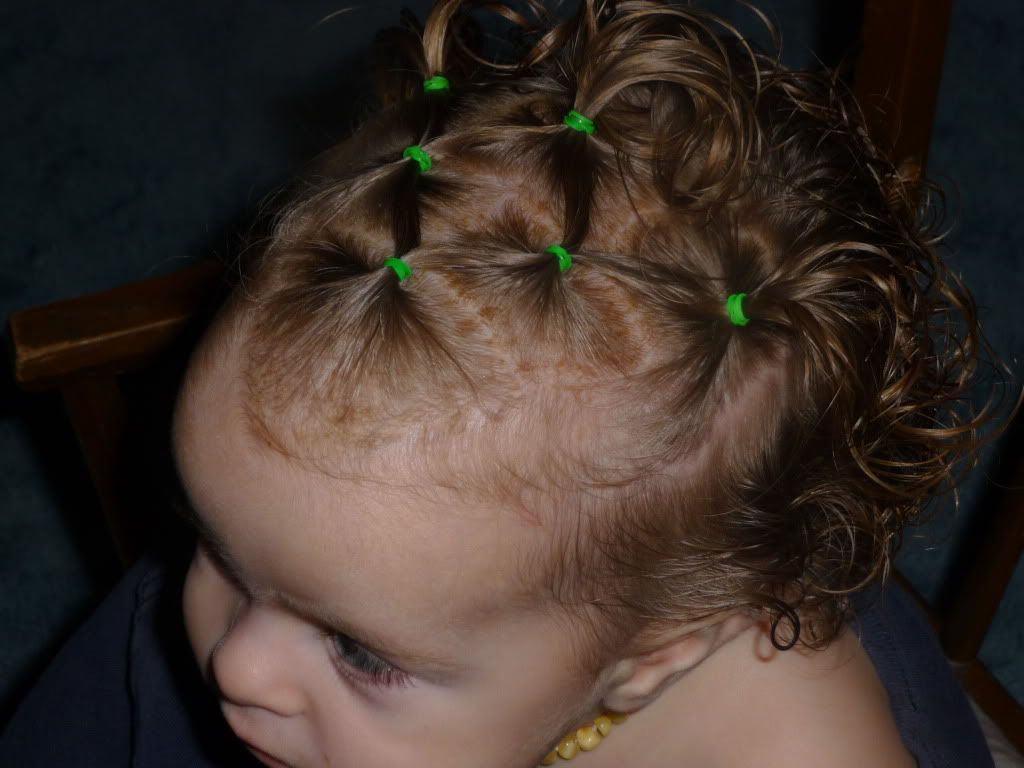
and from the front ...


A cute new way to jazz up the "two piggies" look :) What do you think?

Sabtu, 13 Februari 2010

Combo Step Ponies

I don't have "how to" pictures for this one because it's ...well.... because I didn't remember to take them at the time! Oops!

It's a combination of Step Ponies and Weaving.

Enjoy!

Kamis, 31 Desember 2009

Duo-Trick Headband

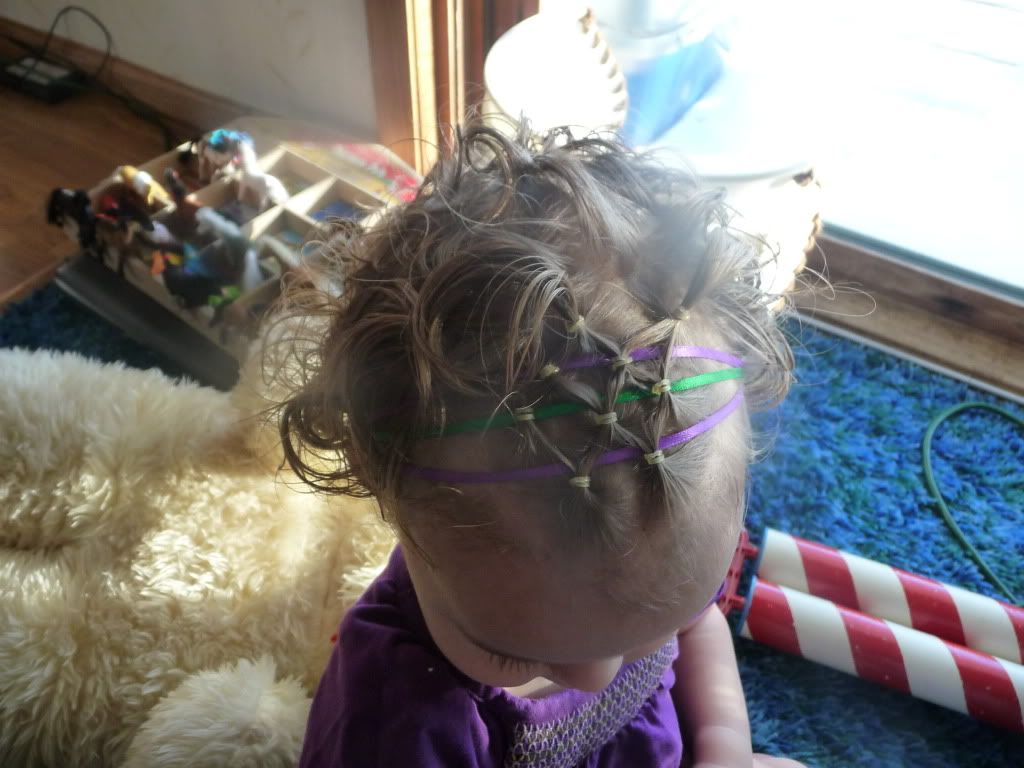
I'm really excited about this one! I really like the "hair headband" ideas for keeping Q's hair out of her eyes, yet letting her curls hang free :) Plus the back isn't really long enough to do much with it yet. I found the ideas for today at another great hair blog (Babes in Hairland) and I'm combining this one and this one, and smocking, too!


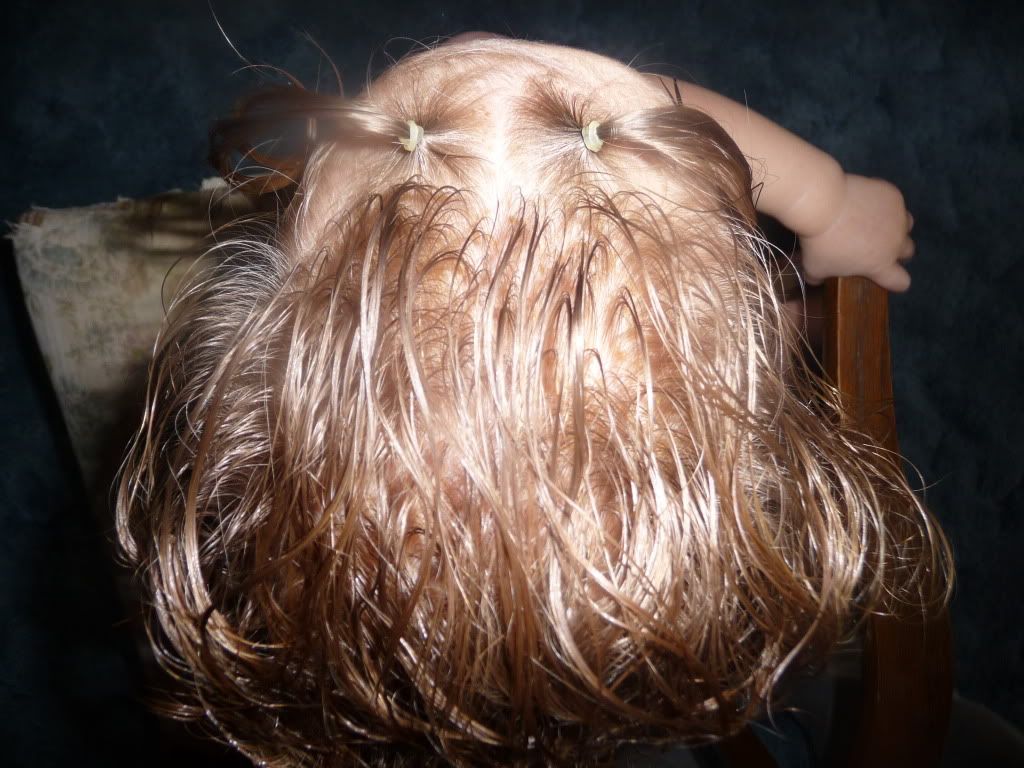
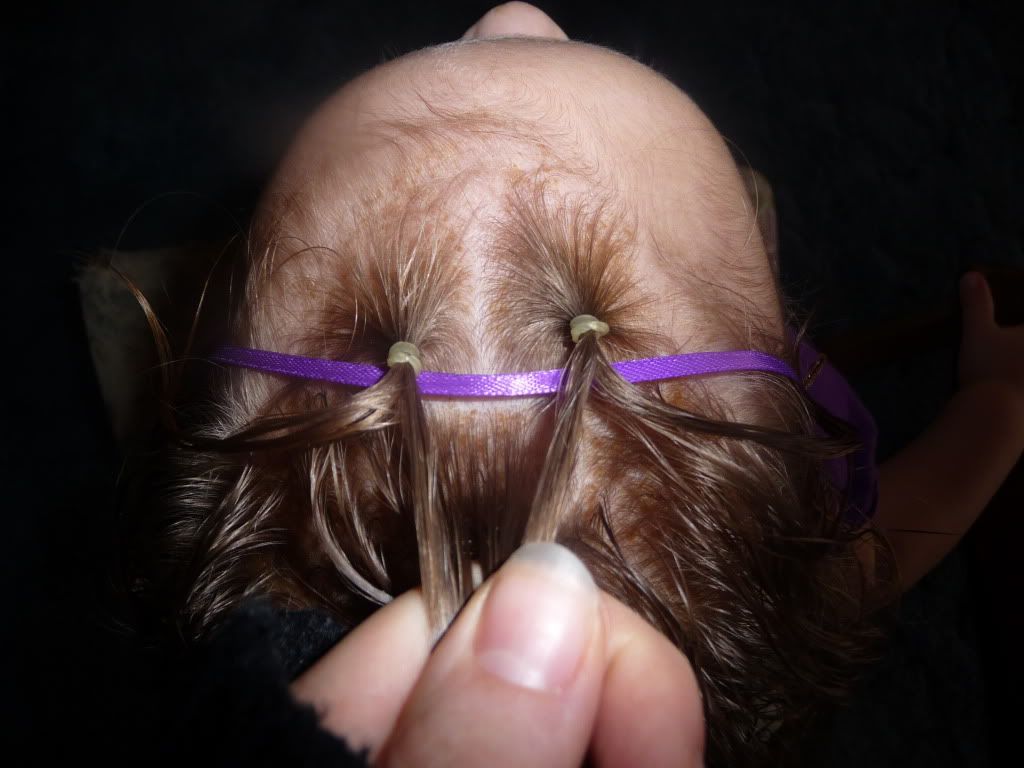
First I made two little tiny ponytails in the front of her hair...


Then I flipped them forward and laid a ribbon just behind them.


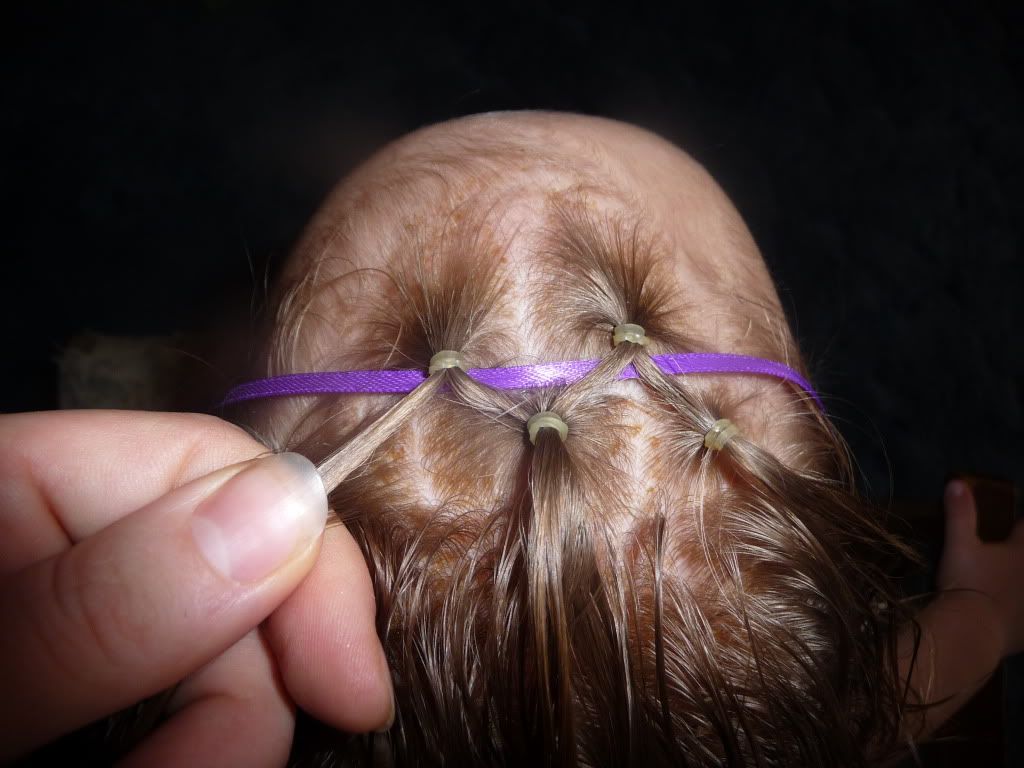
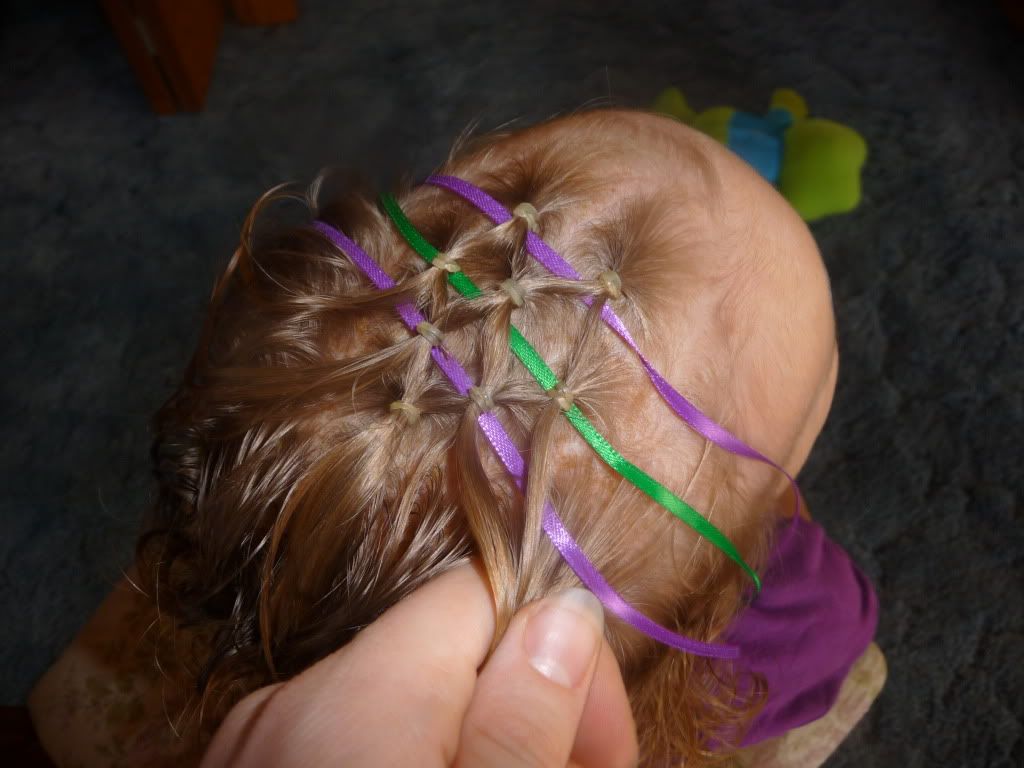
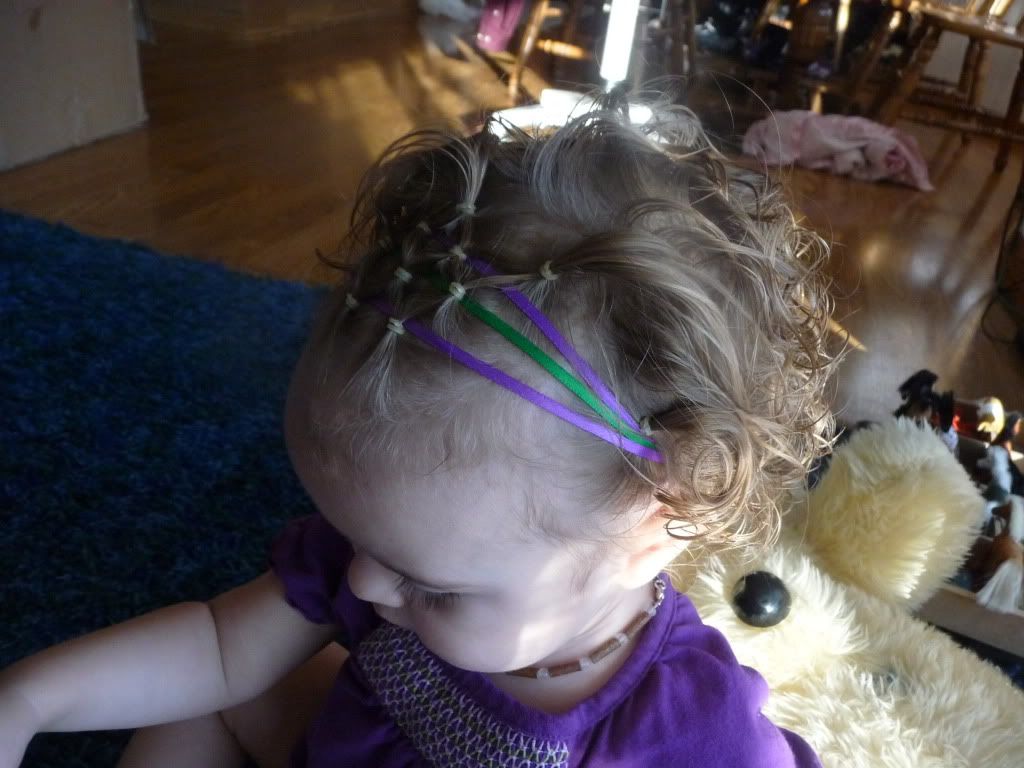
Next, I started "smocking", gathering a ponytail on the other side of the ribbon and placing half of each "tail" into it as well.

I made 3 new little ponies behind the ribbon...adding the previous "tails" in as I went ...


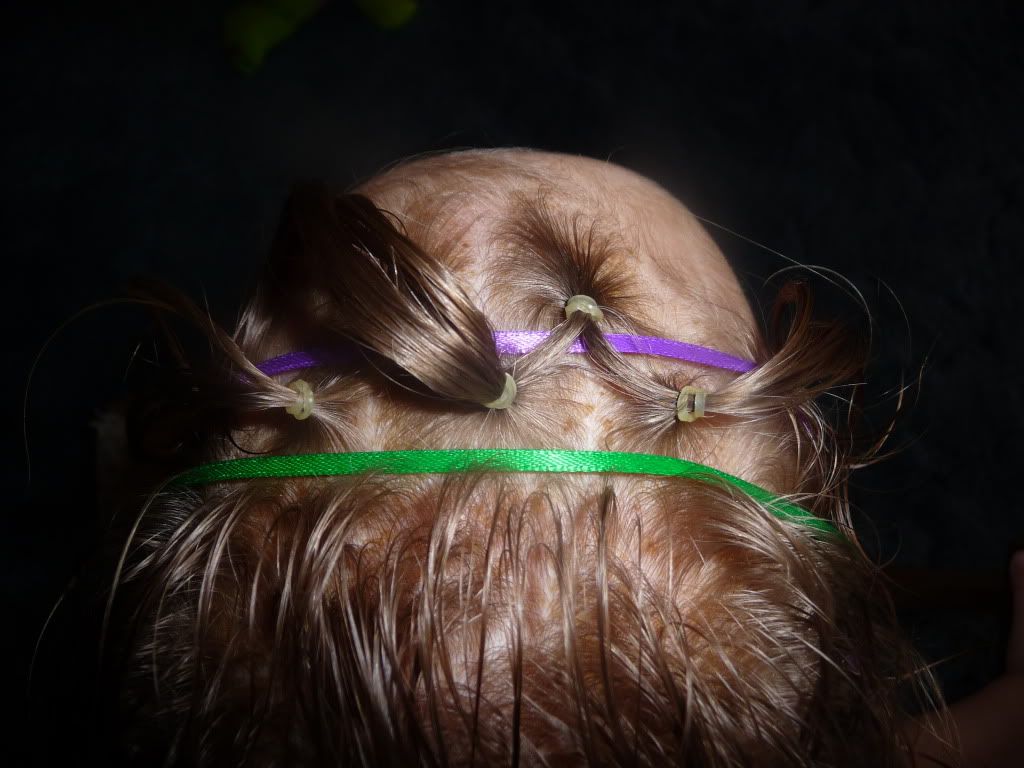
Then I flipped them all forward and laid in another ribbon. (I like the thin ribbons in Q's hair because she's so young and little, and therefore has a small head! - and the ribbons are smaller and daintier than a big thick ribbon. I'm sure I'll love those too, when I try them, but for now I like the thinner, more subtle look.)


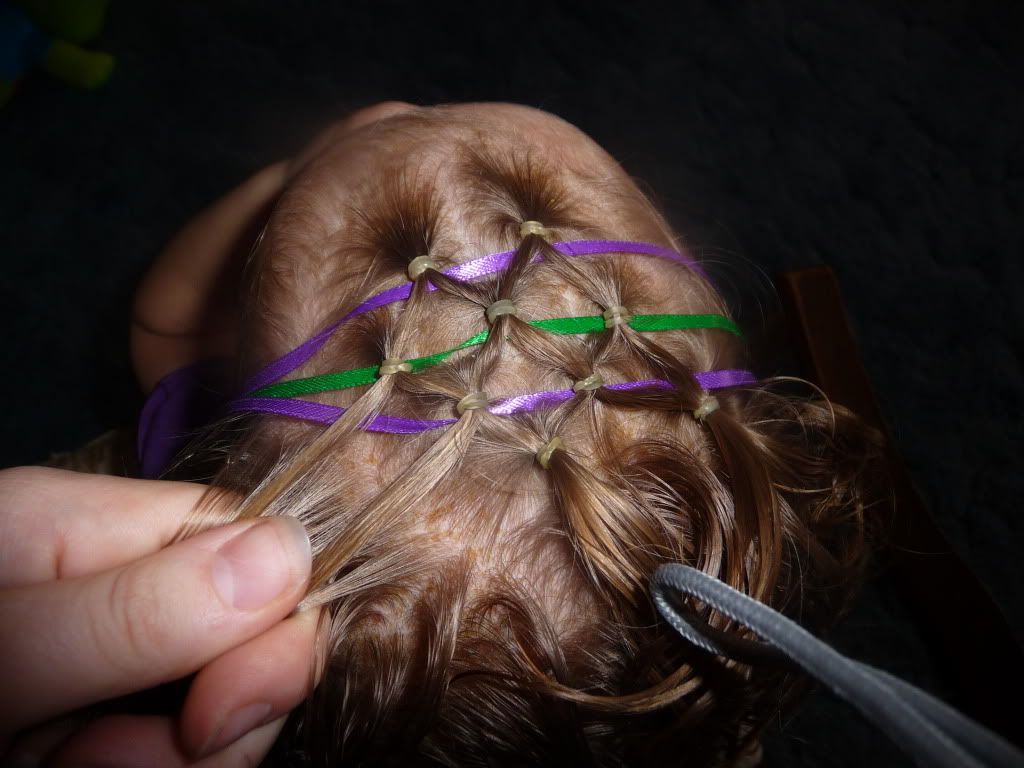
Then I just continued as before. Adding half of each "tail" to a new little pony...

 
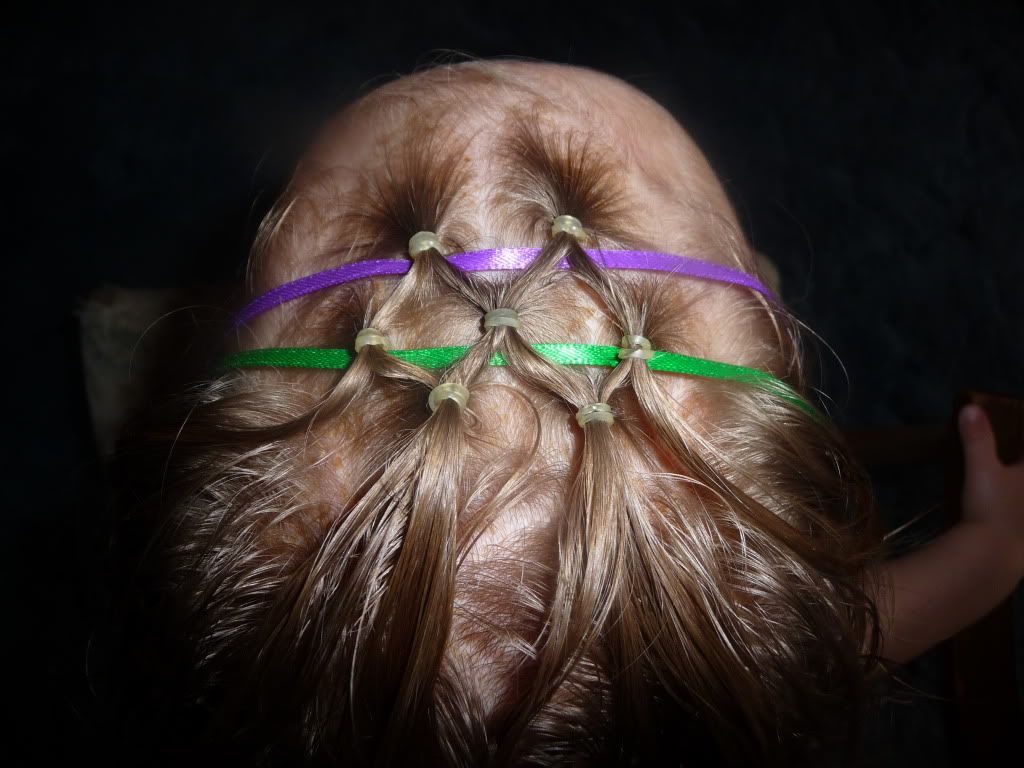
Add the third ribbon and continue as before! (This isn't an exact science, as you can see, I didn't do each row exactly the same, etc. Just do what seems right! Q didn't really have enough hair on the edge to put that 3rd and 4th smocking into the third row, so I just left it until after the ribbon was in - then it could be pulled back further where there was more hair! ...did that make any sense?! lol)

and the other side...


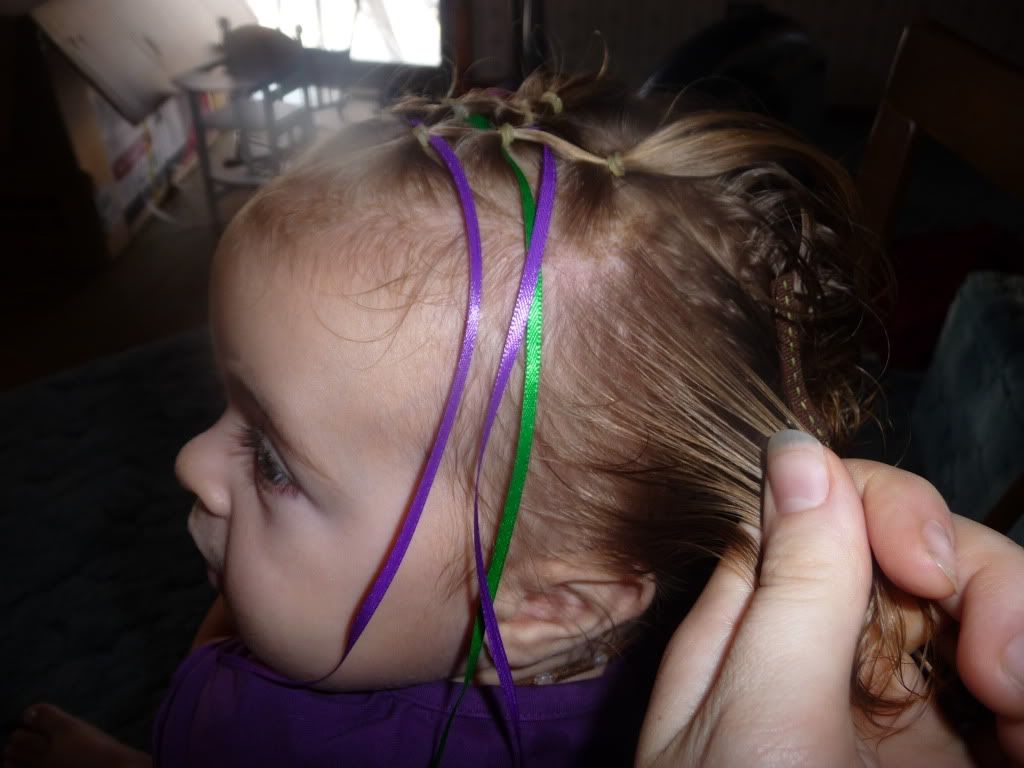
Because Q doesn't have much hair on the sides I didn't try to continue the smocking down that far, but I did think it would help the ribbon stay to get that hair back a bit... so I added one elastic to each side...


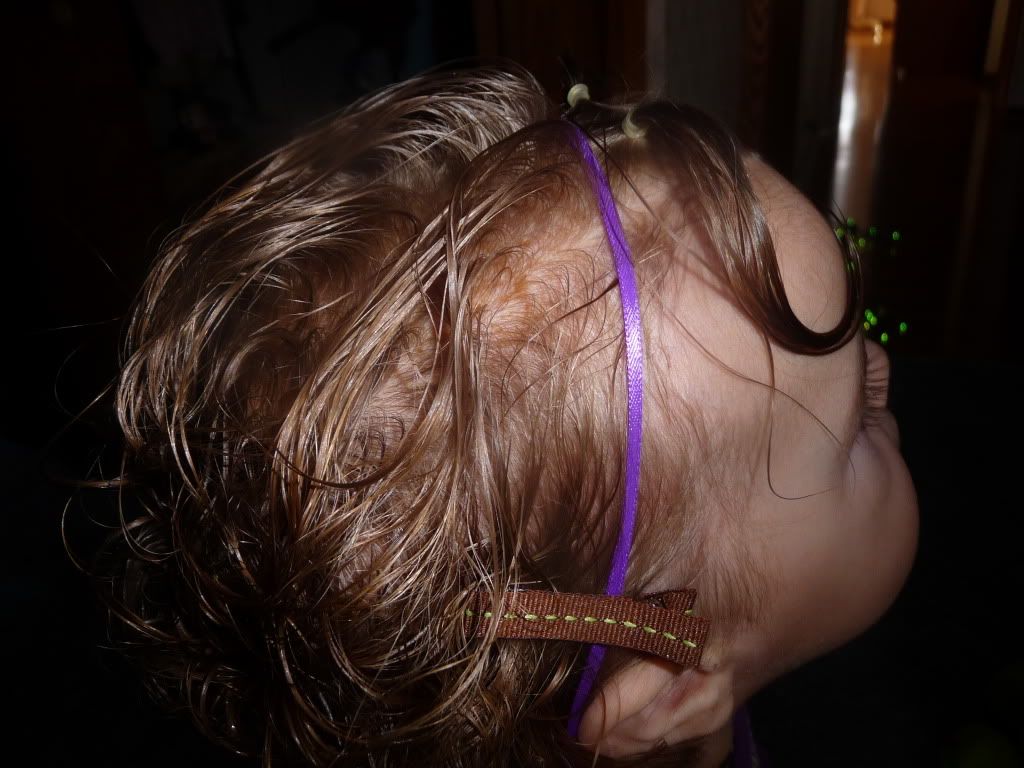
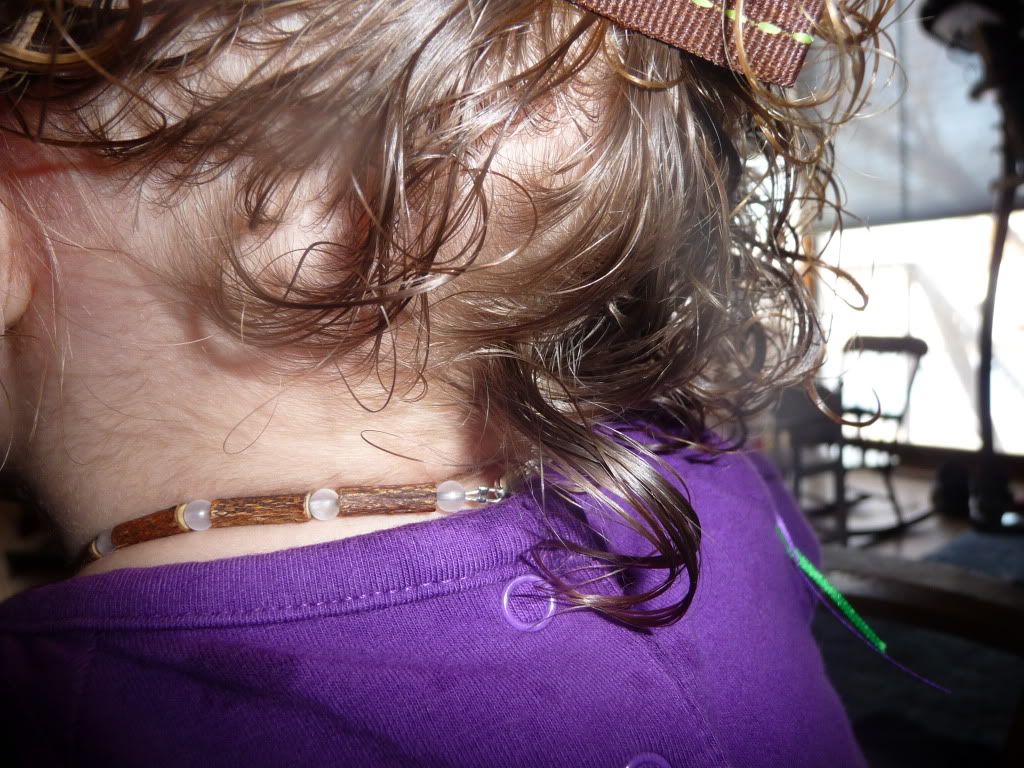
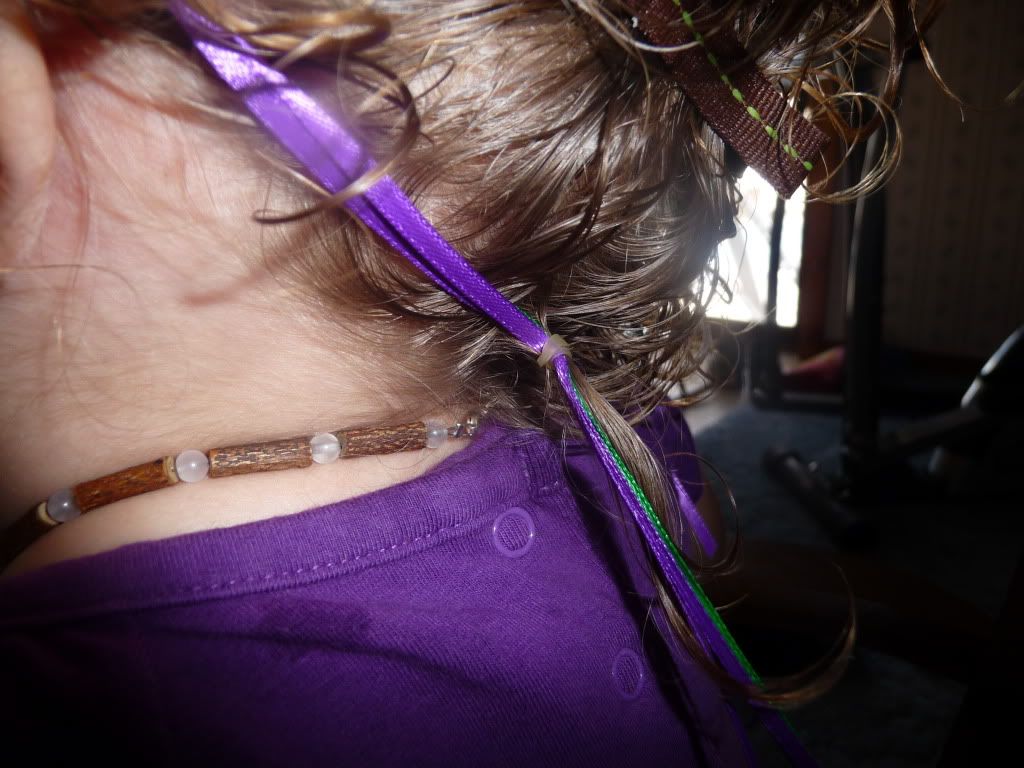
THEN... for the ends of the ribbons that you have just hanging around.... find a piece of hair underneath in back and make a little "anchor" ponytail down there, that you put the ribbon into as well. This will keep the ribbon nice a snug and just where you want it all day! (In our case, that included a 3.5 hour nap!)


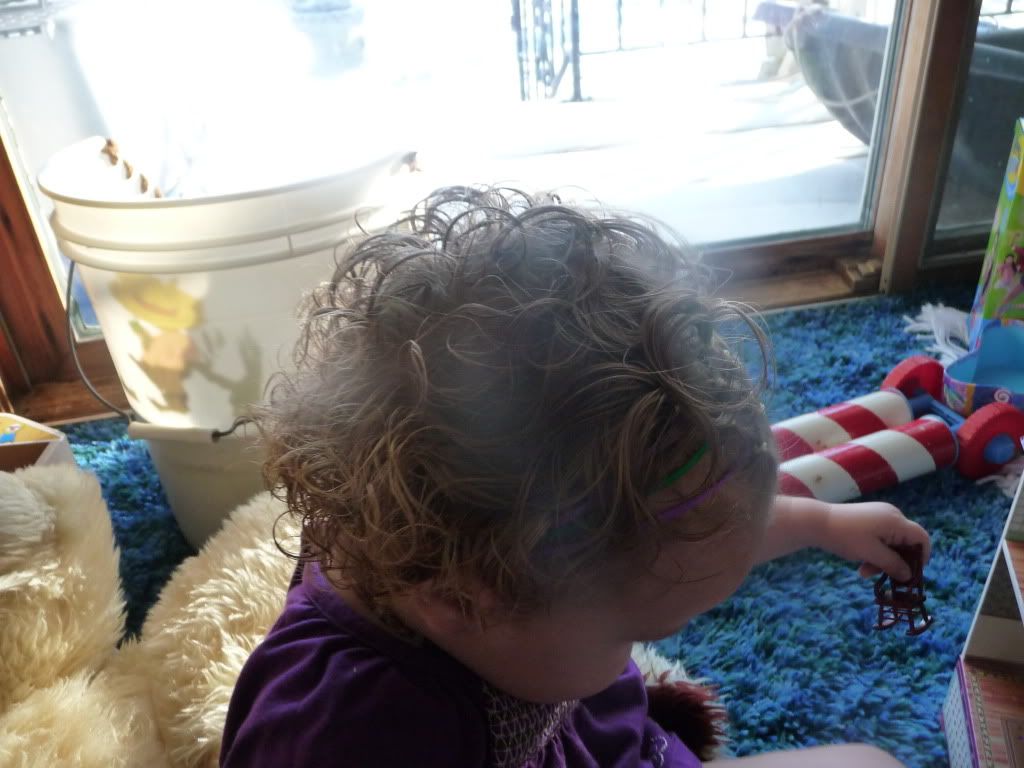
Do that on each side, then tie the ribbons together under the head ... and you're done! (and at this moment, my camera battery died, so I had to take "finished" pictures later - while Q was playing in front of the big window, so sorry for the picture quality!)


I hope you like this one as well as I do! I'm hoping it will stay in for tomorrow, too. :)

Rabu, 23 Desember 2009

Christmas Tree

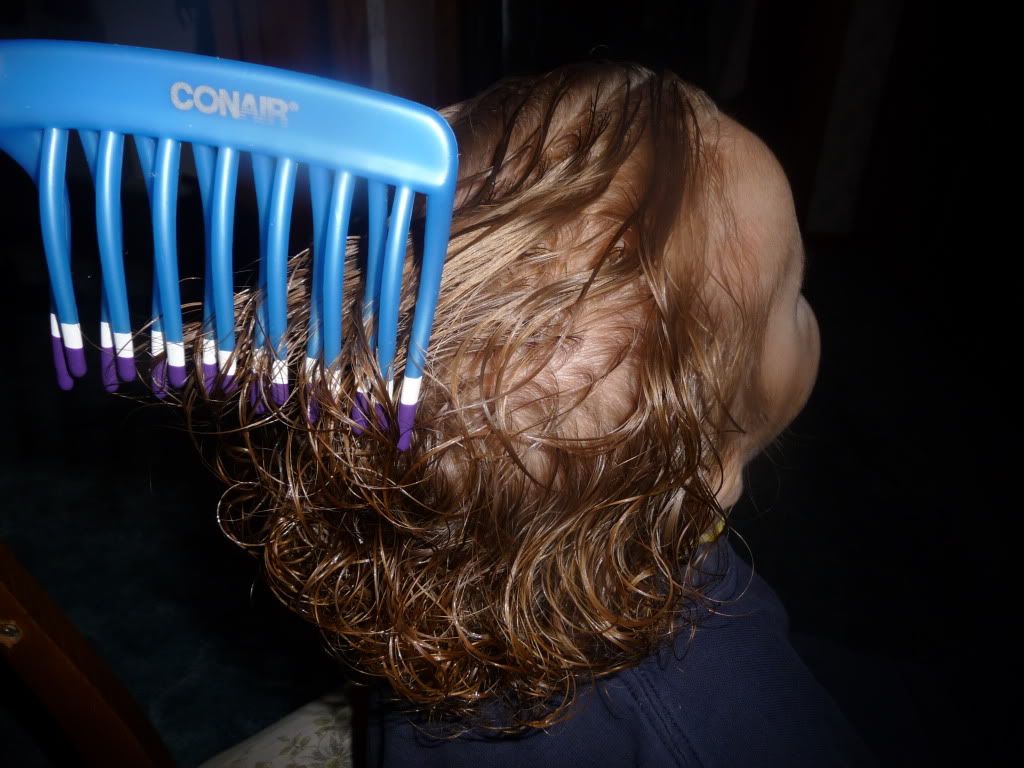
First, I brushed out Q's curls with a wide tooth comb (wet hair, of course!)


Then starting near her forehead, I put in one small ponytail, and divided the "tail" into two parts...


Add each "tail" to another little ponytail (offset from the first one - not directly behind it)


So... the first "row" has one ponytail...the second row has two... the third row will now have 3! (and so on if you want to keep going!)


I like this one for anytime of year - but I think it looks especially "Christmas-y" with the green elastics.


For the inspiration for this one, look here!

Senin, 26 Oktober 2009

smocking with a twist

Today Is Baby mermaids 8th birthday and so we thought that we would do something special, It took about 20 min but I think that with some practice we could cut some time off that! It was fun to sit and talk about why she is important to our family and why we love her so I didn't mind the time! We parted her hair into pigtails and pulled one side out of the way, then we parted out the very front, split it in two and then put that in Little pigtail, then we parted out the next section and pulled the front to pigtail back and twisted them and them hooked them into the pigtails on the same side,
Here is me half way done with the first side I think that we did 6 sets back to the base of her neck and then hooked the four little pigtails together to make two pigtails!

Here is the other side

From the front with cheese!

and the back with bows of course!

Kamis, 18 Juni 2009

knotty ponytail

The little Princess wanted something easy and so did I because we had been cleaning my desk all moring, so this is what we came up with! we made 5 little ponys across the front of her head and then we used the Topsy tail to pull them through to make little knots


Then we started on the second row making our parts in between the other row (so they are offset) then splitting the tails from the other row hooking them into a pony, to "weave" the hair into the second row.


Then we pulled the back part into a pony


Now we took 1/2 of the tails and hooked them with elastic 1/2 way back to the pony.


Then we took all the tails and hooked them into the pony with a second elastic!


and you are done! (after adding a bow)
From the front!


and the side