Tampilkan postingan dengan label cornrows. Tampilkan semua postingan

Sabtu, 12 Juni 2010

Creative Cornrows for Short Toddler Hair!


Here's a hairdo for those days you want all the hair up! This one worked well for us even though Q's hair is still quite short (too short to put into one ponytail). 

A style like this is also nice for adding some extra moisture (add some coconut oil or shea butter as you style it and the hair has a nice long time to soak it up) or protein to the hair.
Braids also can protect little wispy hairs or curls from getting as matted and tangled, and that is good for hair health as well as easy of styling! :)

Now for the hairstyle! ...

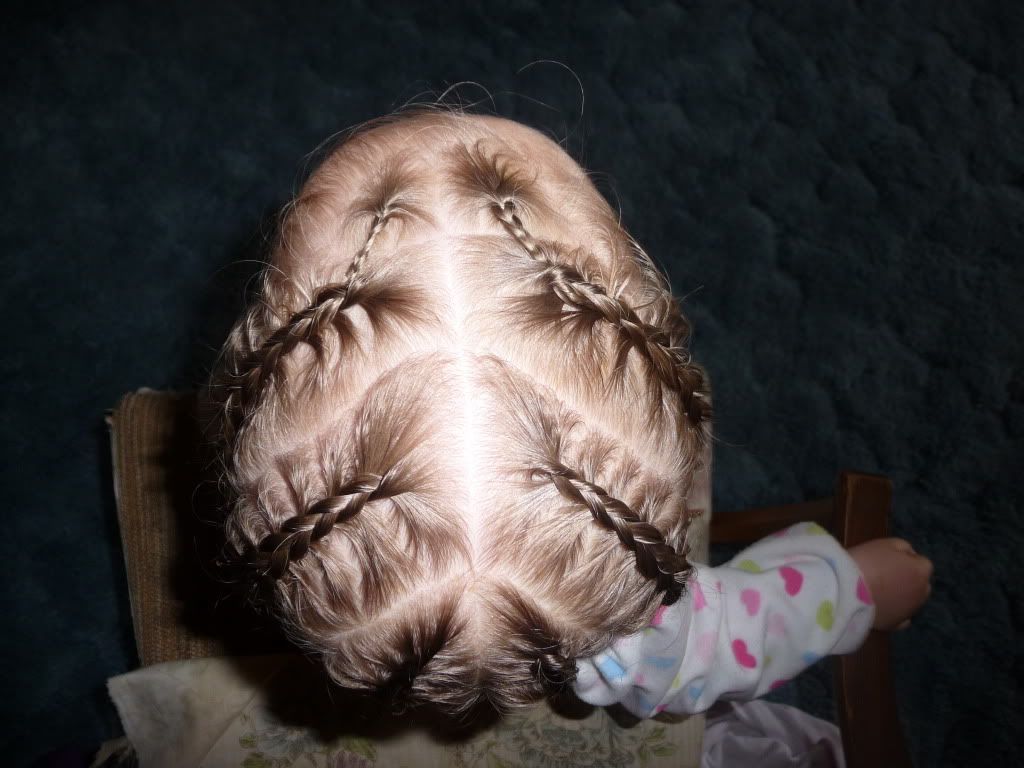
First, I sectioned her hair into 4 quadrants and made temporary ponytails in each.
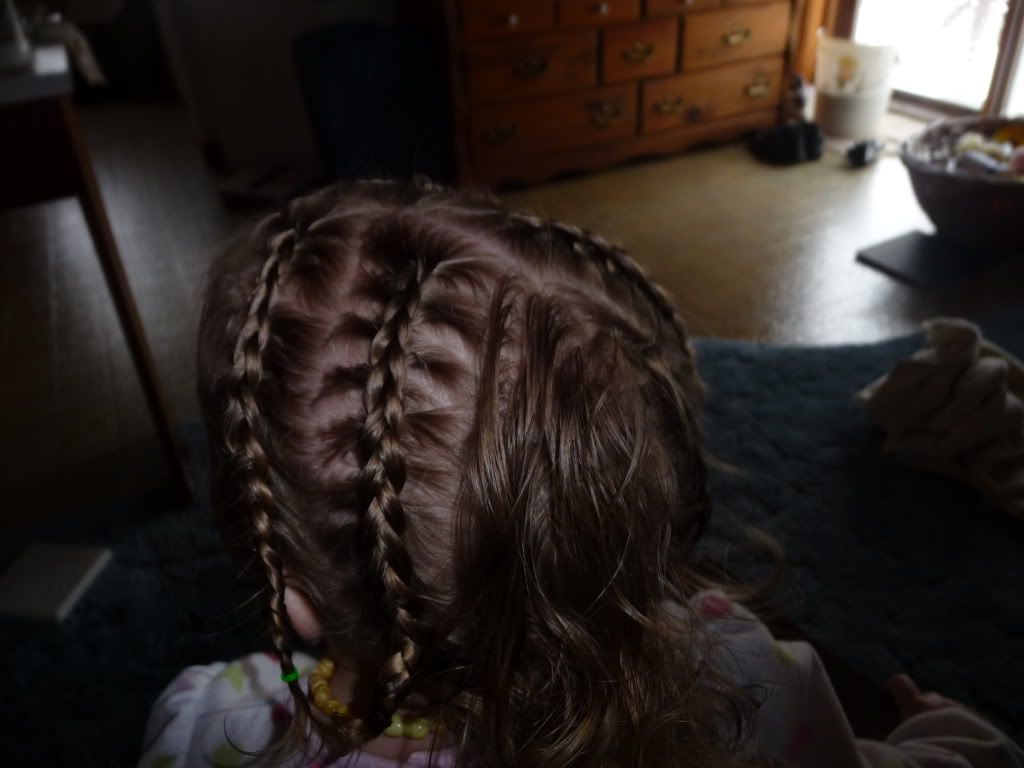
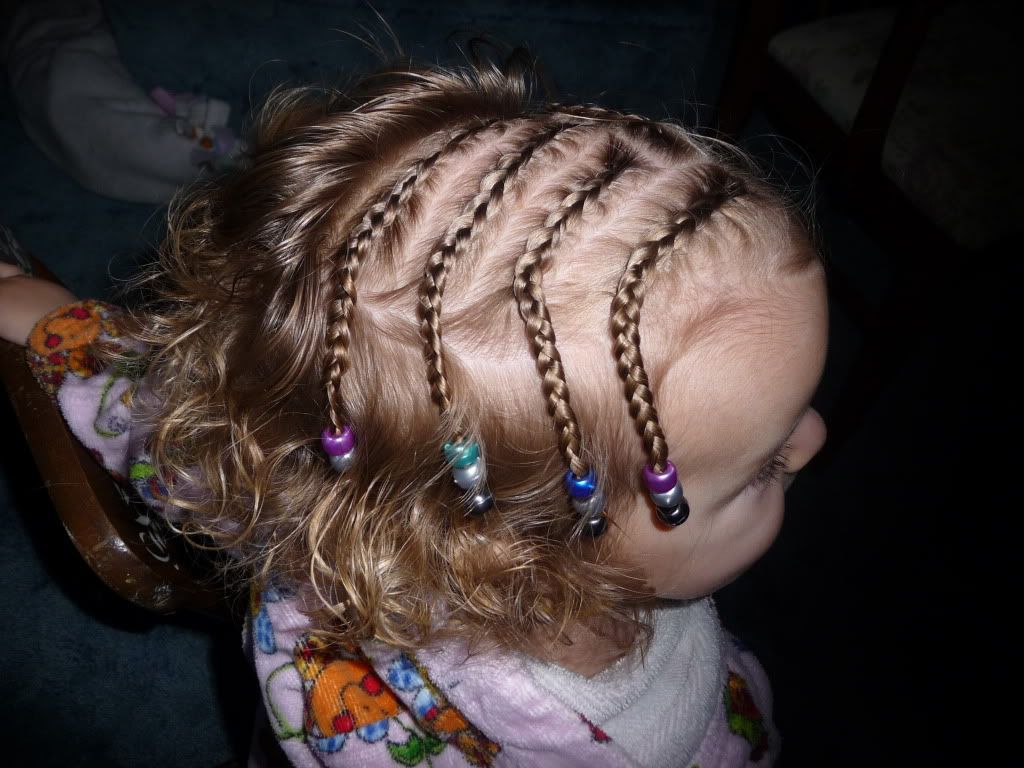
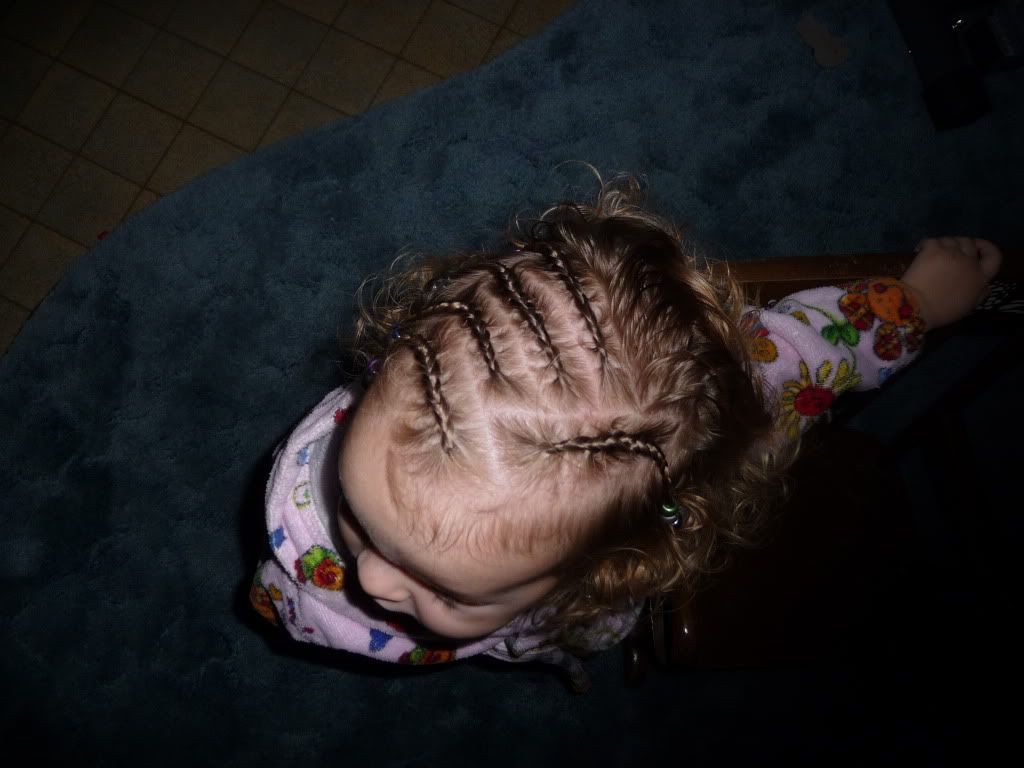
Then I started braiding (cornrowing) towards the center of her head.

(getting ready to do the third braid!)

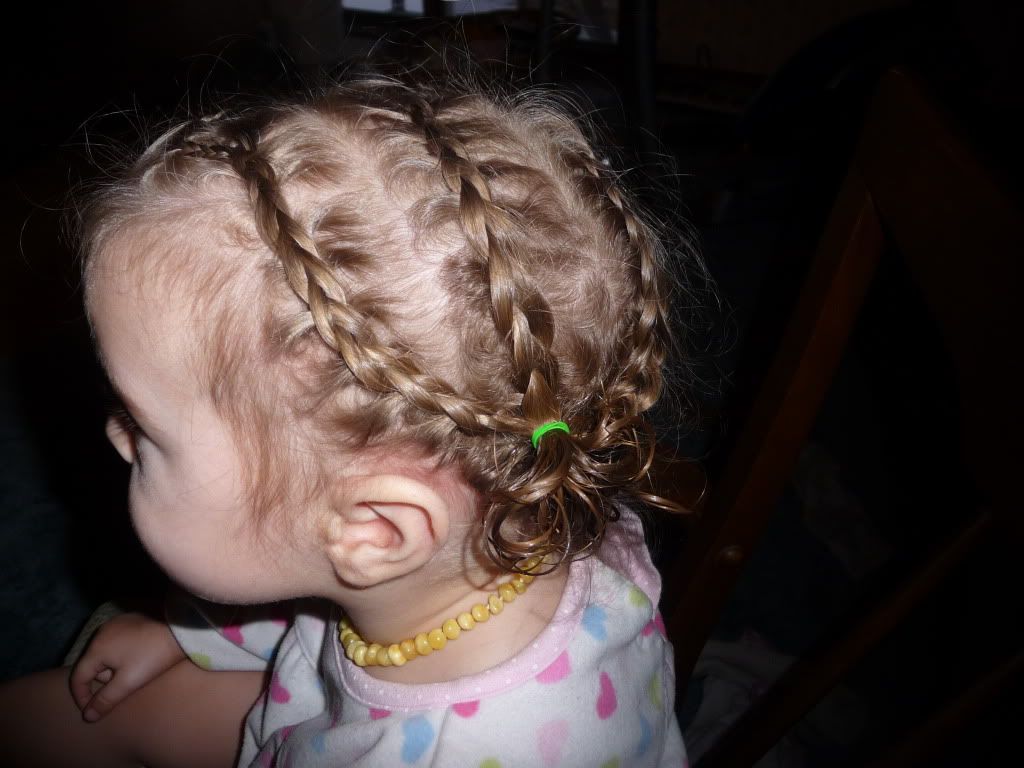
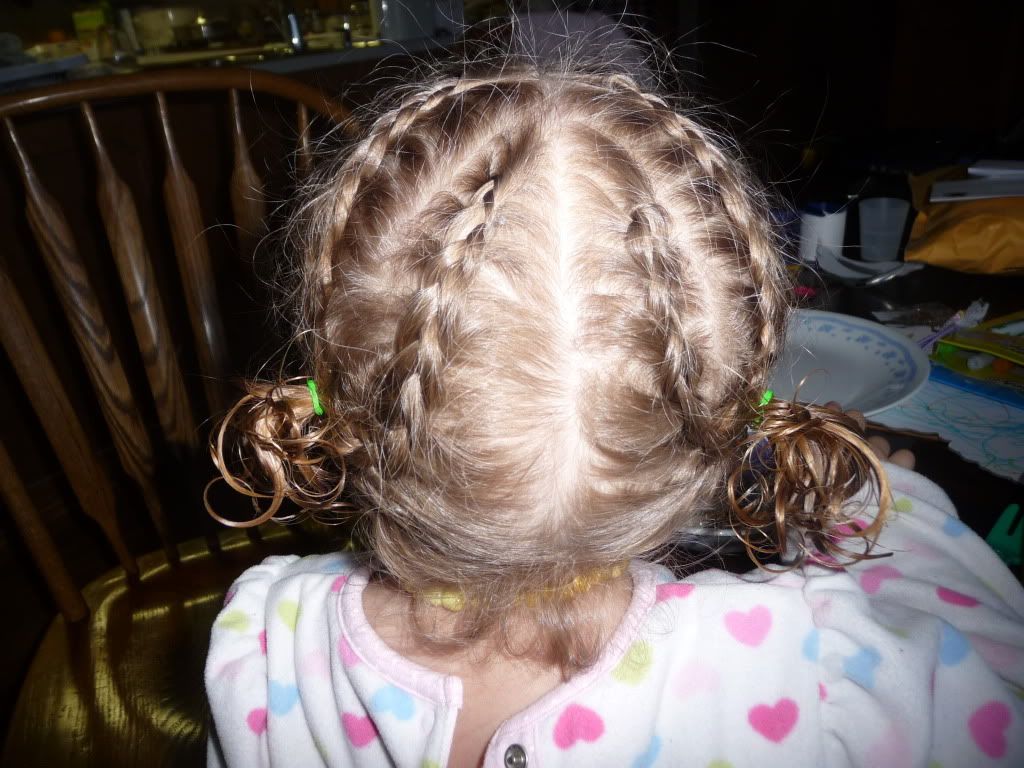
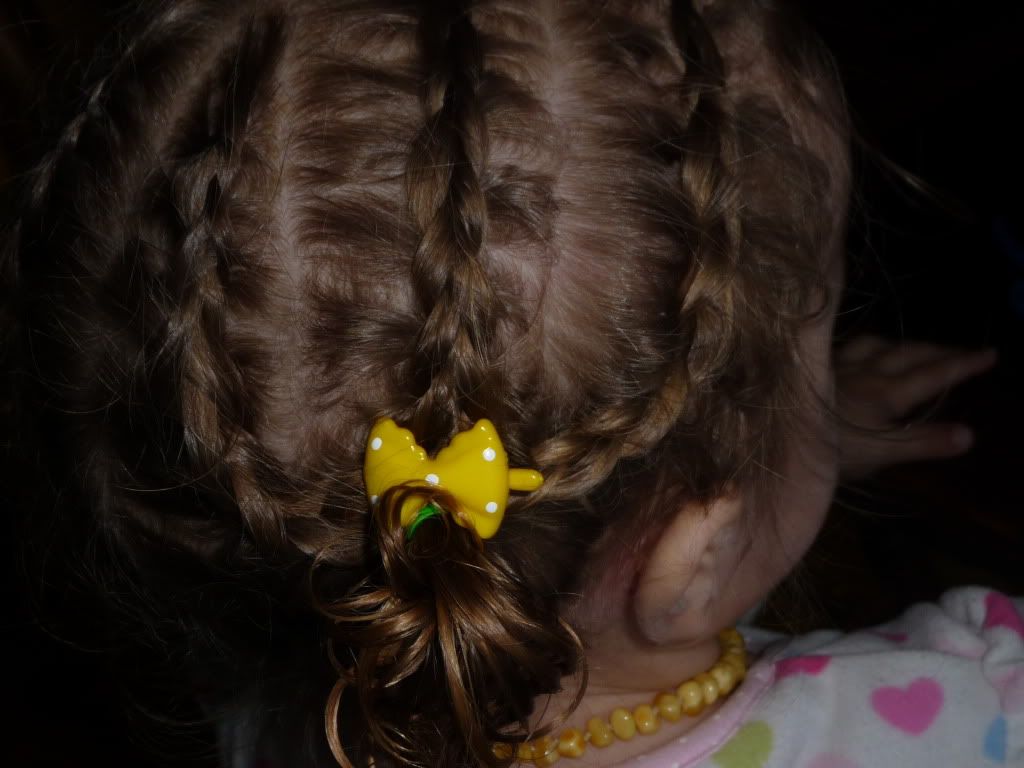
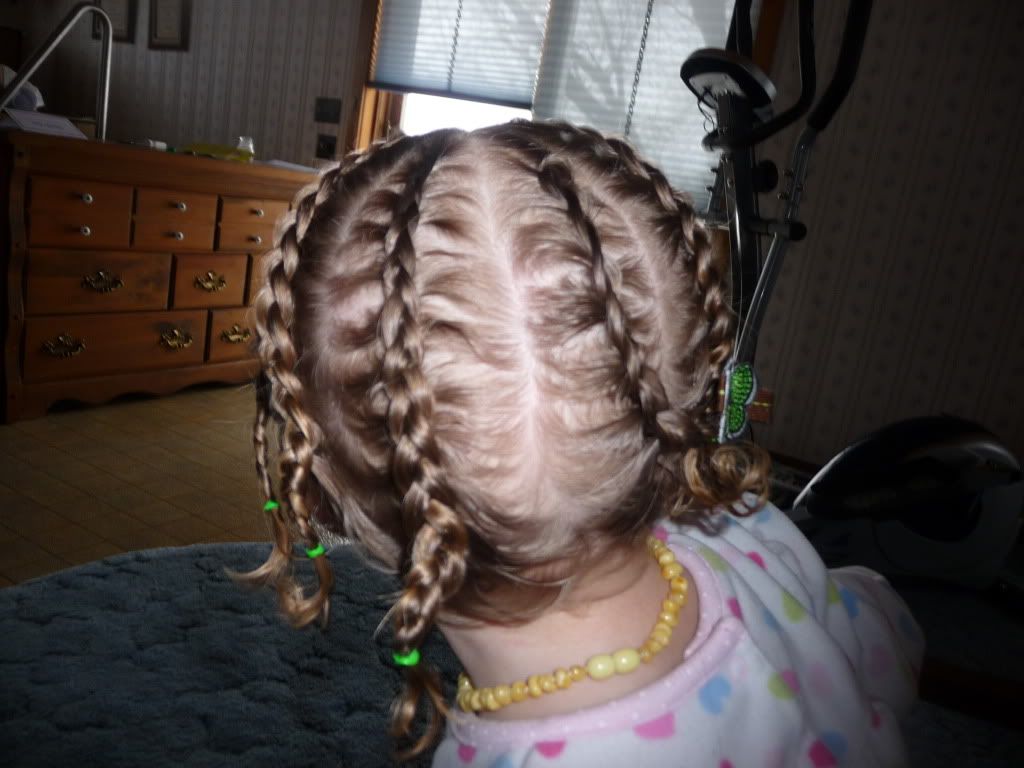
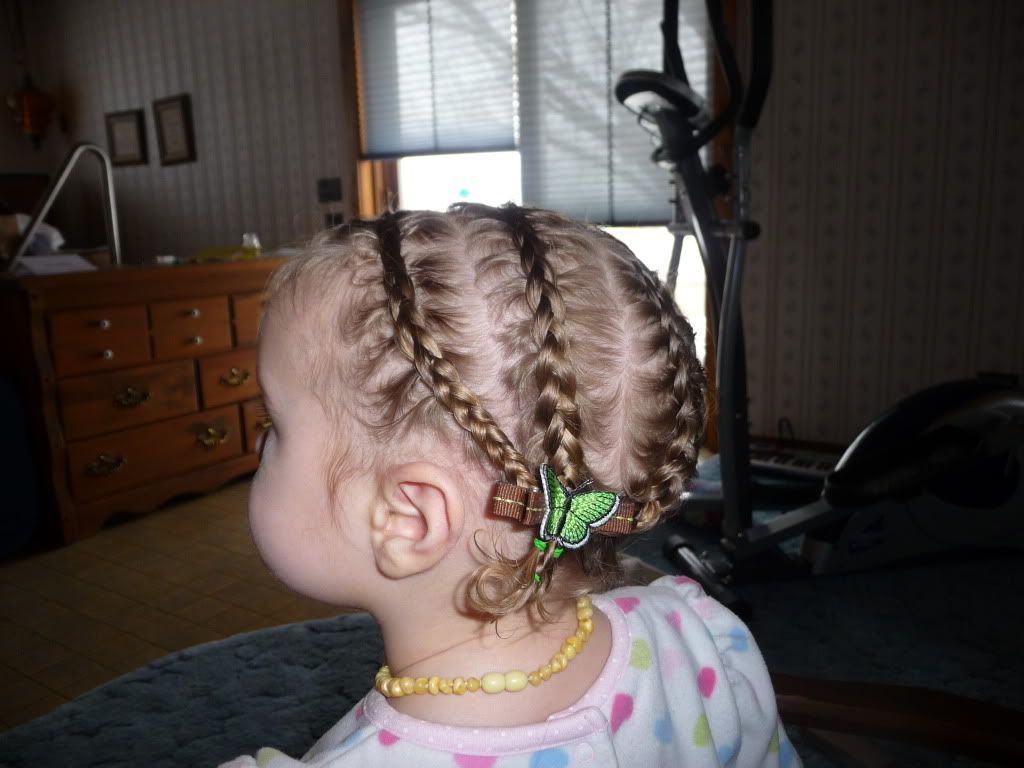
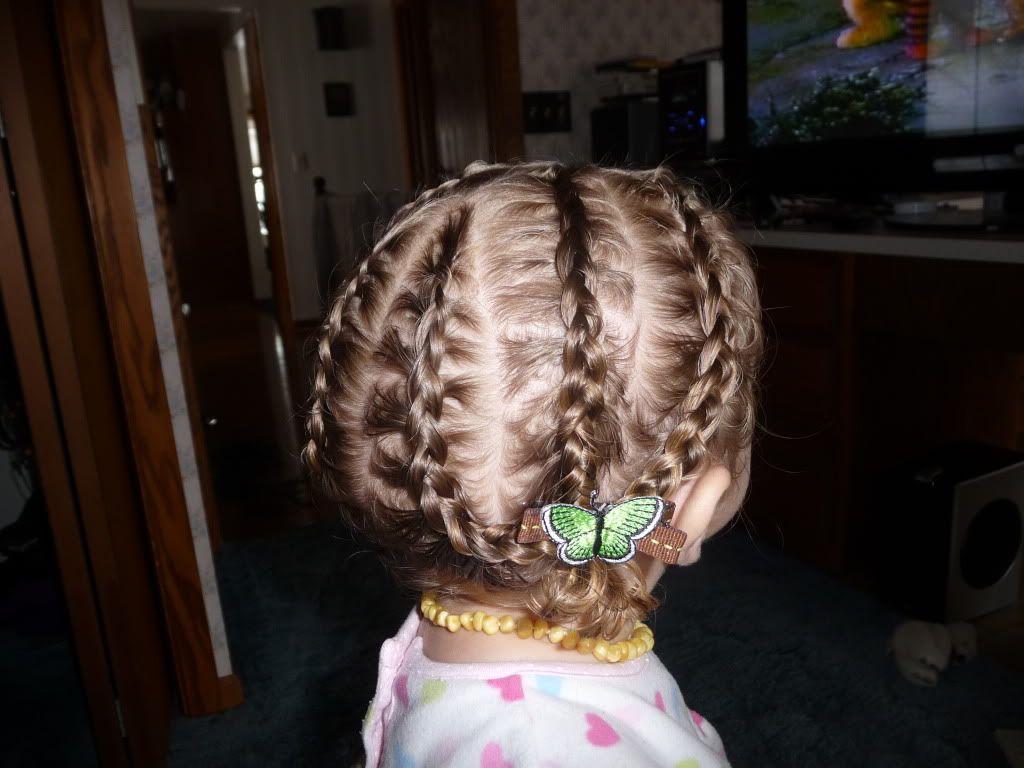
Here they are all braided and put into a center ponytail (nice soft one to be gentle on the hair)


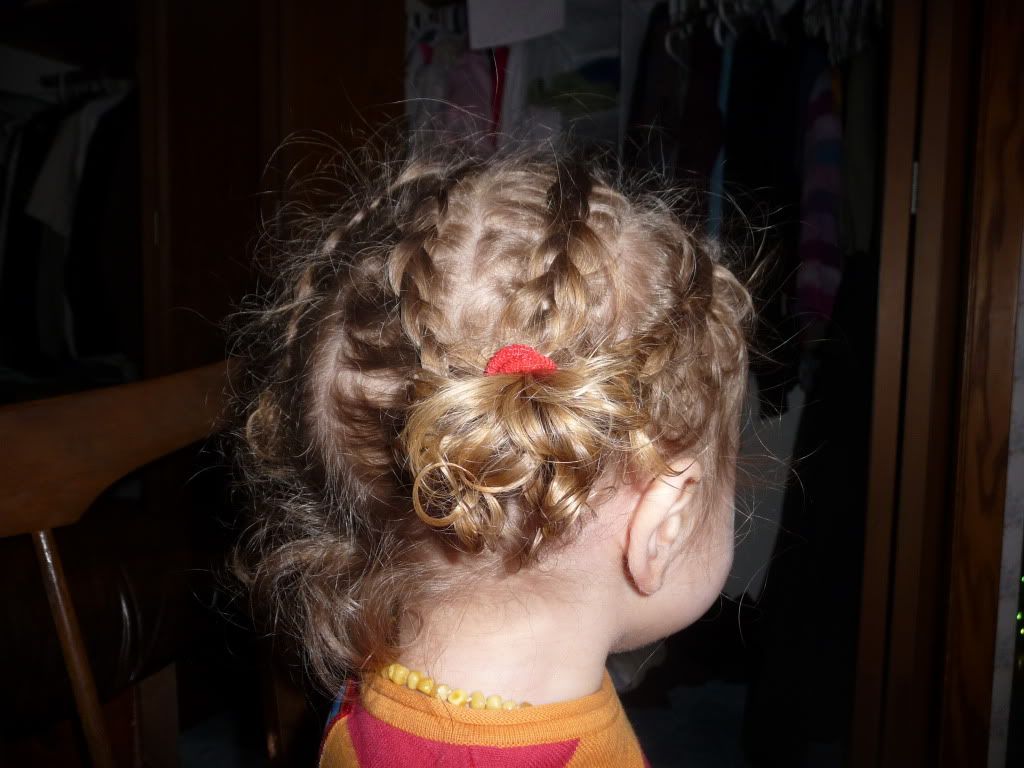
As you can see I left the little braces elastics in her hair the first day (took them out the second day) they are harder on hair than the soft fluffy hair ties, but Q's hair isn't curly enough to stay braided without something in the ends. I have to admit though, it was much cuter with the ends free! I was hoping to try for a third day as well (and for that I wanted to take the ends of the braids completely out and spritz with water to see if I could activate the curl!) but it got too frizzy and looked like it needed to come out. We'll just have to do it again someday!

(for all of you straight-haired people out there... Did you know that curly hair is capable of holding braids and twists and even BEADS in hair with NO use of any kind of hair band?!?!?! As the hair dries the curl shrinks up and the texture and shape of the curls all become tight enough to hold the style! Isn't that amazing!? As a straight haired teen always wanting beads in my hair I wondered how other people were able to achieve a look I never seemed to be able to! I'm still in awe ...

There are probably lots of different methods for beading and ending braids that "curly girls" use - but that NOT using SOMETHING was even possible just blew my mind! I love it!!)


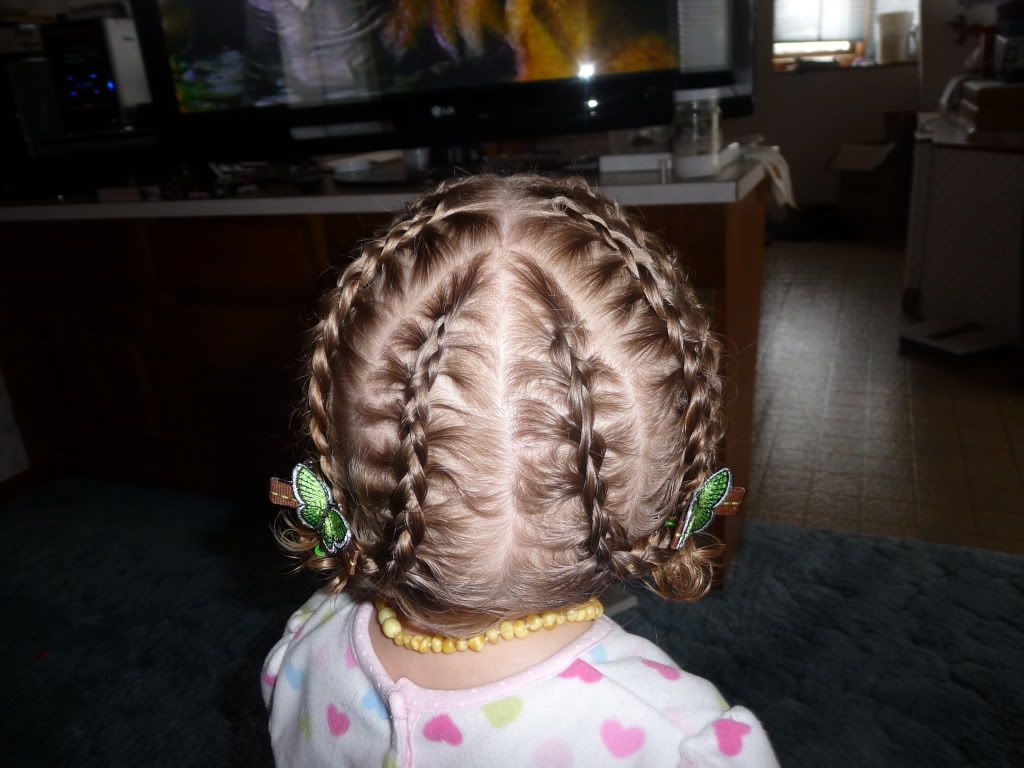
and there you have it:
Big Cornrows (or you could do French Braids) - into a ponytail!

p.s. Don't forget to enter our GIVEAWAY!!!

Jumat, 11 Juni 2010

Box Braids

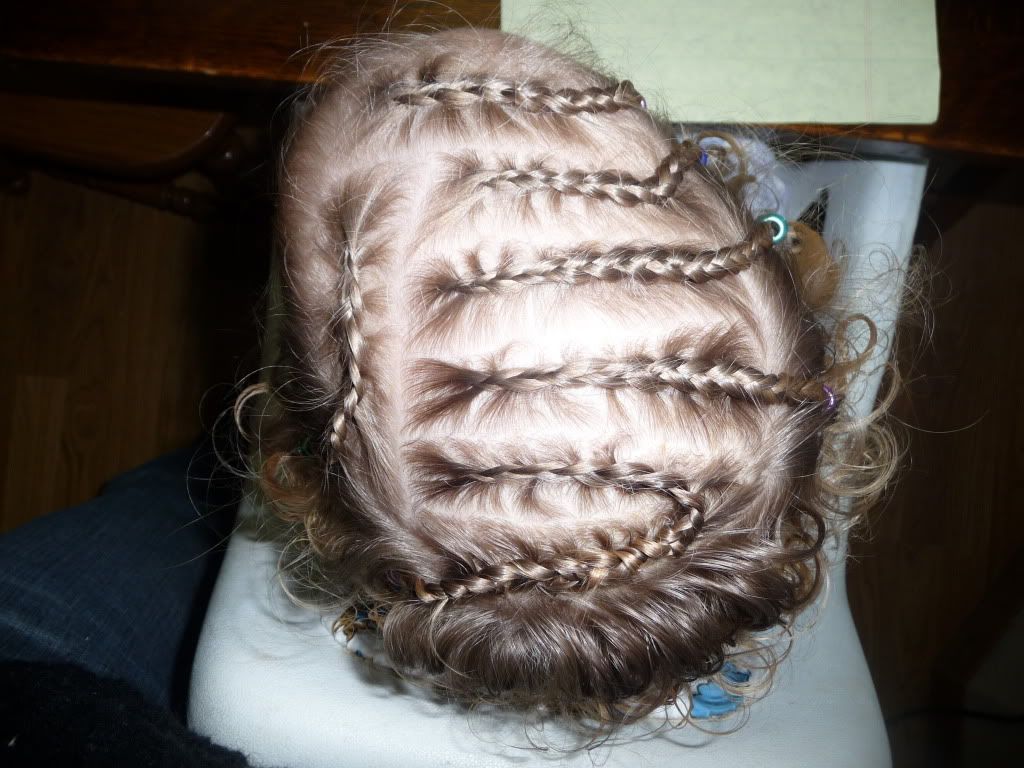
These were the first "box" braids we've tried on Q! I thought her hair was long enough to attempt it. and it worked!


I didn't part her hair into straight parts (if I had, then you'd see where this style gets it's name. In this case it's more like "sectioned" braids! lol ) because I didn't want to take the time. As it was it took 3 mini sittings to get all the braids in. (She's only 22 months old, not even 2 years yet - I don't expect her to sit still That long while I play with her hair! Movies only hold the attention span so long.)

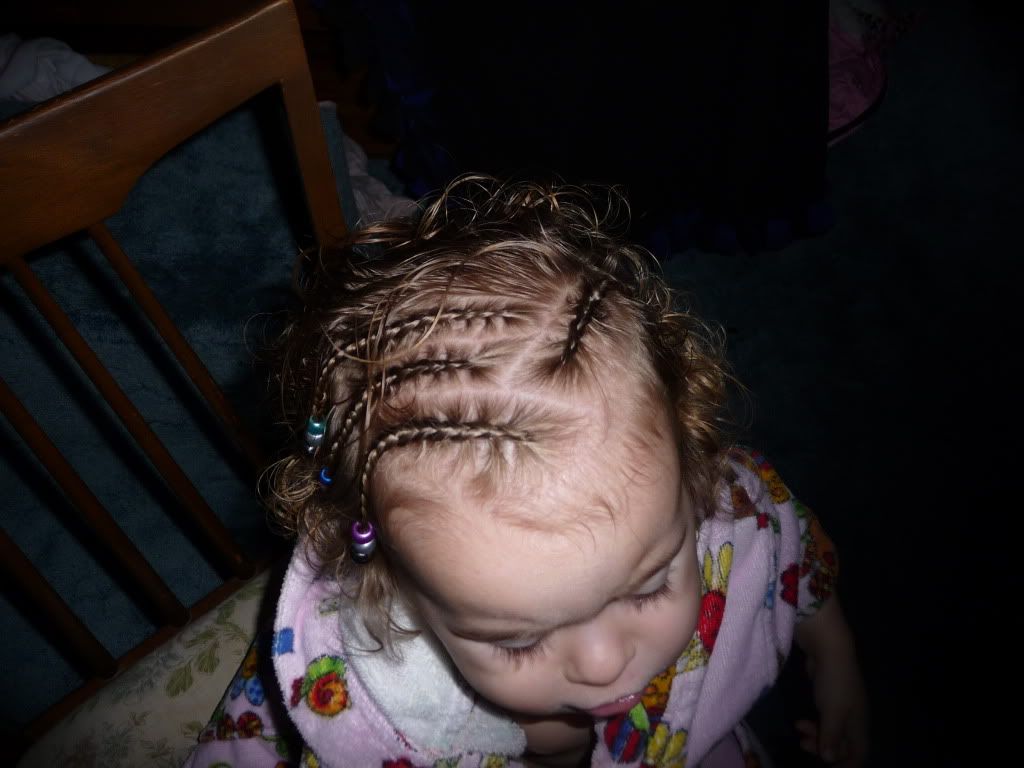
I also did the front in a few cornrows to keep it from hanging in her eyes as much.


 I really could have left it like this, too :) I like it!


But this time we kept braiding :)


These braids are actually longer than I thought they'd be! Curly hair is so sneaky! lol

Click HERE to see what we did with her hair after we took the braids out!

Jumat, 14 Mei 2010

Three Days of Three Braids - Day Three

The Final Installment :)

This hairdo was kinda wacky - but I liked it!
I took out the elastic holding the first braid, and then twisted the braid (and the loose hair under it) back toward the back of Q's head, including the other two braids as I went. I made a twist on the other side of her head as well and pinned both twists, creating a sort of cascade of curls in the back! :)


The pictures aren't as great as I would have liked - but in this one you can see the twist behind the braid - It kind of swoops around ...


And there's the other side. Yummy apple! Thanks Daddy! :)


I hope you enjoyed the Three Days of Three Braids! :)
Hair styles can be very versatile! No need to start completely over each day - unless you want to!

... to see what we did the next day, go to THIS post.

Kamis, 13 Mei 2010

Three Days of Three Braids - Day Two

Here's our slight variation for Day 2 - 

tiny claw clips!

I just twisted the ends of the braids around the base of the braid, then attached the claw clip to hold it together!


Don't forget to check tomorrow for Day 3! ...

Selasa, 11 Mei 2010

Three Days of Three Braids - Day One

We braided a 3 cornrow headband - and it stayed for 3 days! 
(How appropriate, right?! lol)

Here's Day 1:


(try to ignore the oh-so-sad face in the mirror, I promise I'm  not torturing her!)

Come back tomorrow to see how we varied it for Day 2 ... !!

Selasa, 09 Maret 2010

Big Cornrows, Day 2 :)

We recycled this one! It was just too cute to wear for only one day :)

As you can see, I took out the very ends of the braids and raised the ponytail a bit. I think it actually works better with her short hair this way.


The braids got a bit fuzzy, but not too bad.

Then Q wanted these clips in her hair :)

Then when actually dressed for the day, I picked something to match her outfit :)

Senin, 08 Maret 2010

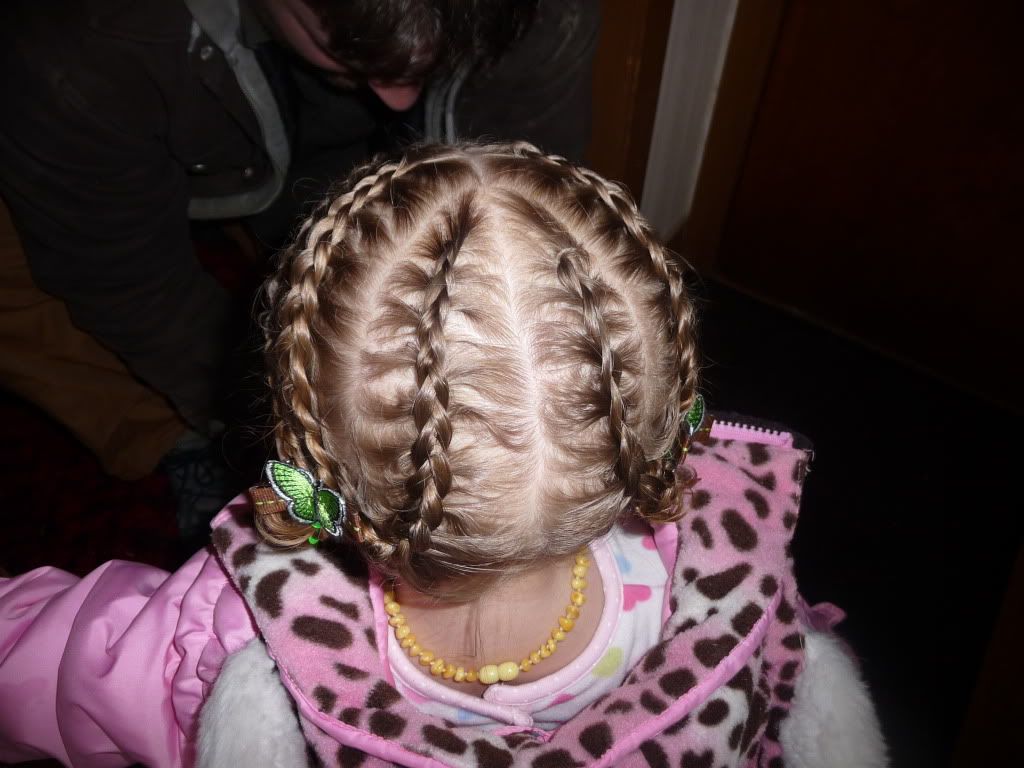
"Big Cornrows"

I'm still not sure if I'm doing cornrows "right" or not - but here they are again! :D I think this style is just adorable! I saw it yesterday done by Joyful Mom over at Happy Girl Hair (you have to check out this blog!!) and her Little R is sporting this style right now - it's sooooo cute!! So here's our version! Thanks, Joyful Mom!

 
(I don't know how we'd do this without good ole Winnie the Pooh!)

And here's how I did it. :)
First, of course, I detangled Q's hair by spraying it so it was nice and wet, then combed it out with a wide tooth comb, starting at the bottom and working my way toward her head.

(oh and, I guess VERY first I had learned to do cornrows from this site. You can see my first proud attempts here!)

Then I parted her hair down the middle and clipped one side out of the way for now.


Then I divided the half into 3 new sections.


(The front section is left hanging and the other two have been clipped up temporarily.)

Then I started braiding! I braided each of the three sections into it's own braid... 
and then tied them all off together and added a clip.


(My braids got better as I went!)
Then I did the same to the other side of her head :)

When we got to here...


... I thought for sure we were going to have to quit and come back to it later - she was getting pretty squirmy on that middle one!
But, low and behold, I decided to attempt it (figured I wouldn't get another chance in one day at her sitting still!) and we managed just fine! She actually sat better than for the middle one on this side. Go figure :) lol


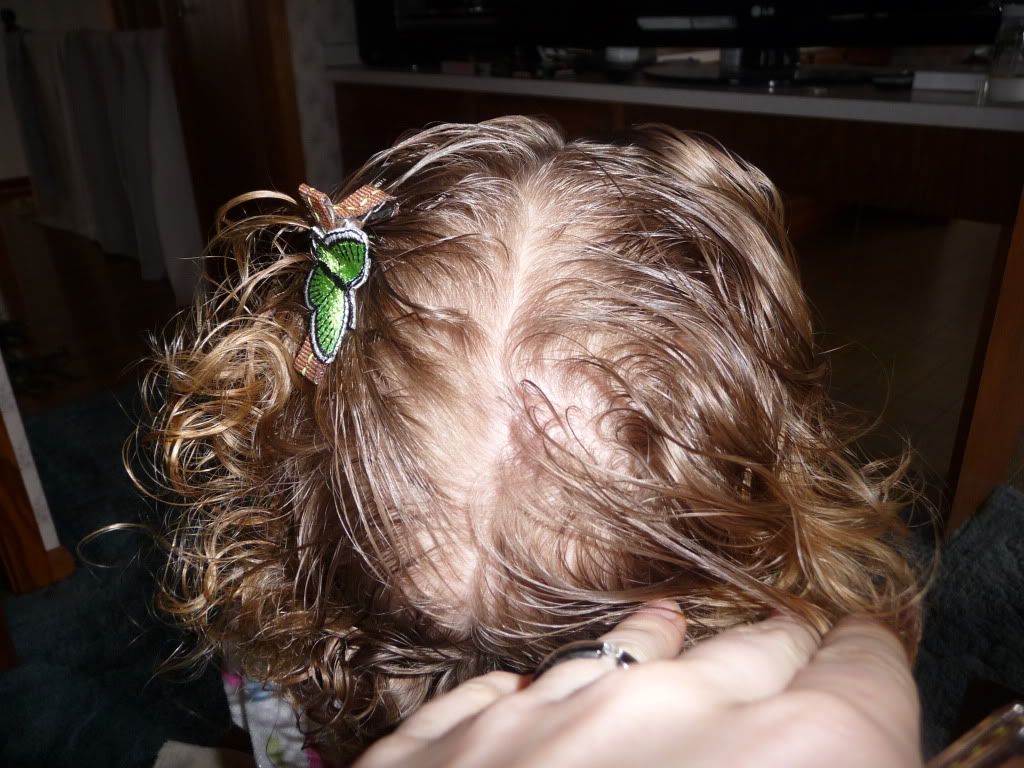
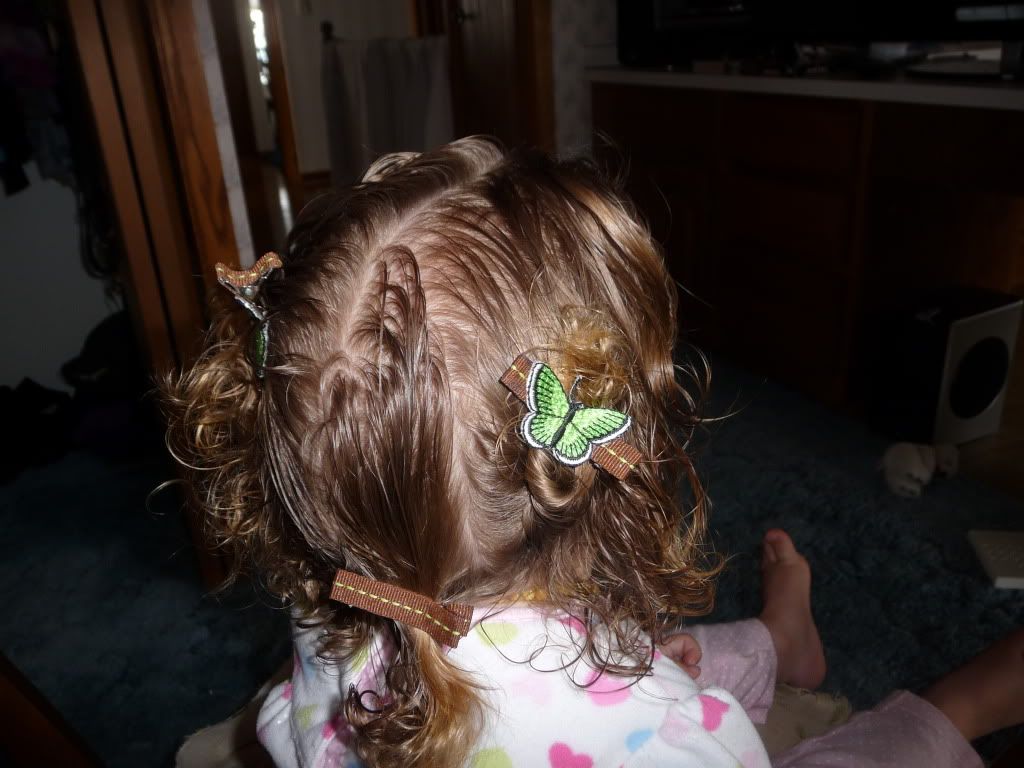
I wish I had some cute flowers or korker bows on elastics right about now! But I don't (I should really rectify that) so we just went with these butterfly clips, even tho they kept wanting to fall out. 
-They may have had some help -


And then I just couldn't stop taking pictures of her! lol! 


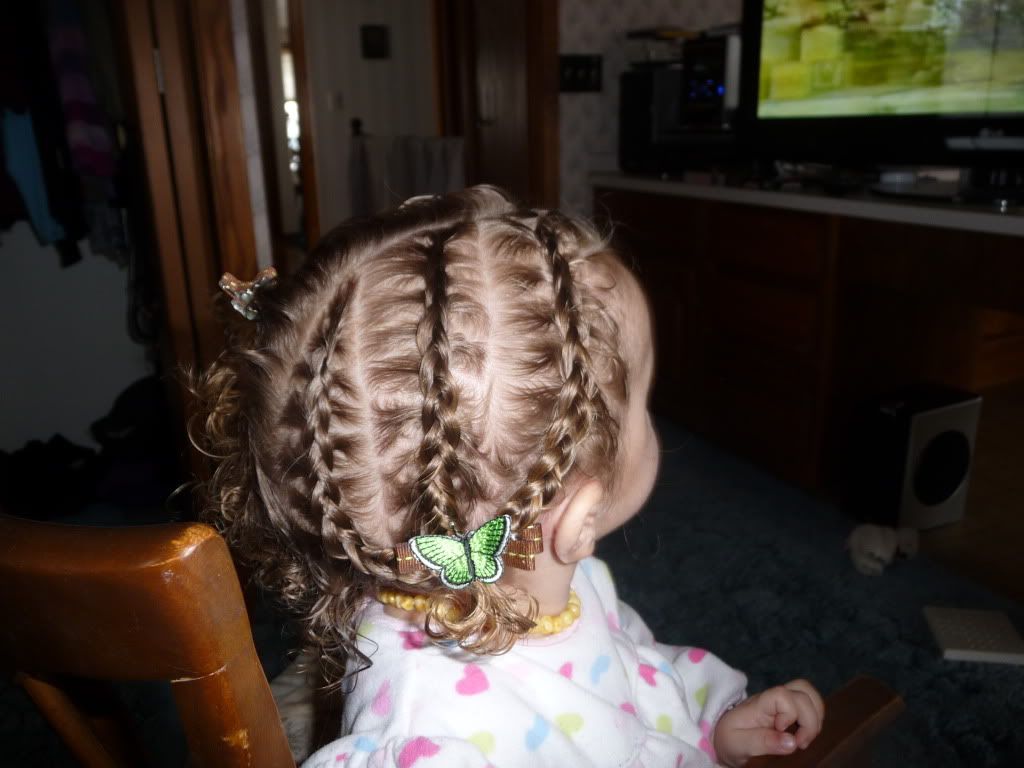
In this picture you can see that we had actually done some tiny braids in her bangs before we started this style, so we left them in.


The tiny braids were actually from a new style I was trying earlier - and it TOTALLY flopped! Ha! This style turned out MUCH better :) Thanks again, Joyful Mom!! 

p.s. In hindsight, and to possibly help someone else if you are going to do this one - or any style like it! Don't have your little one sit in a chair with a back! lol - I kept bumping the back of the hair with my hands and elbows, it was definitely in the way! I haven't really run into this problem prior to this style because most of our styles have been using only the hair on the top of her head, or the "bangs" and headband areas. But since this one goes all the way down to the nape of her neck - I needed more room!! Good to know for next time :)

Jumat, 29 Januari 2010

Cornrows!

:) Ok, so I know Q doesn't have the "right" hair to do cornrows, but after so much talk about french braiding I've been having lately, and then I saw an incredible heart hairdo on a great blog...Beads, Braids and Beyond ... and I just had to give them a try. Here are the instructions she linked to for learning how to braid cornrows.

I LOVE them! I left them in for 4 days! :)


and then, the second day they were in, that little bit of hair at the back of her head wanted to flop over and cover the cute little braids...so I added one last cornrow (with a twist!)


and I added the beads using the instructions from another great hair blog ... Princess Hairstyles ... we didn't lose a bead the whole 4 days! (Including going to playtime at gymnastics!)

Selasa, 16 Juni 2009

Corn rows into a bun


So, my Husbands cousin got married and we got to go to the wedding, So of course for me that means fancy hair... for the little princess we started with cornrows into a pony, http://chic-clipshair.blogspot.com/2009/06/corn-rows-into-pony-tail.html except, I put the pony on the side more. Next, I braided all the hair in the pony, there is only 4 dutch braids the rest are just regular braids
then I started taking all the braids and wrapping them into a bun. I have to plug a product again! I love Sally's hair supply bobby pins they have short ones that work great on little girls hair and you don't have big bobby pins sticking out every which way!


Here is me wrapping the hair around my finger,


More wrapping


then I take the wrap off my finger hold it close to her head and hook a bobby pin close to the scalp, taking a second bobby pin and putting it in from the other side and crossing it to make a X


add a flower and there you go!


from the back,

Jumat, 12 Juni 2009

Corn Rows into a Pony Tail

So I only wash my kids hair every other day. when I had 2 kids we washed hair everyday but now I have to do day 2 hair so I thought that I would show you some hairdos for day 2 hair. This is The Little Princess, she just had double rope princess hair and I have sprayed it with detangler, and parted it with two inches of hair diagonally across her head to make our first cornrow, I am holding the part I am going to braid, the rest is pulled into clips and elastic
I wetted it down again with detangler and Hairspray, I should buy stock, and just braided a basic cornrow (dutch braid) Then I sectioned of a second piece and braided again, I kept them at the same angle keeping them next to each other.


Now I have completed 4 Cornrows back to the back top of her head, where I would normally put a pony tail. I could have kept going but I was tired!


Then I hair sprayed (shocking I know) and detangled the rest of her hair, and pulled it into a pony at the end of the braids


folded the pony in half and put a second elastic down at the base to hold all those ends


let go and this is what you end up with, I am always trying to make my girls hair look shorter in the summer, to keep it off their necks. Perhaps I should use scissors (gasp)


from the front!


add a bow (and fix that hangie) and your done!