Sabtu, 30 Januari 2010

Mohawk Hair Share!

I would like to thank everyone for sending in their kiddos mohawk/frohawk pictures! They are all too cute. The coolest kids on the block, I bet. :)


Jennifer sent in these cute mohawks on her cutie, Aryna.

Photobucket

Photobucket

KeaShay of Little Lady & Me: A lot of Style for your Little Lady sent in these pictures of her daughter and her son KD.

Photobucket

Photobucket

LaToya submitted these pictures of her adorable 16 month old daughter, Simone, rocking the fro-hawk.

"My husband usually does a co-wash with Trader Joe's Tea Tree Tingle ( I think that's the name) once a week.This week I used a mixture of shea butter, coconut oil, castor oil and peppermint oil that I made and then shingled Giovanni Direct Leave in conditioner and a little of Carol's Daughter hair milk (I think I'll leave the hair milk out next time). I braided 3 cornrows on each side and did large twists (about 4-5) down the middle of her head. I did use a little Kinky Curly Curling Custard (say that 3 times fast) in the center section before twisting and put her to bed for the night. I put a satin scarf down in her crib. I'll re-do the twists tonight and later in the week my just cornrow the middle down so it lasts until next Saturday."

Photobucket

Michelle sent in pictures of her handsome son, Donavan.

Photobucket

Kenisha shared a couple of cool mohawks she did on her 5 year old, Kyndal.

Photobucket

Photobucket

Kim sent these pictures of her beautiful daughter, Kailah.

Photobucket

Stacey sent in these pictures of her adorable 3.5 year old daughter, S.H.

Photobucket

Victoria sent pictures of her beautiful daughters Zion (7 months) and Messiah. (2 years old)

Photobucket

Photobucket

Dorian sent in this picture of Alaina with her Faux Hawk.

Photobucket

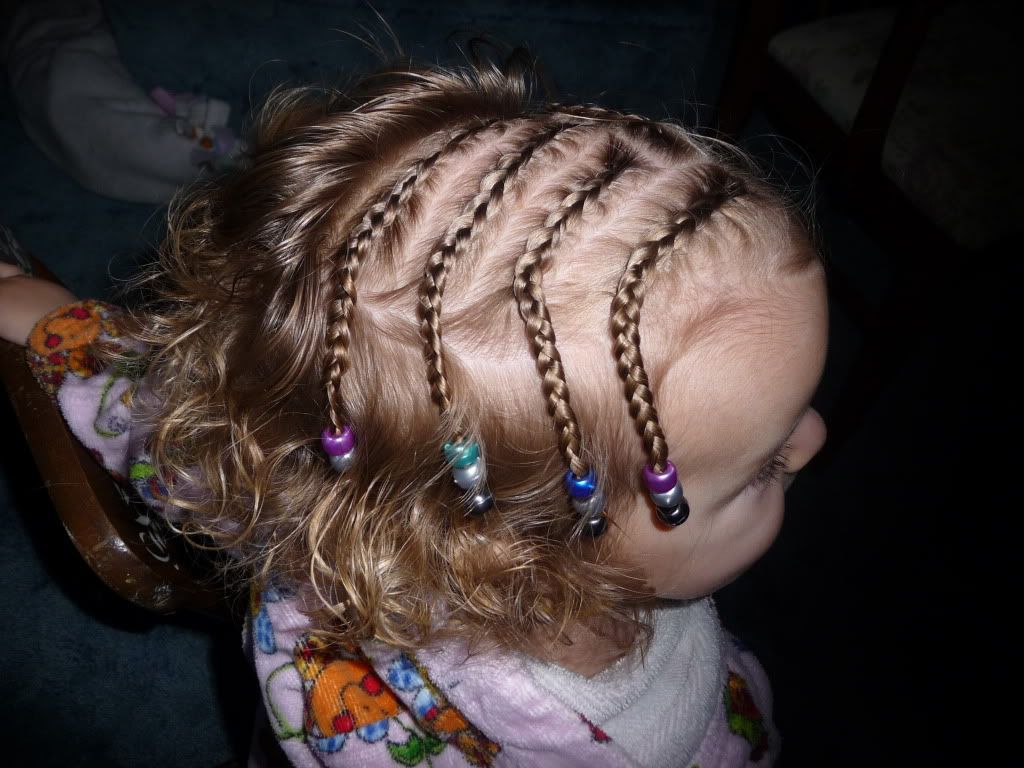
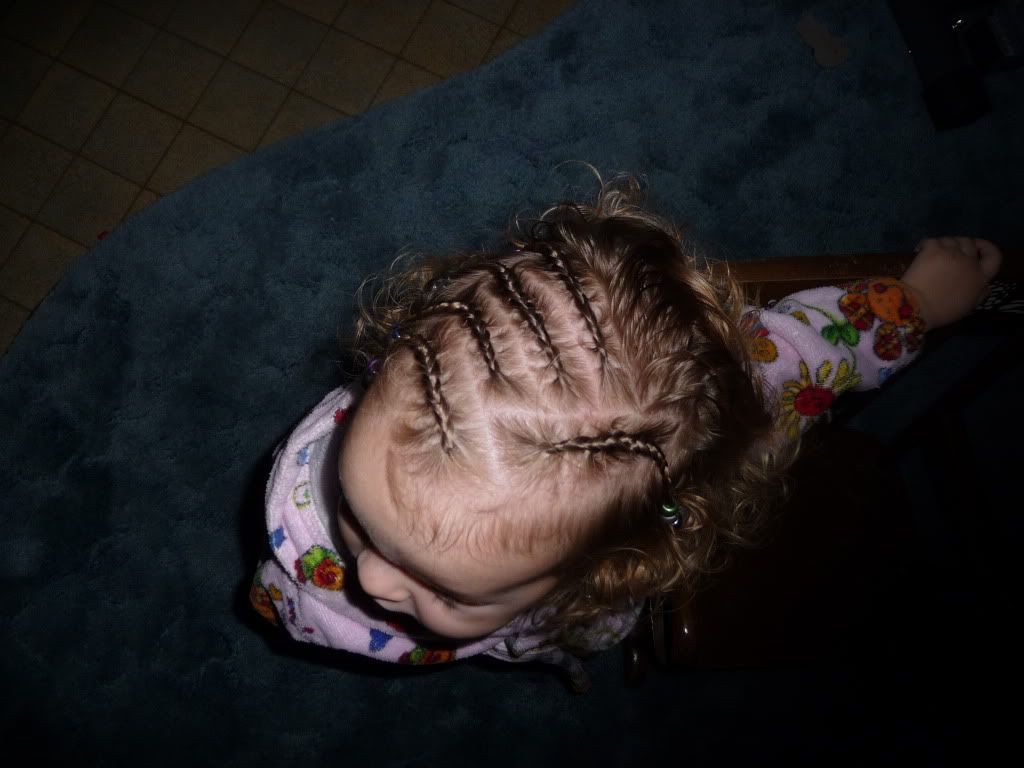
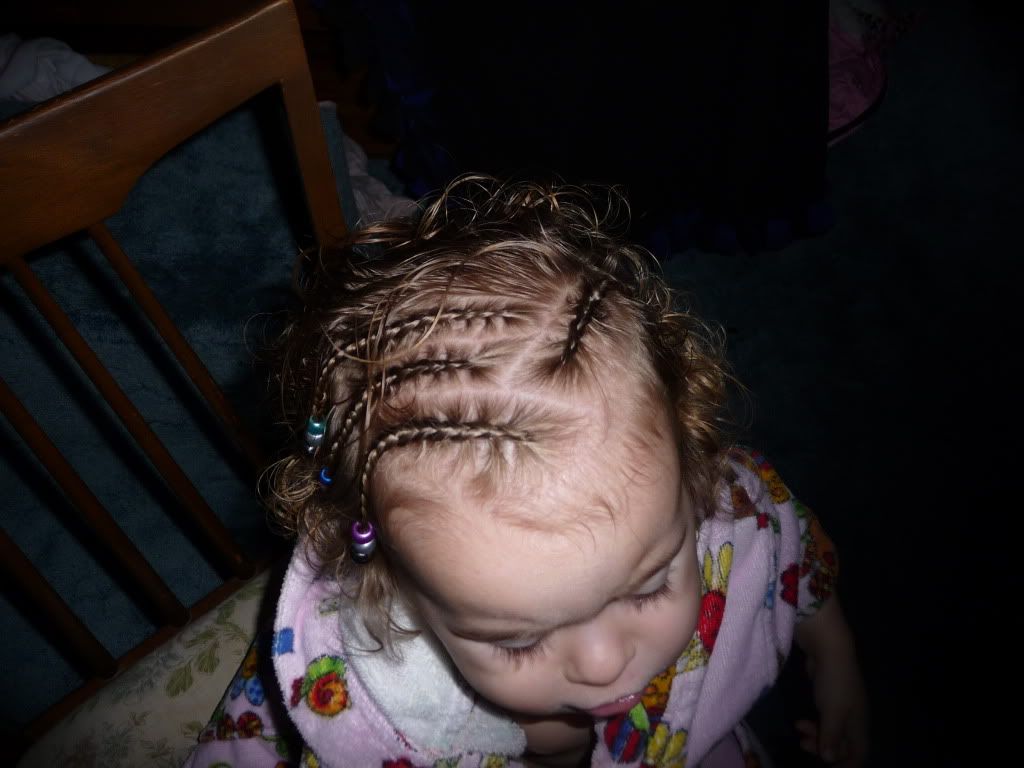
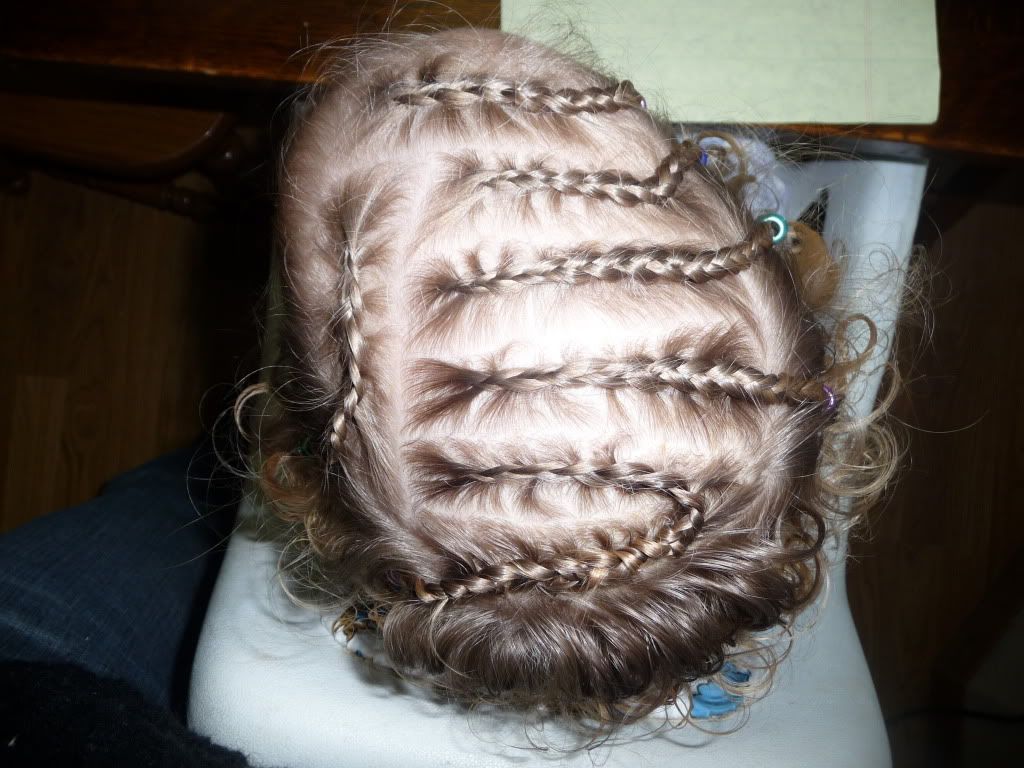
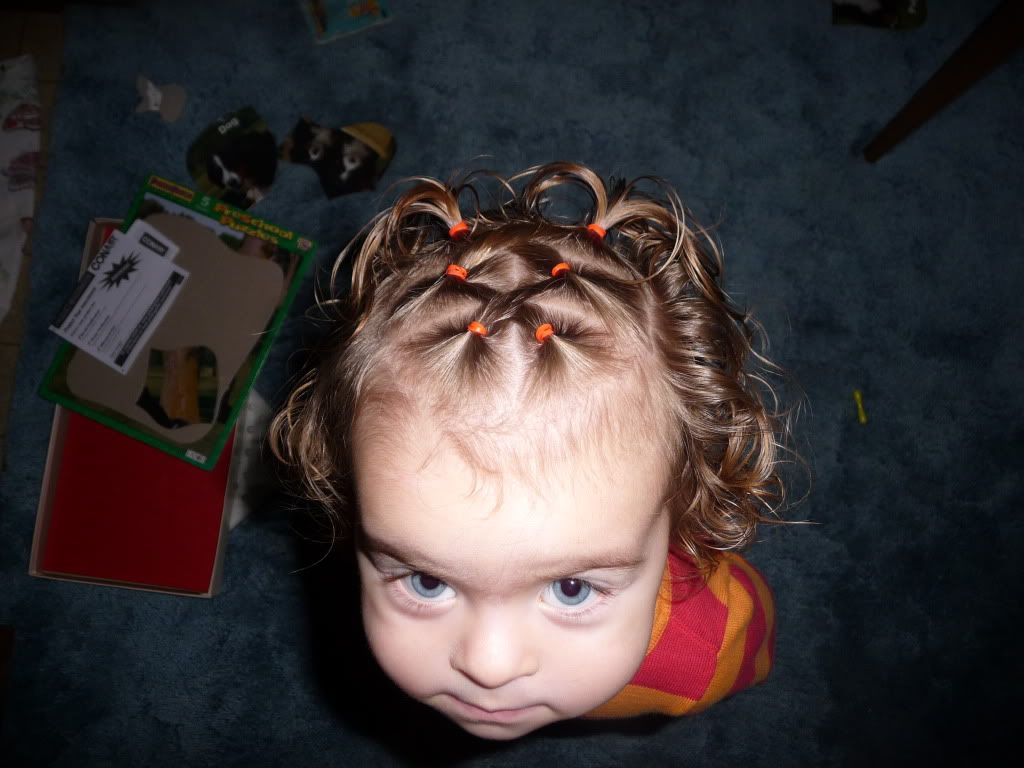
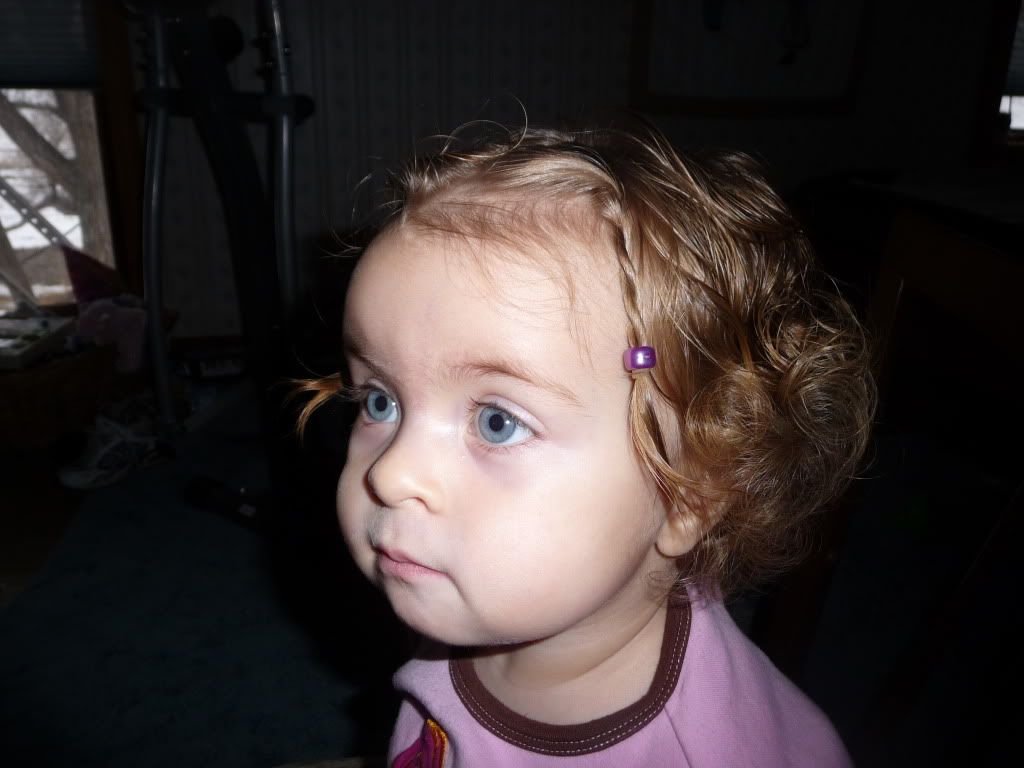
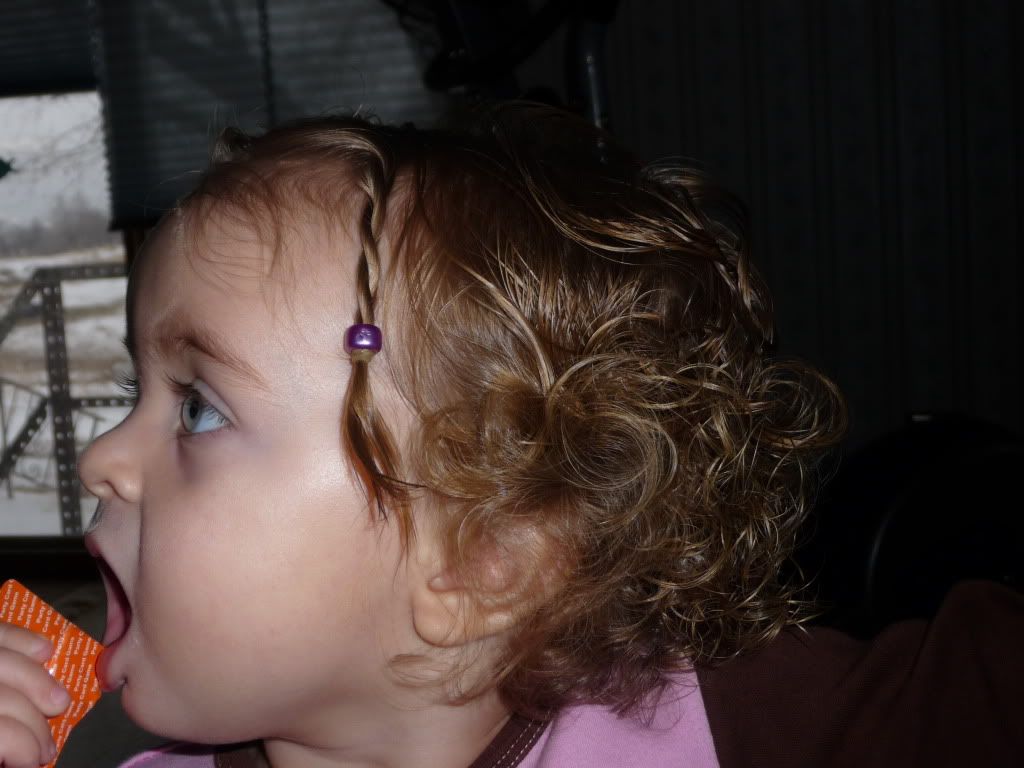
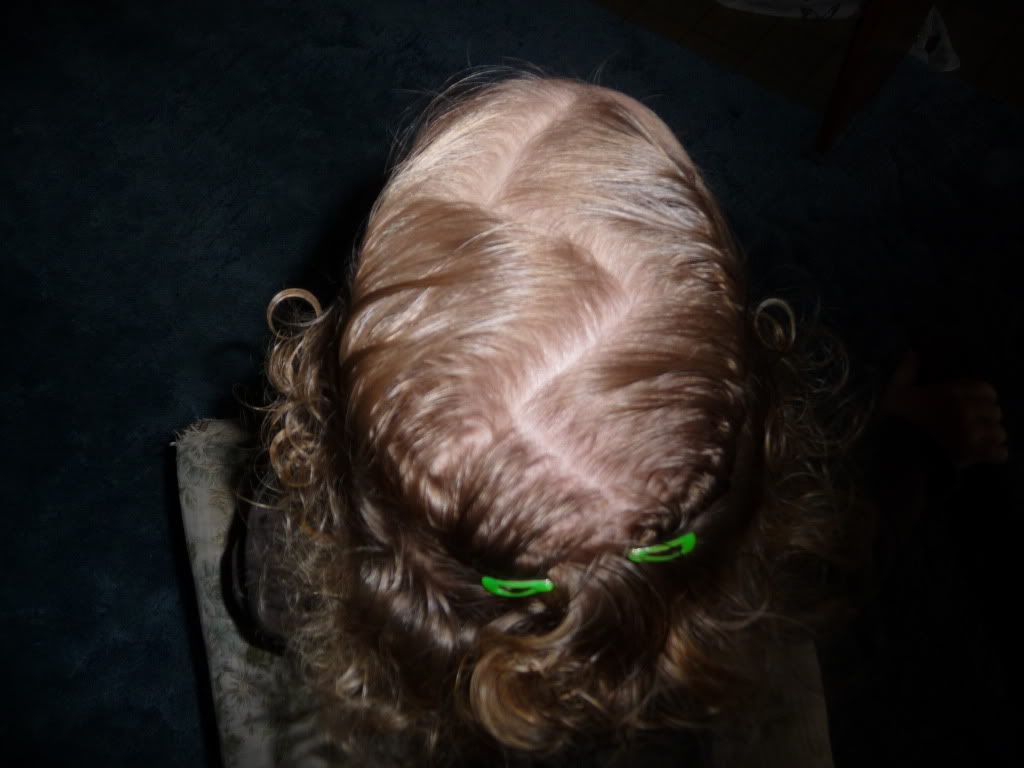
Tasha sent us these pictures of her little cutie, this was Tashas first attempt at a braided mohawk.

Photobucket

Brittany shared these pictures of Jaden's mohawks.

Photobucket

Taryn sent in this picture of her 3.5 y/o cutie, Zaria.

Photobucket

If you would like to participate in next weeks hair share, just send your pictures to beadsbraidsbeyond@yahoo.com

Let me know what you think of the new-ish layout. I love hearing what you all think! Suggestions would be great as well. Thanks! :)

Jumat, 29 Januari 2010

Cornrows!

:) Ok, so I know Q doesn't have the "right" hair to do cornrows, but after so much talk about french braiding I've been having lately, and then I saw an incredible heart hairdo on a great blog...Beads, Braids and Beyond ... and I just had to give them a try. Here are the instructions she linked to for learning how to braid cornrows.

I LOVE them! I left them in for 4 days! :)


and then, the second day they were in, that little bit of hair at the back of her head wanted to flop over and cover the cute little braids...so I added one last cornrow (with a twist!)


and I added the beads using the instructions from another great hair blog ... Princess Hairstyles ... we didn't lose a bead the whole 4 days! (Including going to playtime at gymnastics!)

Kamis, 28 Januari 2010

Woven Piggies X's 3

We've been a little MIA lately! (missing in action...) :)  But I have a couple we've done to show you! :D This is really just this 'do with one more "set", if you will.   Woven Piggies Times Three!


(You can see that I kinda twisted the last ones as I added them in, just trying to keep the fly-aways at bay :) )

Selasa, 26 Januari 2010

Easy! Oriental bun

Today we went for a bun to match Little Mermaids dress, this is probably the easiest bun we have ever done!

We put her hair into a half ponytail .

Then we put a chopstick in between her head and the elastic, My hot man put it in a pencil sharpener to make it slide in her hair better!

then I twisted the hair and wrapped it in a figure 8 around the chopstick

just keep wrapping, wrapping wrapping

then I bobby pined the ends around the bun,

Here she is from the front

and from the back!

Winner of Curly Q's Sample Kit

First, I have to thank everyone so much for entering the giveaway. I wish everyone could get a sample kit, but there could only be one winner so...

The winner of the Curly Q's Sample Kit Giveaway is:


Congrats! Please email me your mailing address at beadsbraidsbeyond@yahoo.com by February 1st along with your styler choice.

Remember, the Curly Q's Sample Kit will include 2 oz. samples of Curlie Cutie Cleansing Cream, Coconut Dream Conditioner, Moist Curls Moisturizer/Detangler, and your choice of a styler! Your styler options are Curly Q Gel-les'c (pronounced Curly Q Jealousy), Curly Q Milkshake, or Curly Q Custard.

Minggu, 24 Januari 2010

Messier Pigtail Buns

For today's hair I wanted something quick and up, I hate long hair just straggly especially for school, it always comes back all nasty! so this is what we did!

so we french braided back her bangs sections just in messy non-parted braids, easy you cant mess this up!

this is the side front braid, why I am showing this pic?

Then I pulled back the rest of her hair into lowish pigtails, I included the braids from the front

then you make funky messy buns! I really don't have my own way of a really messy bun, I have borrowed everyone else's ways and then usually I put bobby pins in them till they are not messy anymore


Then I added some bows from my web store! I know I am obsessed with bows


a pic from the back so you can see just how messy this do was! I hope ya enjoyed and I hope this helps inspire you to do this hair do on your little ones!

Happy to Be Nappy


Happy Girl Hair is currently hosting a giveaway for the book Happy to Be Nappy! How cool is that? If you would like to win this awesome prize then go enter the giveaway here! All entries must be in by 11:59 PM EST, February 4th.

Sabtu, 23 Januari 2010

Cornrow Rockstar Mohawk

If your child thinks they are a rockstar (like A) then this is the perfect style for your little one!

Photobucket

Photobucket

This style can take between 1 1/2-2 hours. I split her hair down the middle (remember, your part will not be visisble so it doesn't have to be perfect) and tied one side off, then I started cornrowing. I rotated from a straight cornrow, to criss cross cornrows until I got to the top, then I started on the other side. Remember, if you do not know how to cornrow, check out this website. I learned how to cornrow from their simple instructions!

And of course, if you have rockstar hair, then you have to have a rockstar outfit and rockstar attitude! lol I took A up to this graffiti Madagascar themed wall and took a few pictures of her. It was definitely a fun day.

Photobucket

Photobucket

Photobucket


It's Mohawk/Frohawk week, so if you have any pictures of your kiddo rockin' a mohawk/frohawk send them in TODAY, January 23rd so I can submit them for Hair Share!

The drawing for the winner of the Curly Q's Giveaway will be soon!

Jumat, 22 Januari 2010

Twisted Mohawk

As you know, it's mohawk/frohawk week!

This is a very easy style you can do on your little girl.

Photobucket

Photobucket

Part 2 sections of hair, so you will have 3 sections in all. Tie each section off with Ouchless Goody hair ties and two strand twist the ponytails, add beads/barrettes and you're done!

The cornrows I added to the first twisted section are optional. They kind of give the style a little more flare. Just part a couple of sections of hair going up into the ponytail on each side and cornrow them.

It's Mohawk/Frohawk week, so if you have any pictures of your kiddo rockin' a mohawk/frohawk send them in by January 23rd so I can submit them for Hair Share!

Don't forget to enter the Curly Q's Giveaway! Today is the last day to enter!

Kamis, 21 Januari 2010

Simple Mohawks

Well, as you may know, it's mohawk/frohawk week!

These are easy mohawks you can do on your kiddo.

Photobucket

Photobucket

This first one took 5 minutes. Start with detangled hair, section off 3 parts of the hair and tie off each section with a Goody Ouchless hair tie. You may need more sections depending on how much hair your child has.

Photobucket

This next one took about 20 minutes. Start with detangled hair, part the hair straight down the middle, your part does not have to be perfect because the part will not be visible. Start parting medium/large sections, start cornrowing from the sides going into the middle. As you can see, my cornrows were far from perfect, I did this as fast as I could, and it still turned out pretty cool. Remember, if you do not know how to cornrow, check out this website. I learned how to cornrow from their simple instructions!

It's Mohawk/Frohawk week, so if you have any pictures of your kiddo rockin' a mohawk/frohawk send them in by January 23rd so I can submit them for Hair Share!

Don't forget to enter the Curly Q's Giveaway!

I Just Couldn't Be More Proud!!

Look at what my amazing, creative, super sweet hubby did today!! ALL by himself! :D


 These pictures just don't do it justice, but he did a twist braid on each side of her head and finished it off with a bead! :D  He said he slid the bead on and then added an elastic, which tied off the braid as well as held the bead on.


He said he thought it would keep it out of her eyes without using a clip. :) (He put two clips in her hair yesterday! They looked so cute. :)  )

I'm soooooo proud of him! :D :D

Selasa, 19 Januari 2010

French Twists into a Crown

I started with a zig zag part


Then just sort of twisted the hair in a curve - trying to make a half circle...and then I did the same on the other side to make another half circle - which would make a full circle - which makes the "crown" :)


Sorry, not very well explained, and the pictures aren't very good, either :S 

I actually didn't think this one would go over very well, but Q got TONS of compliments on it when we went to the store! :D I guess we'll have to try it again some day! It was really quick and easy, too, which is always nice :)