Kamis, 31 Desember 2009

Riteaid

Photobucket

The CN ladies pulled me in again. They posted about a Riteaid sale, so I had to go check it out.

Giovanni products: Buy One, Get One Free (ends Jan. 2nd)
Herbal Essence products: $2.99

and in case you're curious, the micro fiber turban was $10.

I bought Giovanni Smooth As Silk shampoo & conditioner(2), Giovanni 50:50 shampoo & conditioner(2), Herbal Essences Long Term Relationship conditioner, Hydralicious, Totally Twisted, and None of Your Frizzness.

Duo-Trick Headband

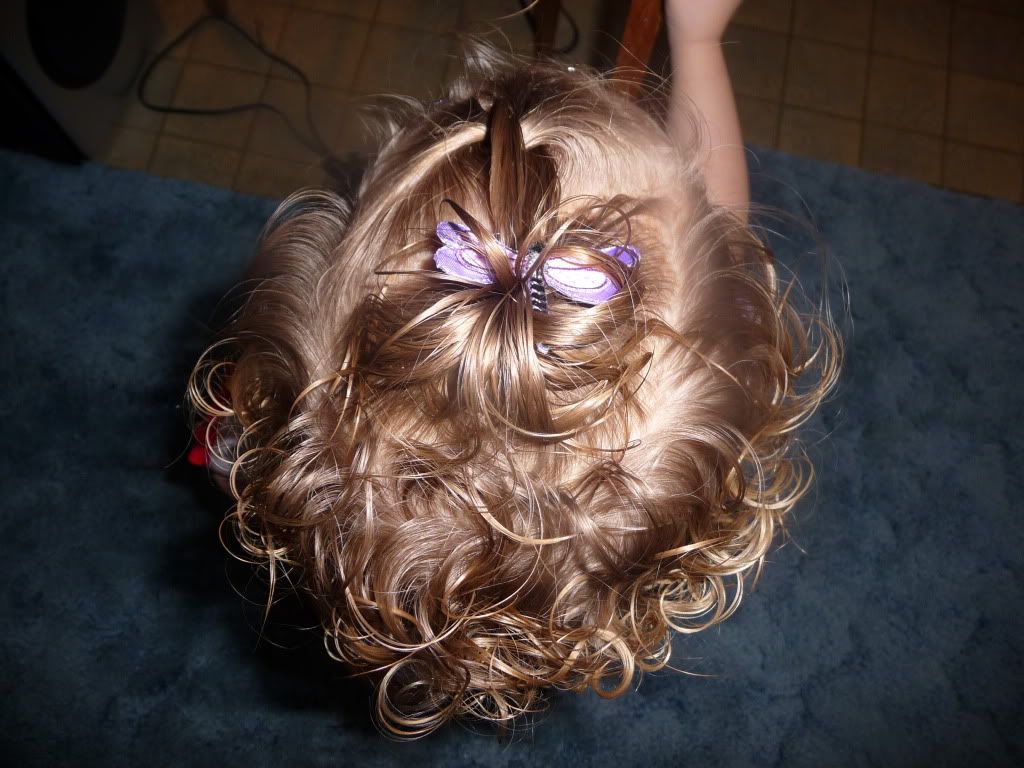
I'm really excited about this one! I really like the "hair headband" ideas for keeping Q's hair out of her eyes, yet letting her curls hang free :) Plus the back isn't really long enough to do much with it yet. I found the ideas for today at another great hair blog (Babes in Hairland) and I'm combining this one and this one, and smocking, too!


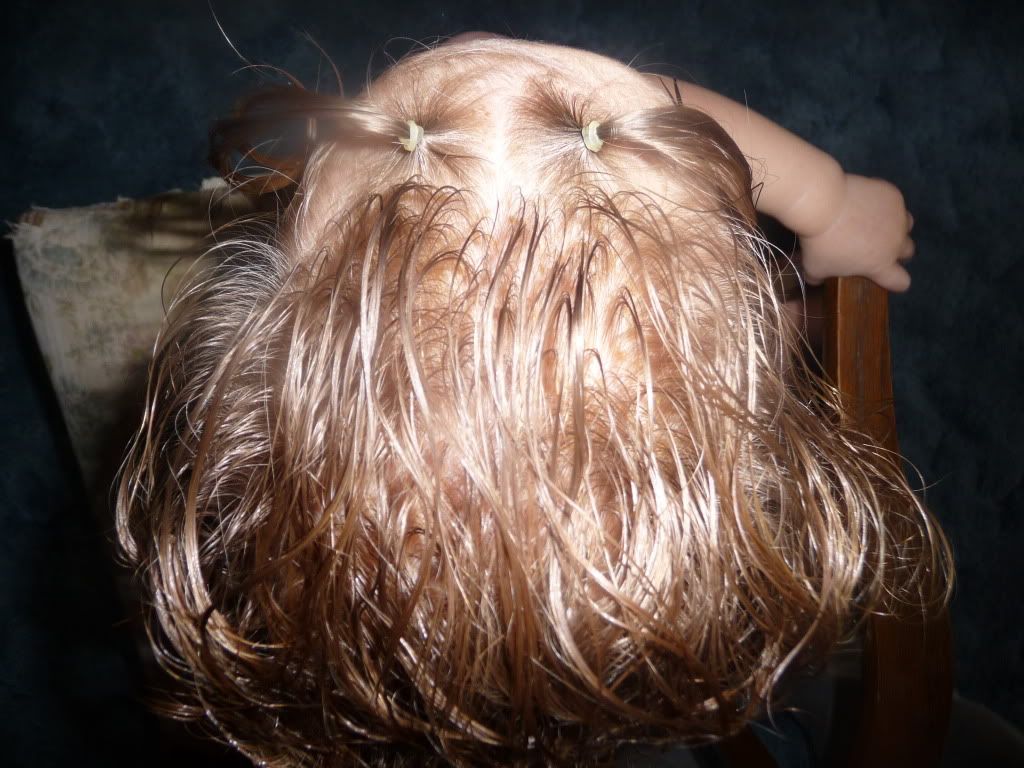
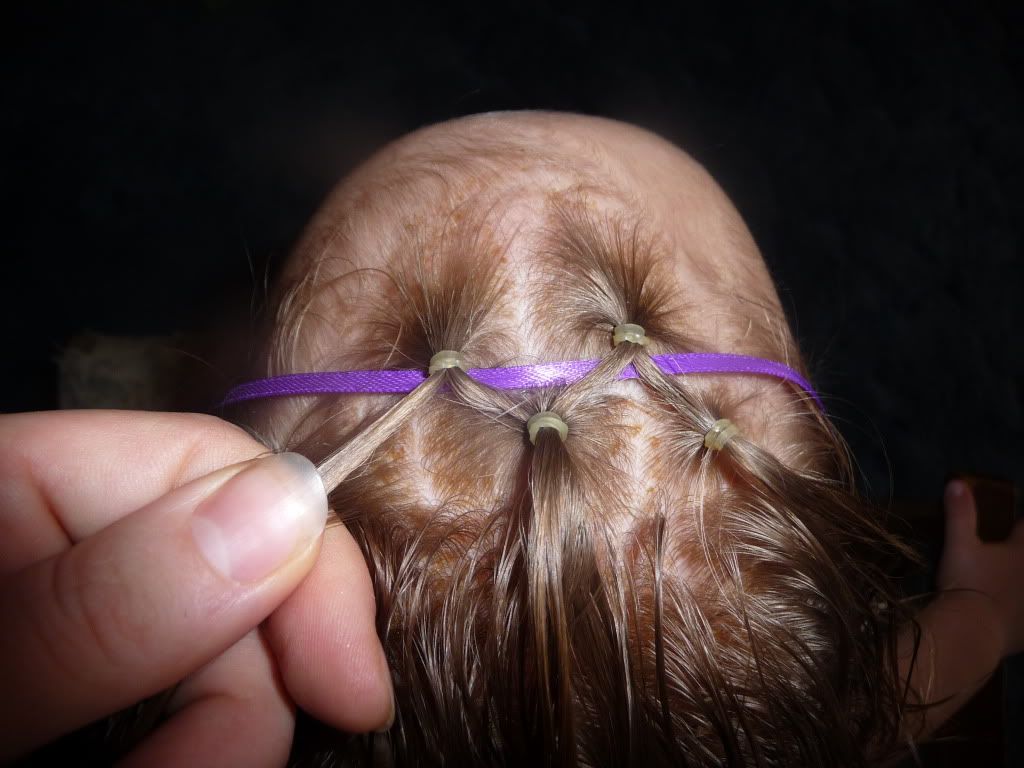
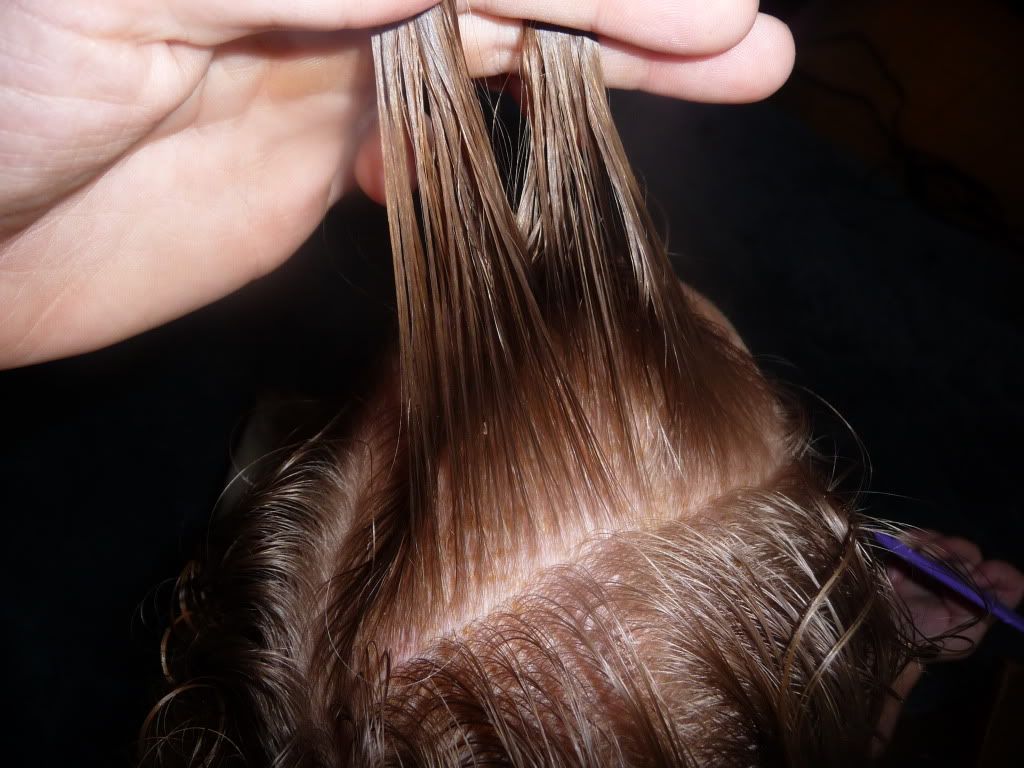
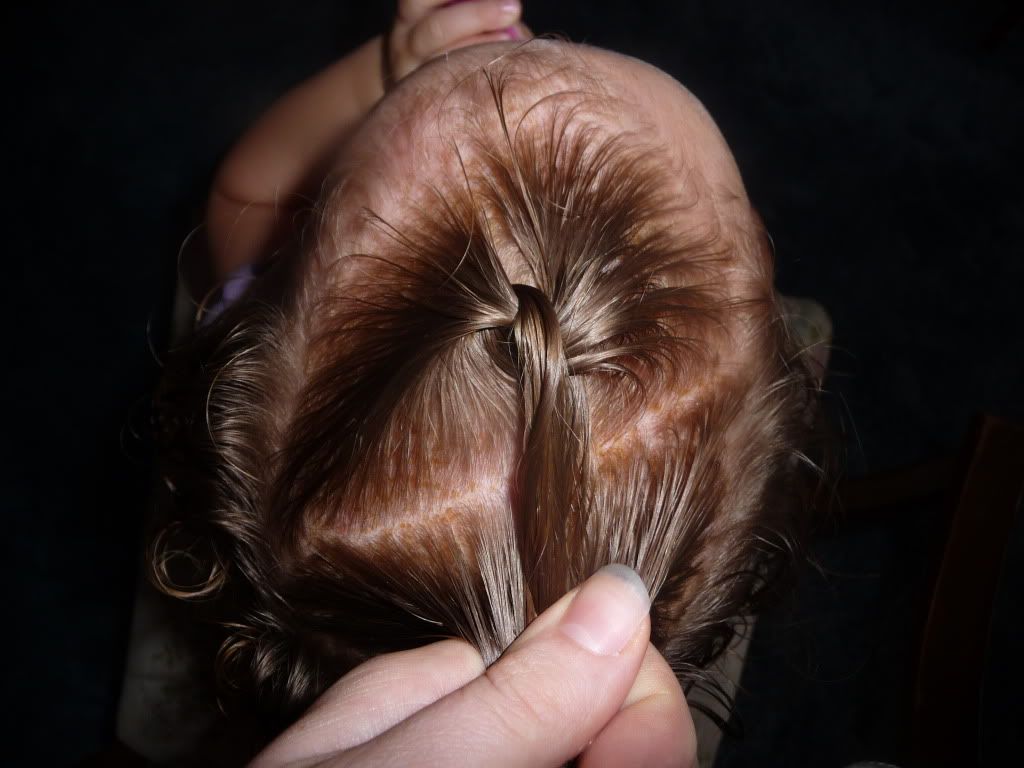
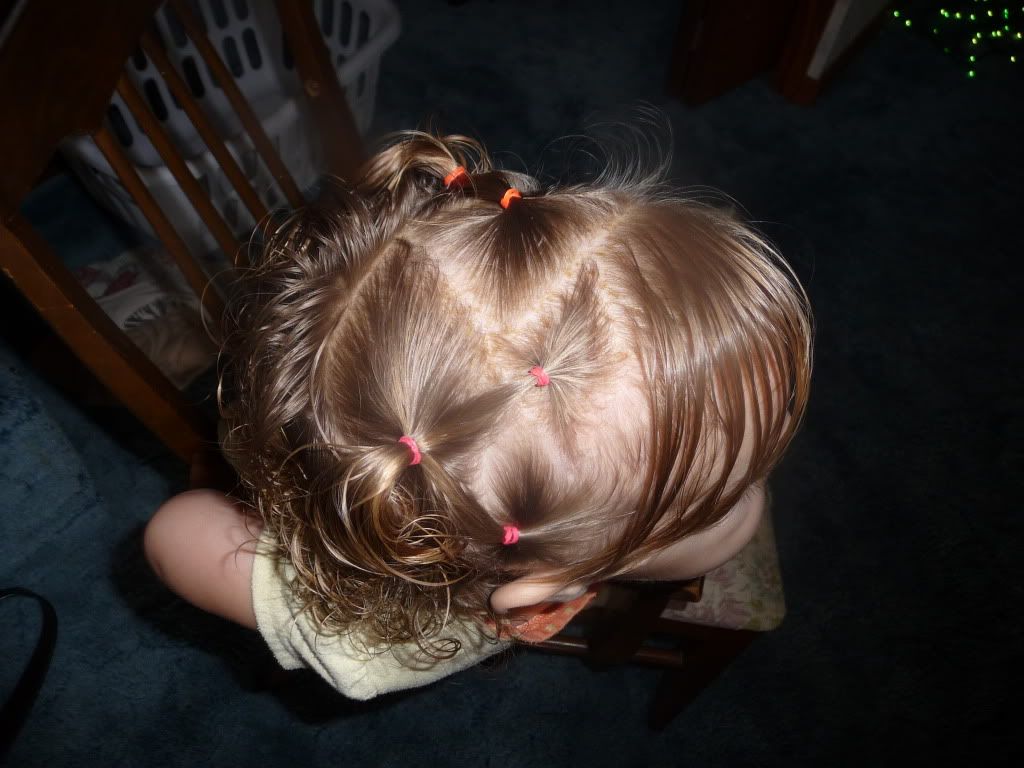
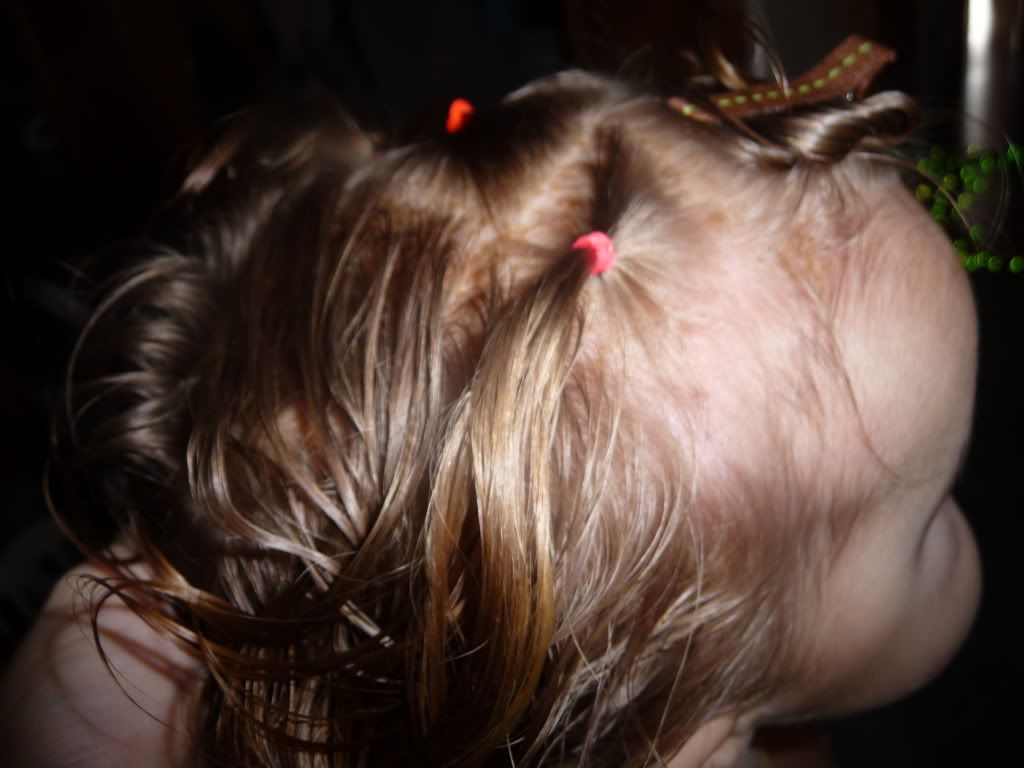
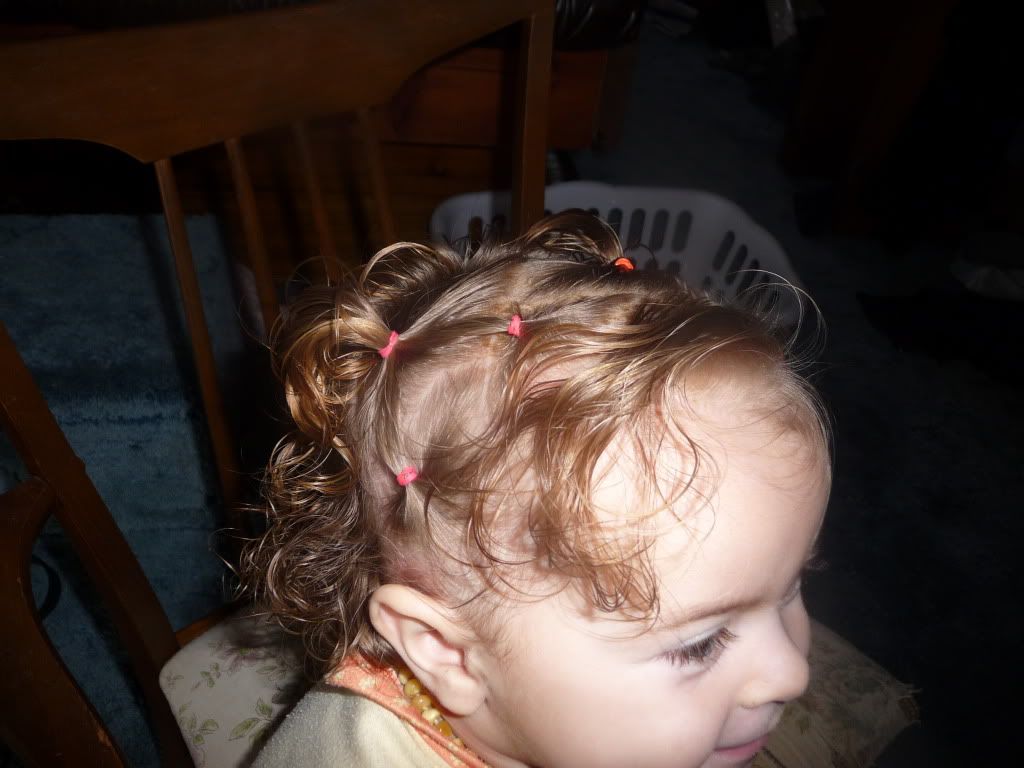
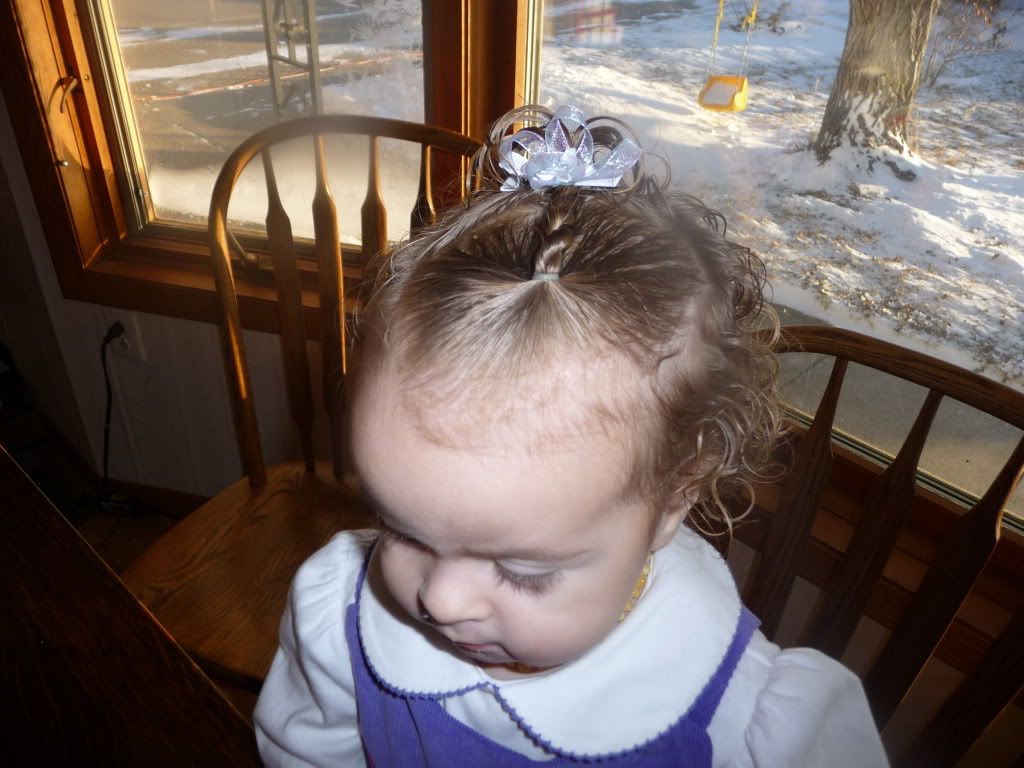
First I made two little tiny ponytails in the front of her hair...


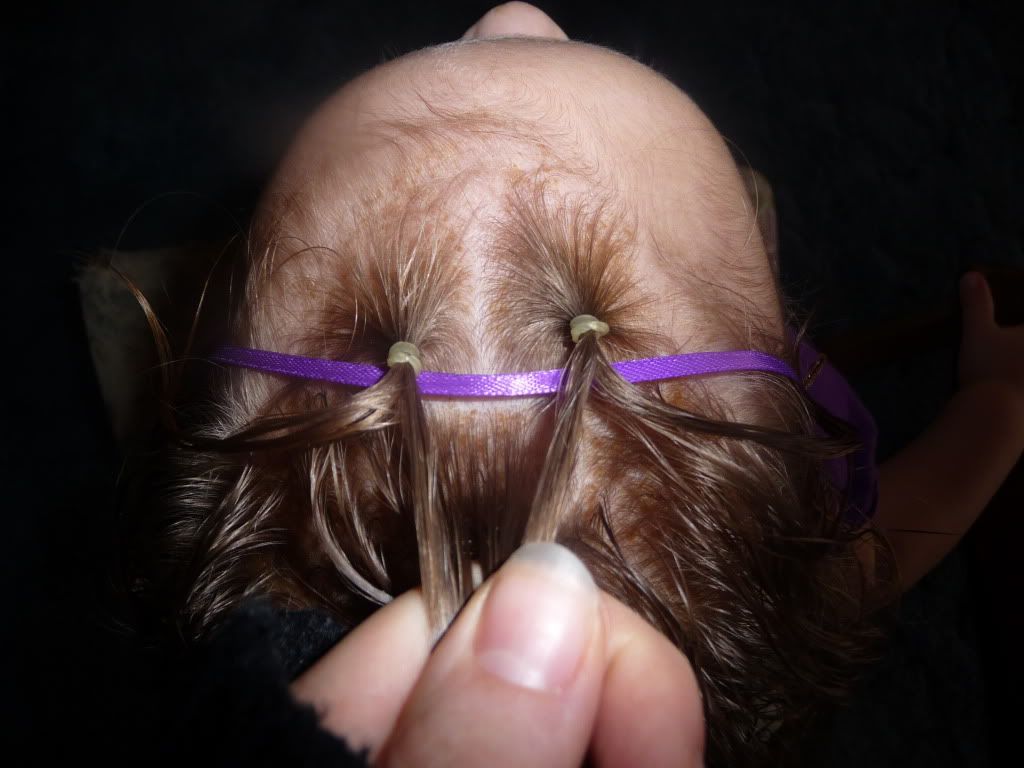
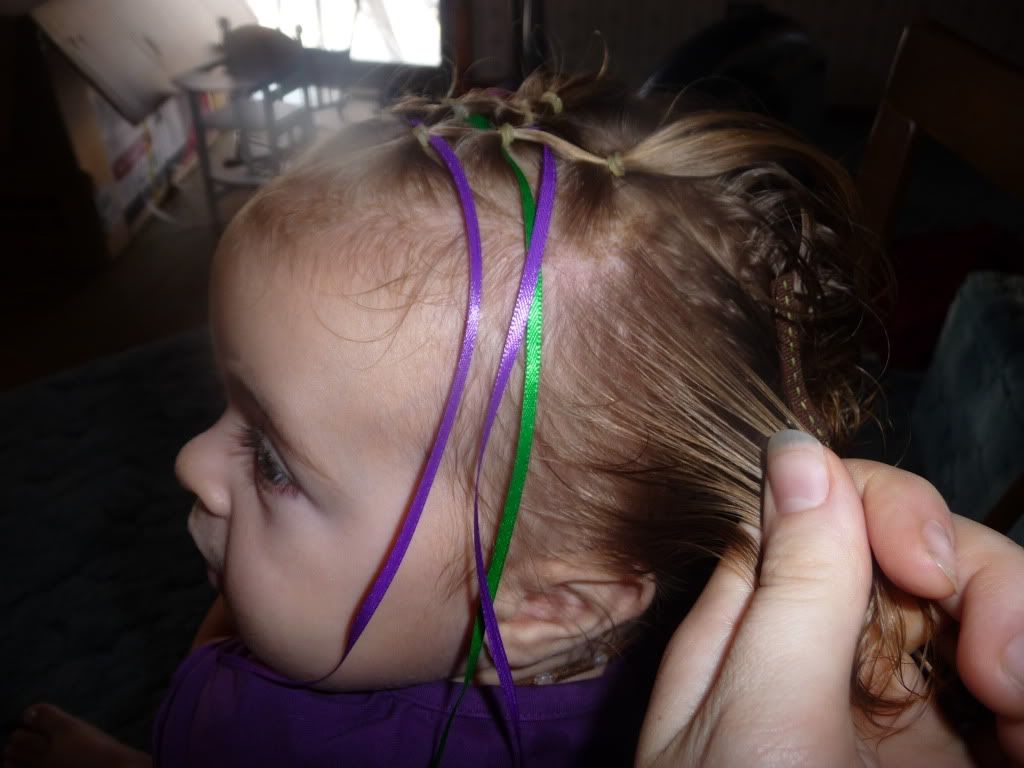
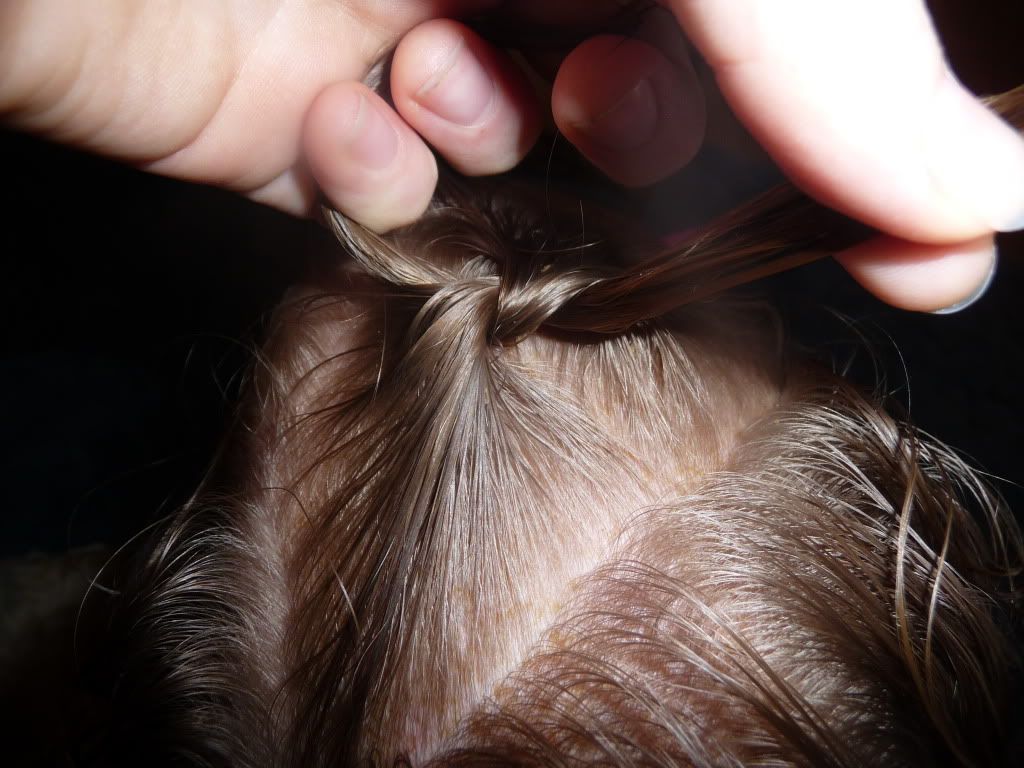
Then I flipped them forward and laid a ribbon just behind them.


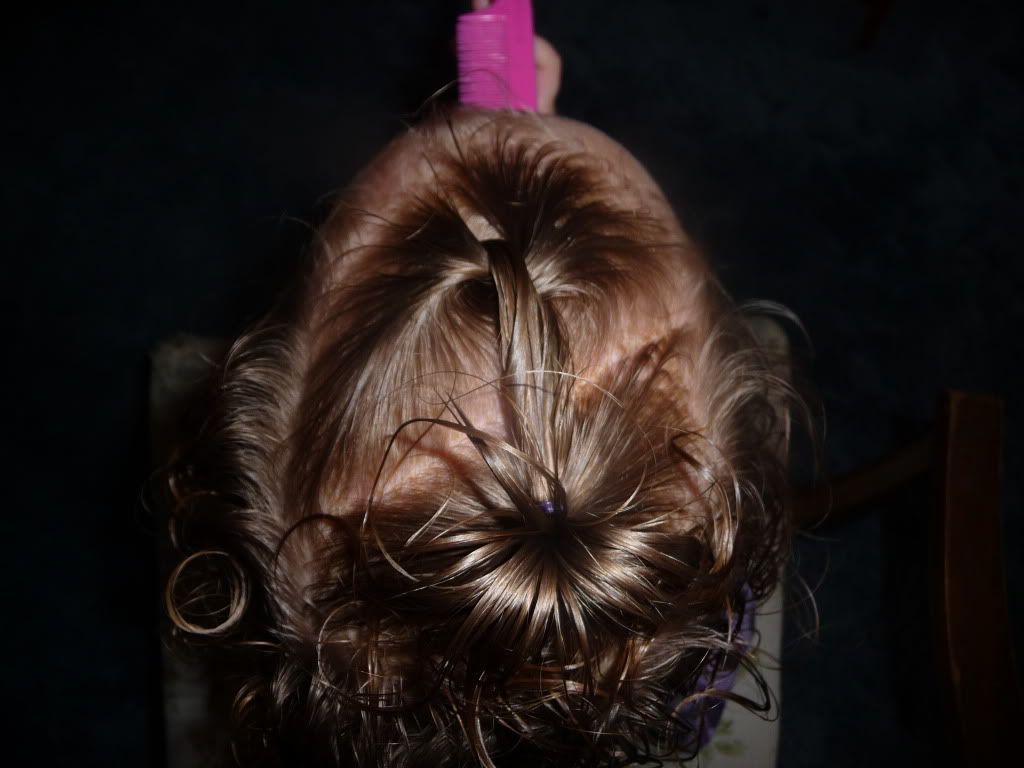
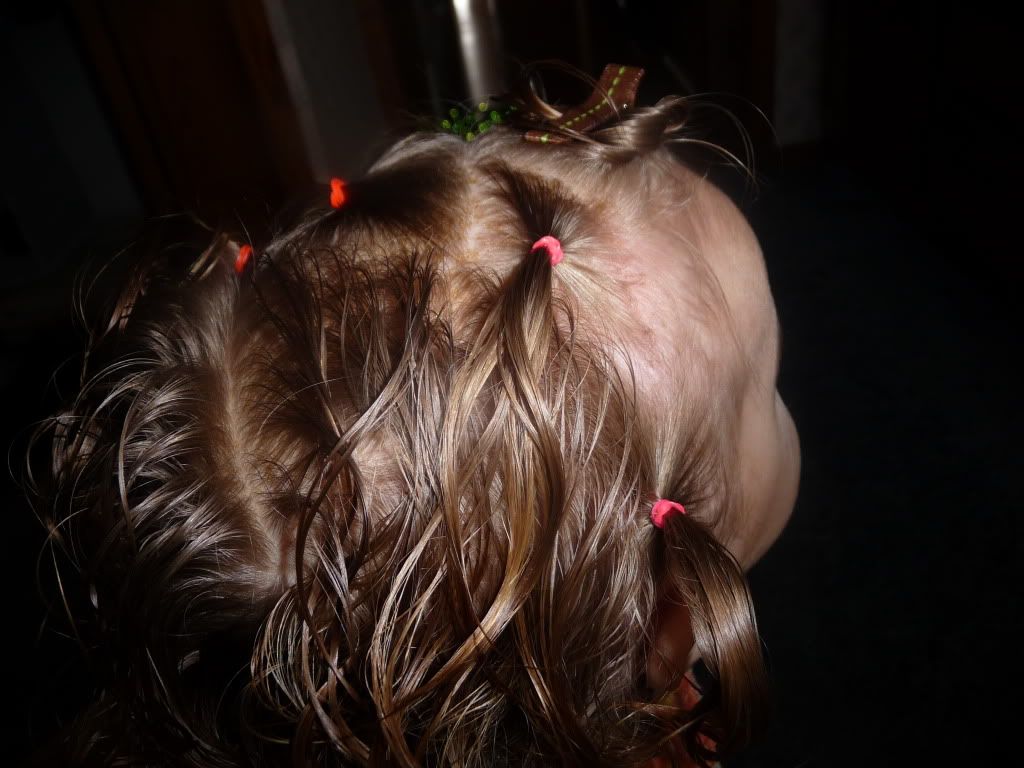
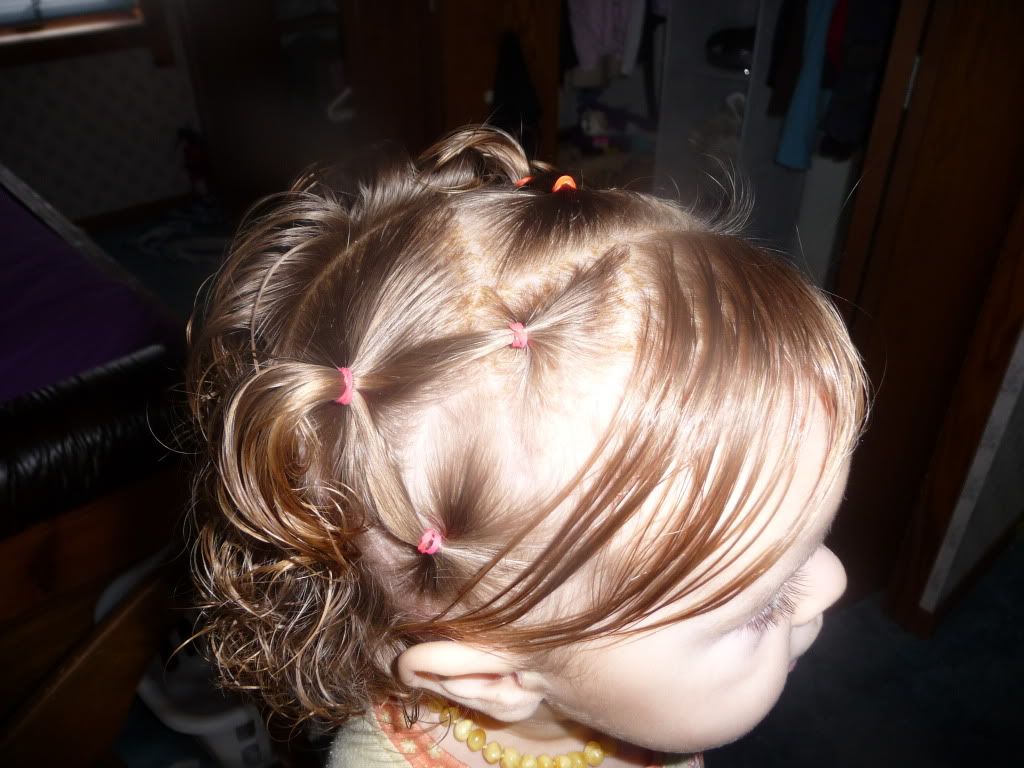
Next, I started "smocking", gathering a ponytail on the other side of the ribbon and placing half of each "tail" into it as well.

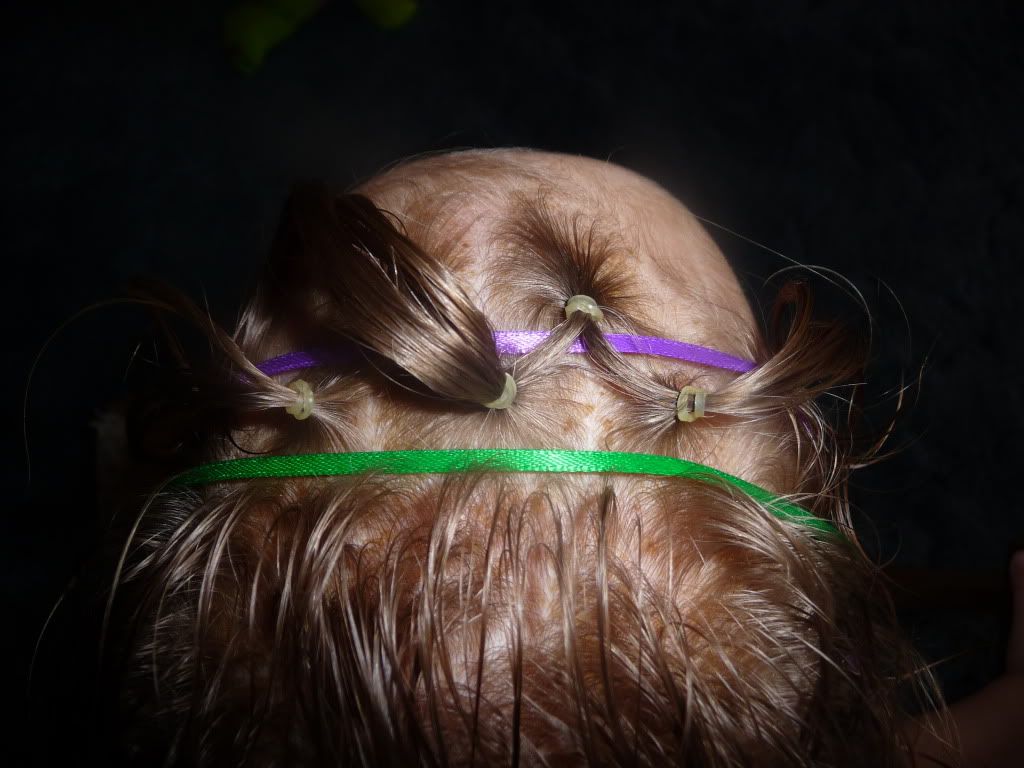
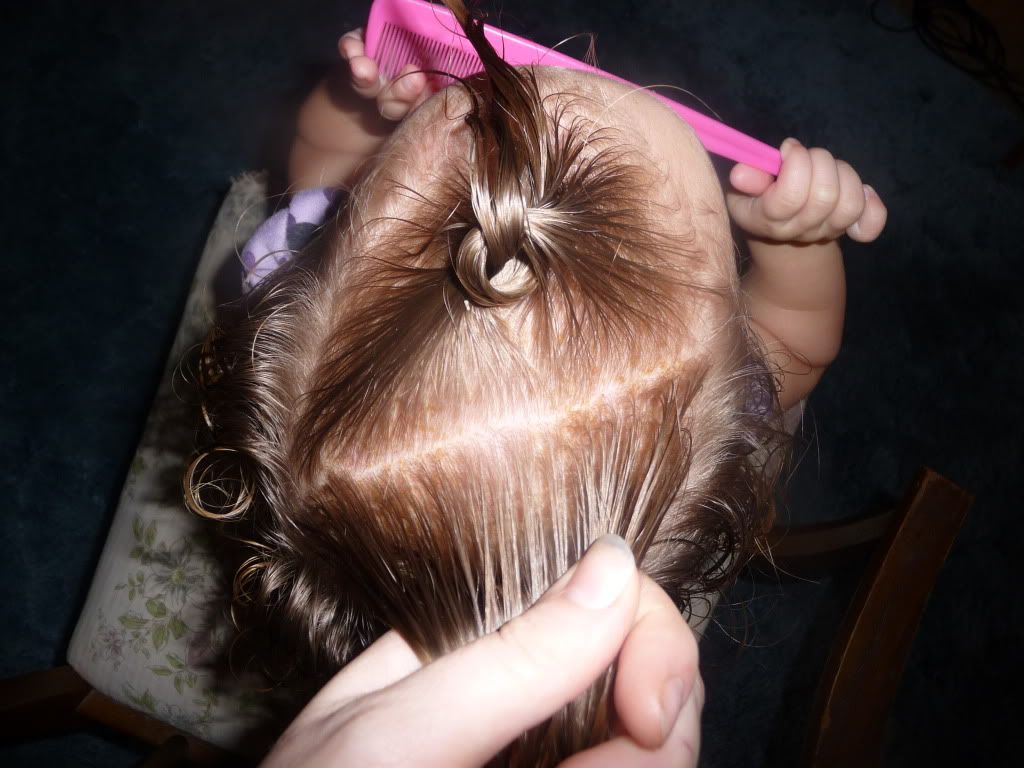
I made 3 new little ponies behind the ribbon...adding the previous "tails" in as I went ...


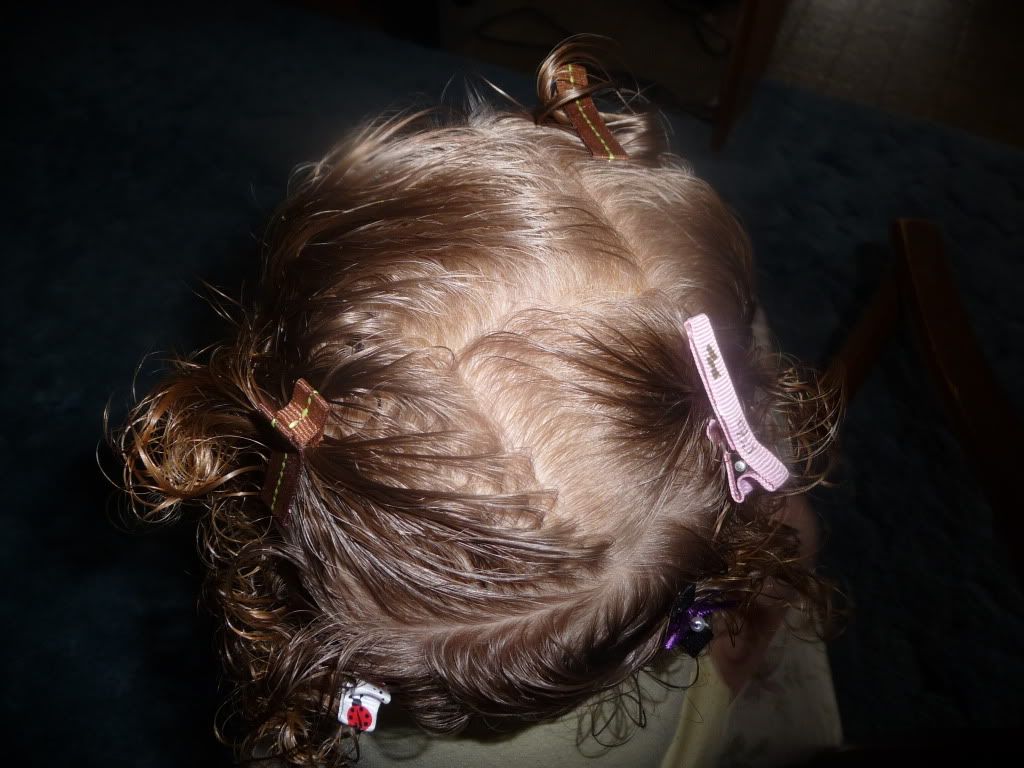
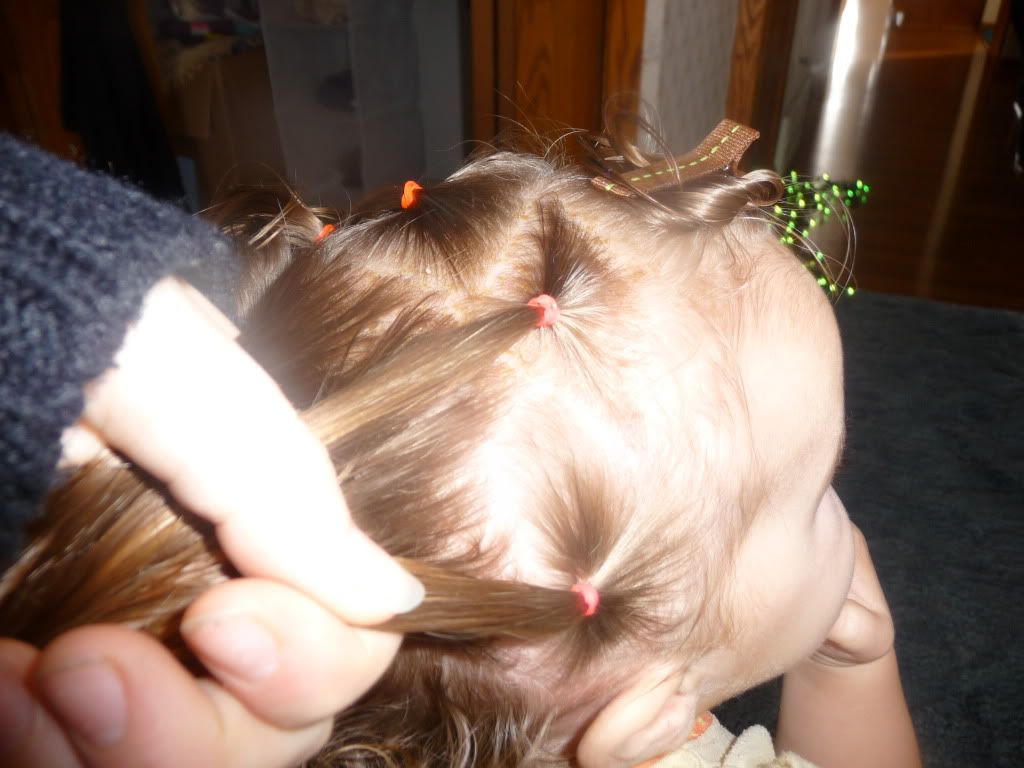
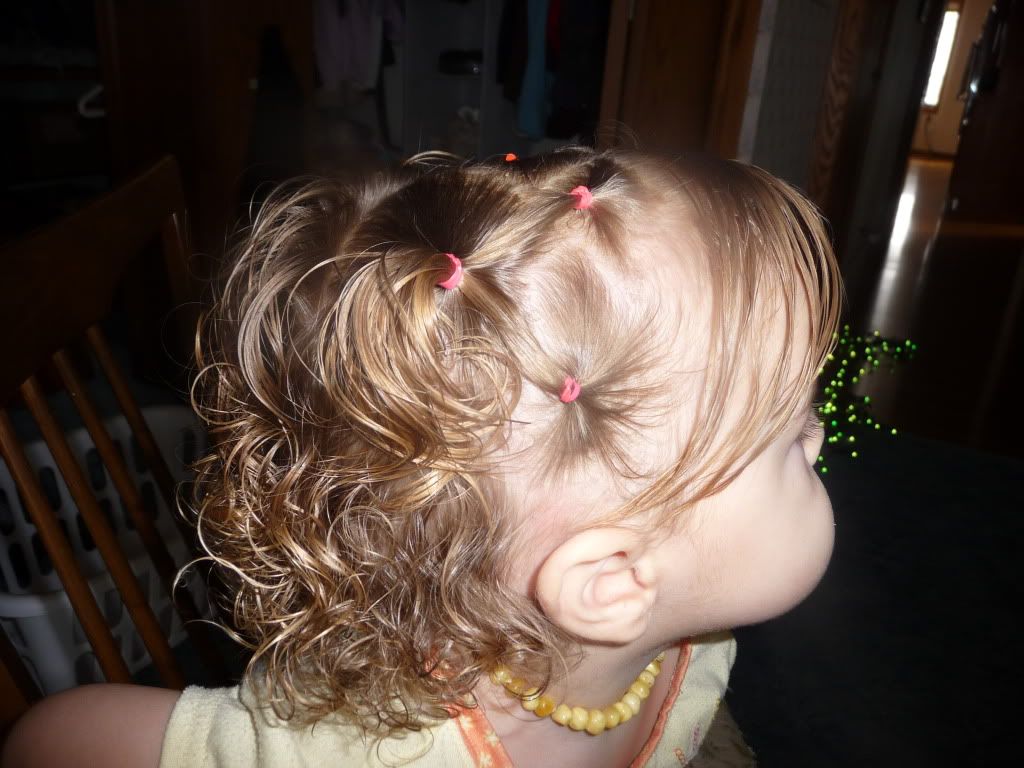
Then I flipped them all forward and laid in another ribbon. (I like the thin ribbons in Q's hair because she's so young and little, and therefore has a small head! - and the ribbons are smaller and daintier than a big thick ribbon. I'm sure I'll love those too, when I try them, but for now I like the thinner, more subtle look.)


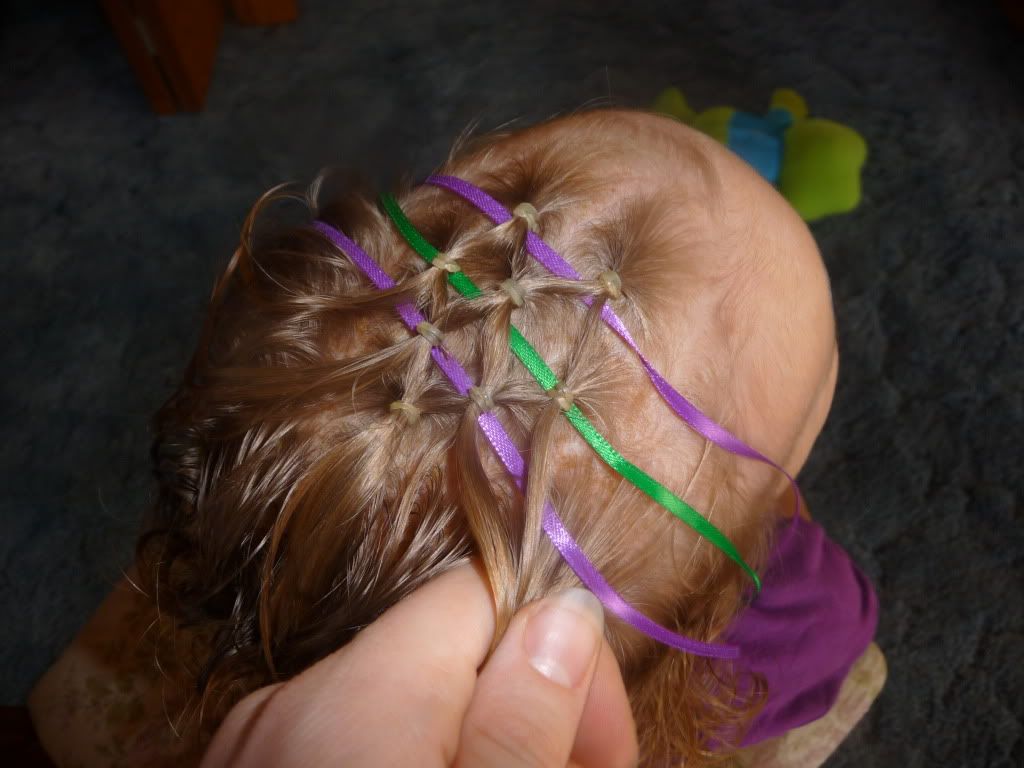
Then I just continued as before. Adding half of each "tail" to a new little pony...

 
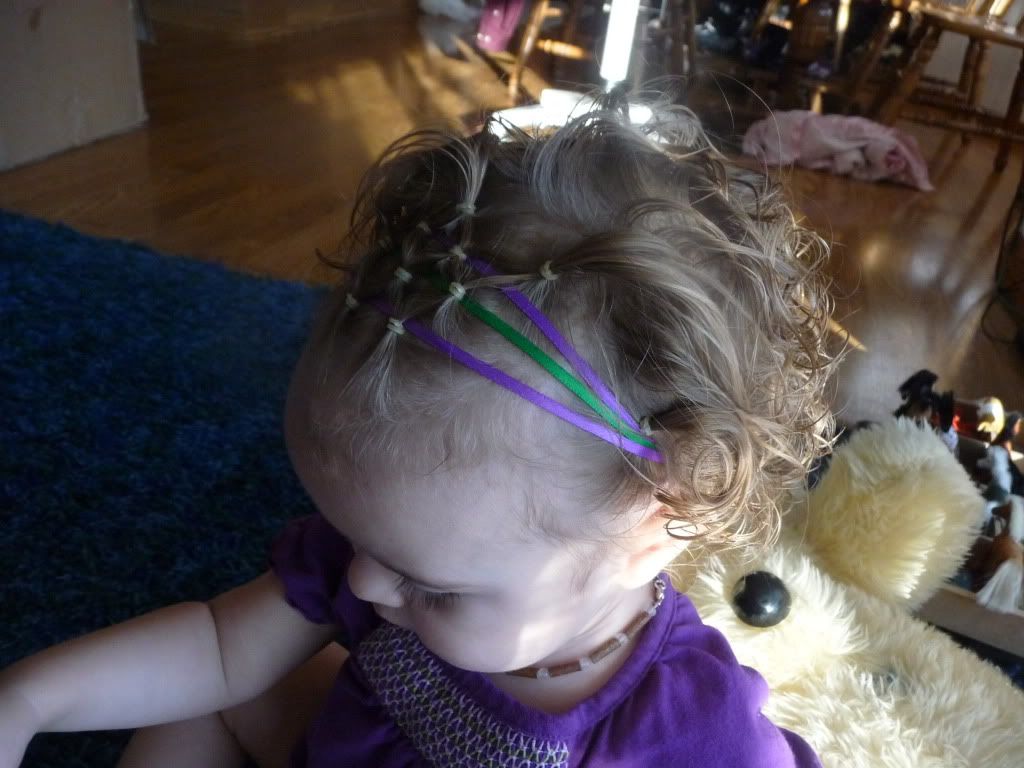
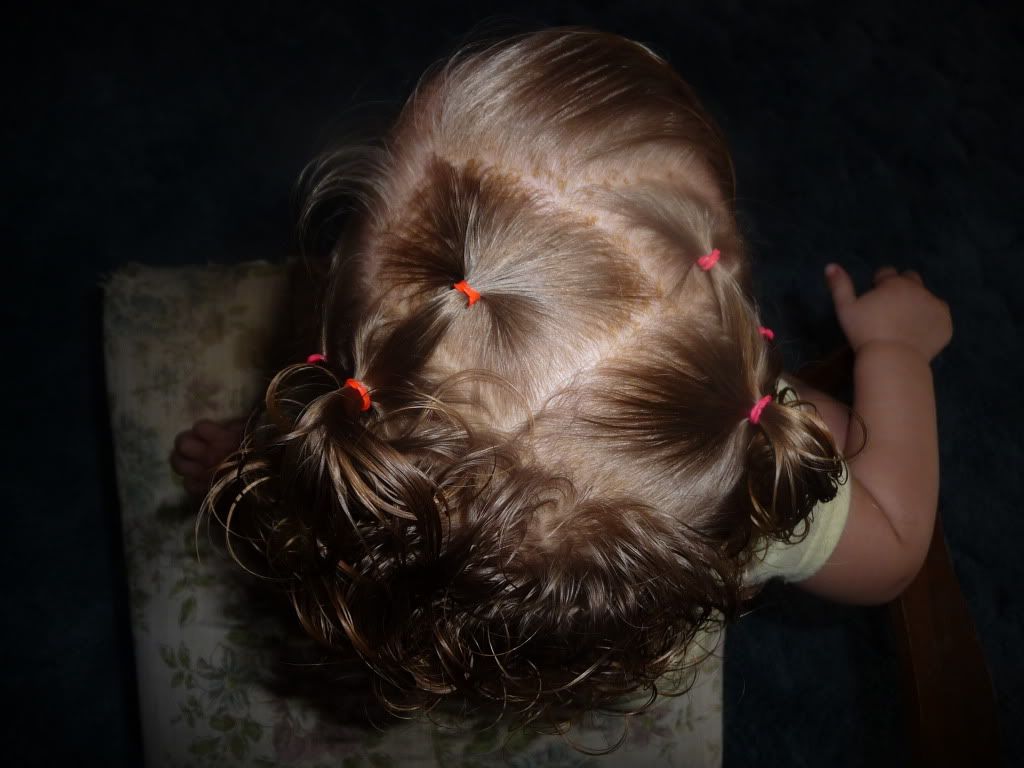
Add the third ribbon and continue as before! (This isn't an exact science, as you can see, I didn't do each row exactly the same, etc. Just do what seems right! Q didn't really have enough hair on the edge to put that 3rd and 4th smocking into the third row, so I just left it until after the ribbon was in - then it could be pulled back further where there was more hair! ...did that make any sense?! lol)

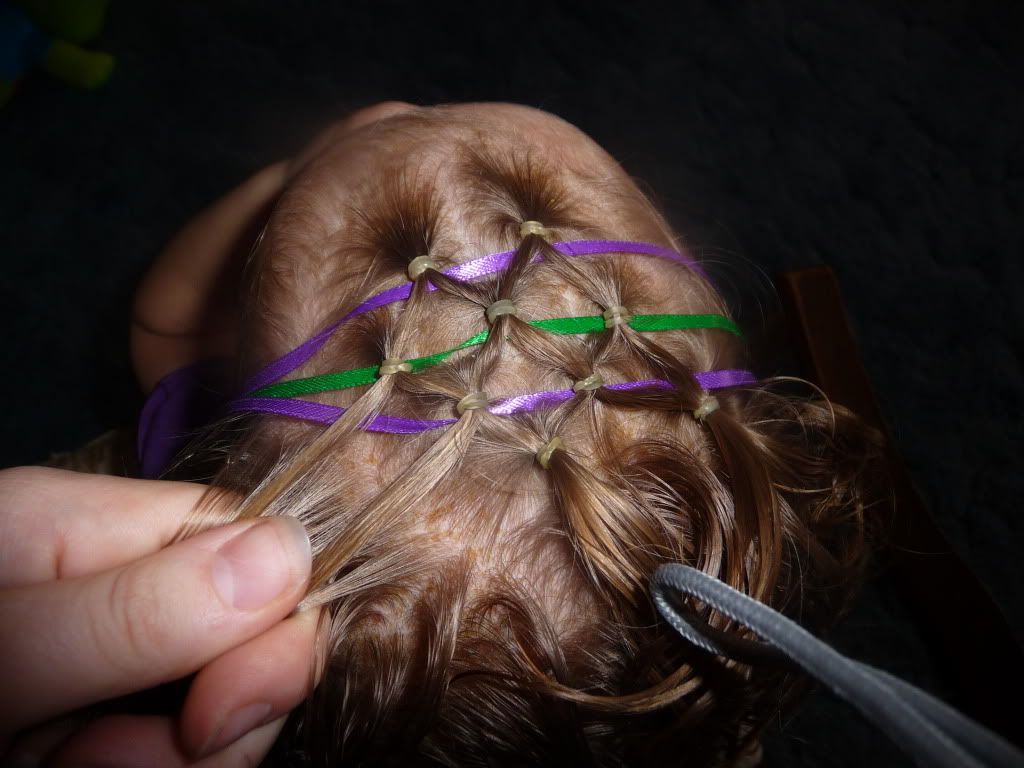
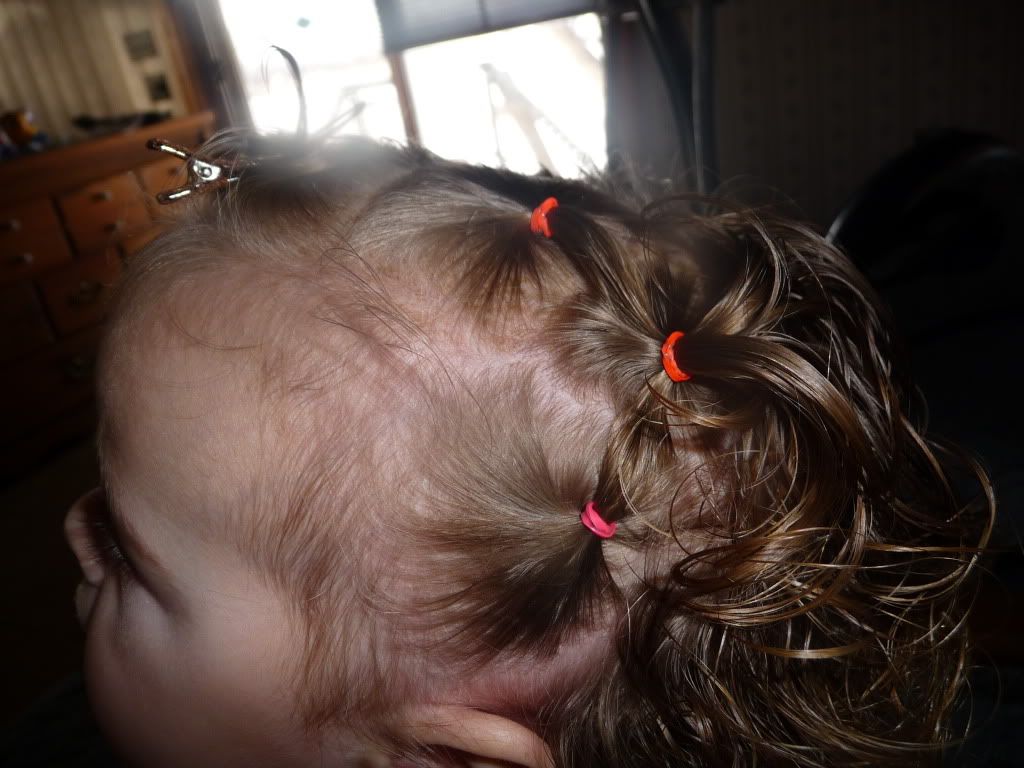
and the other side...


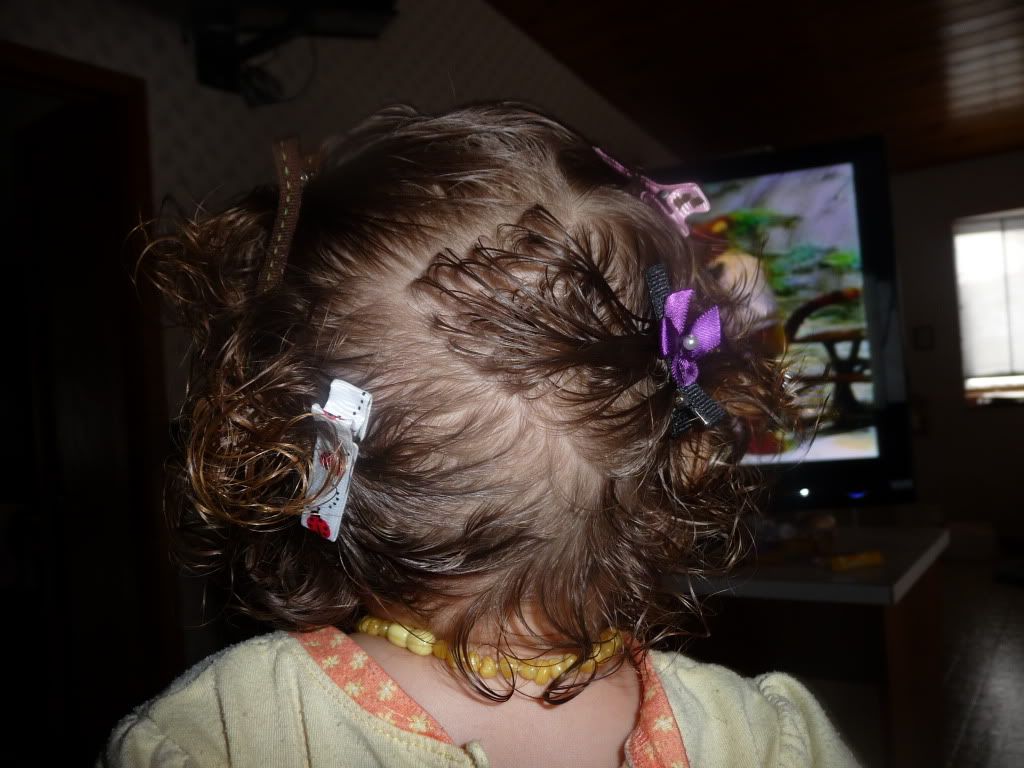
Because Q doesn't have much hair on the sides I didn't try to continue the smocking down that far, but I did think it would help the ribbon stay to get that hair back a bit... so I added one elastic to each side...


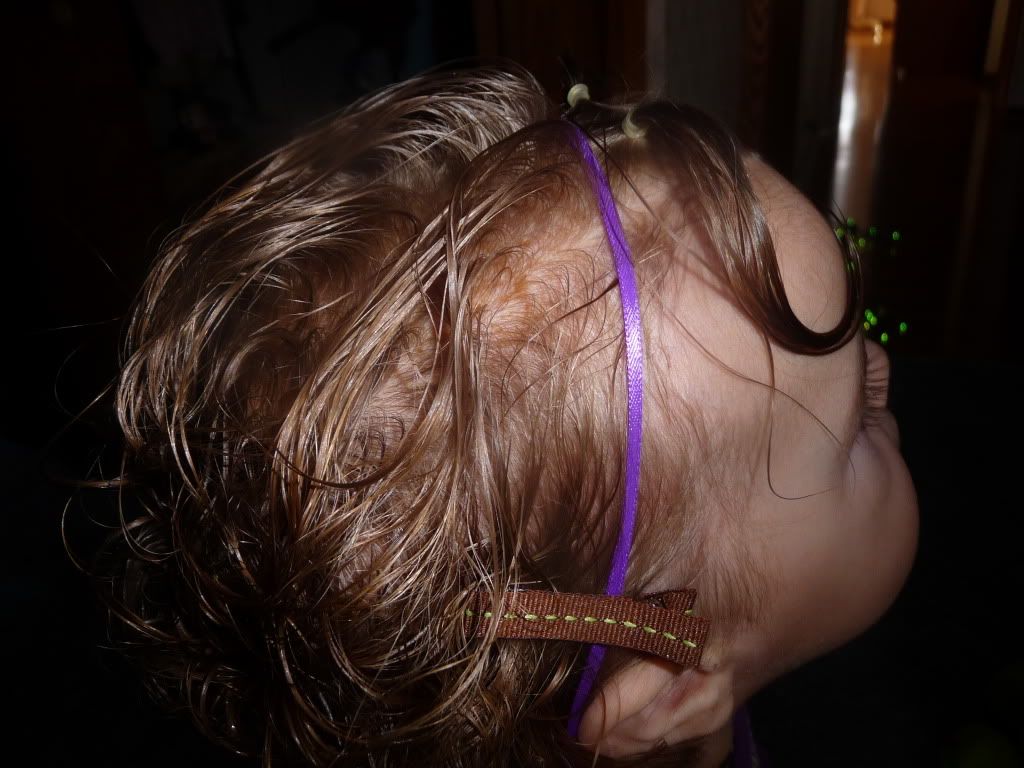
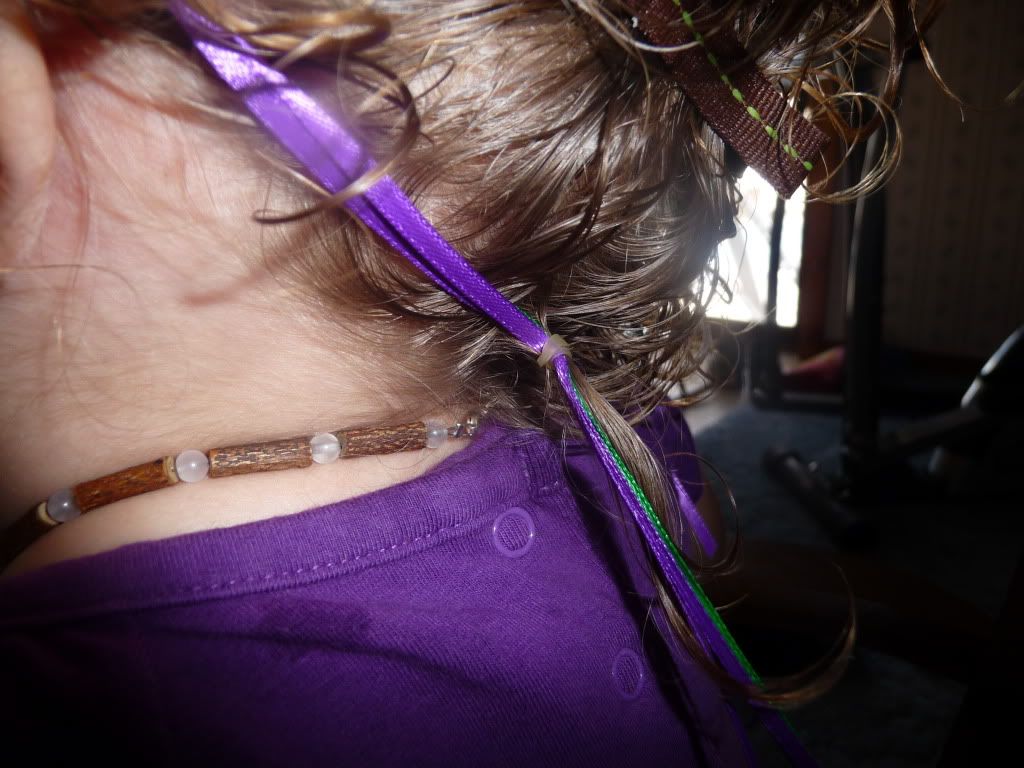
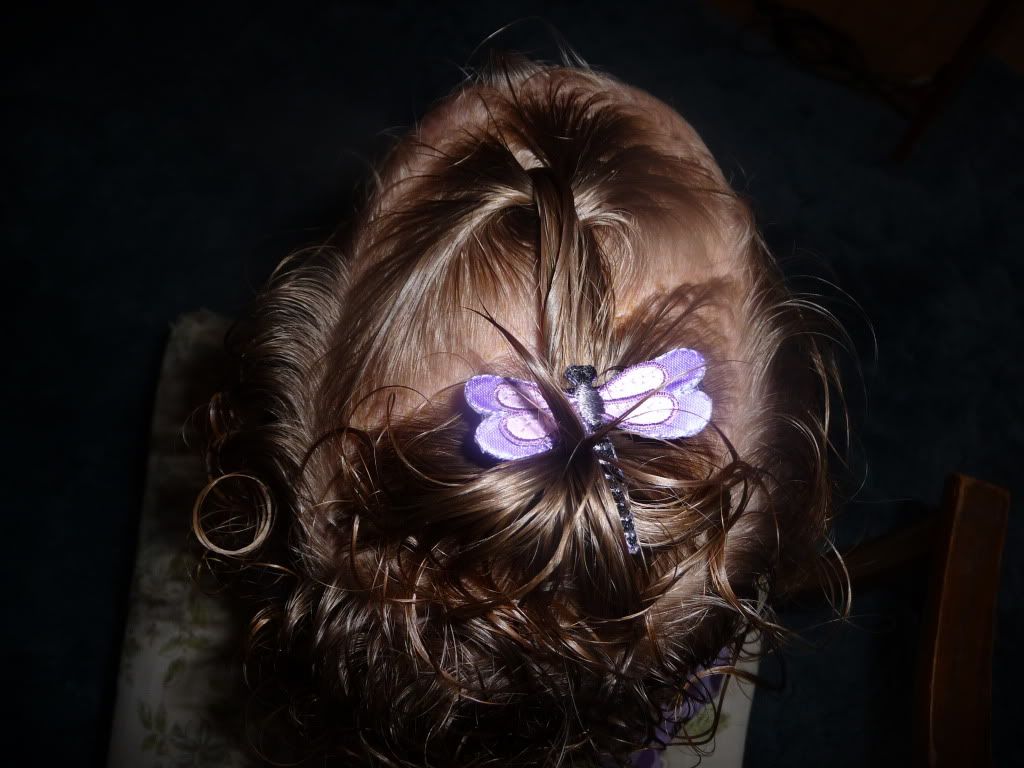
THEN... for the ends of the ribbons that you have just hanging around.... find a piece of hair underneath in back and make a little "anchor" ponytail down there, that you put the ribbon into as well. This will keep the ribbon nice a snug and just where you want it all day! (In our case, that included a 3.5 hour nap!)


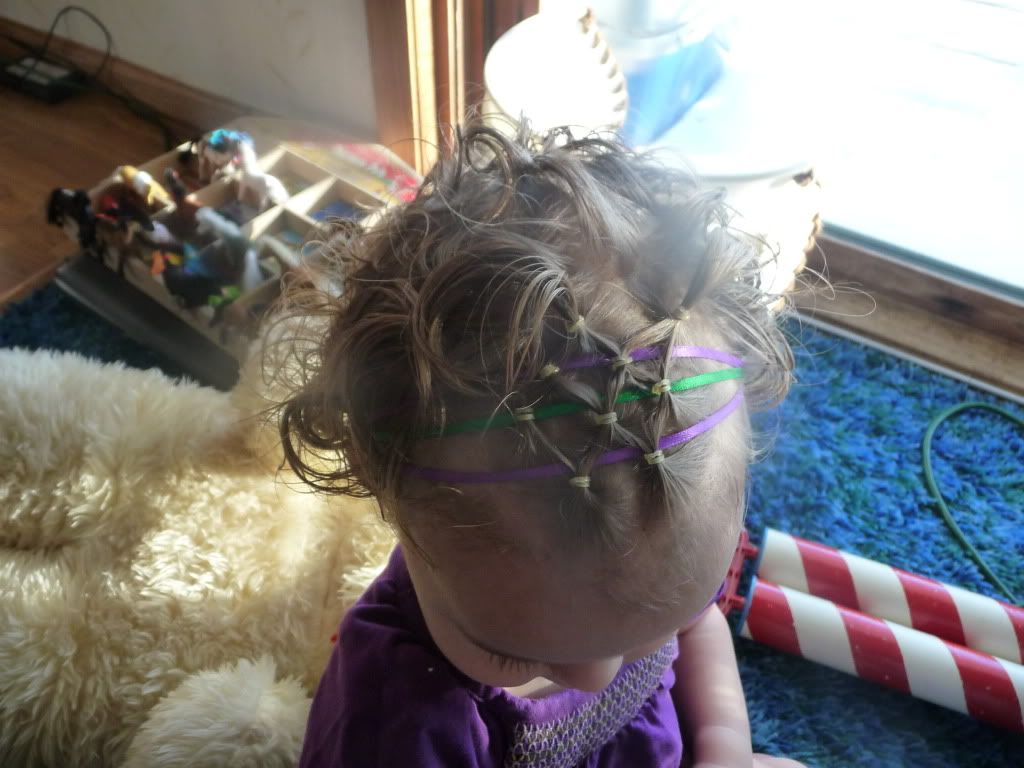
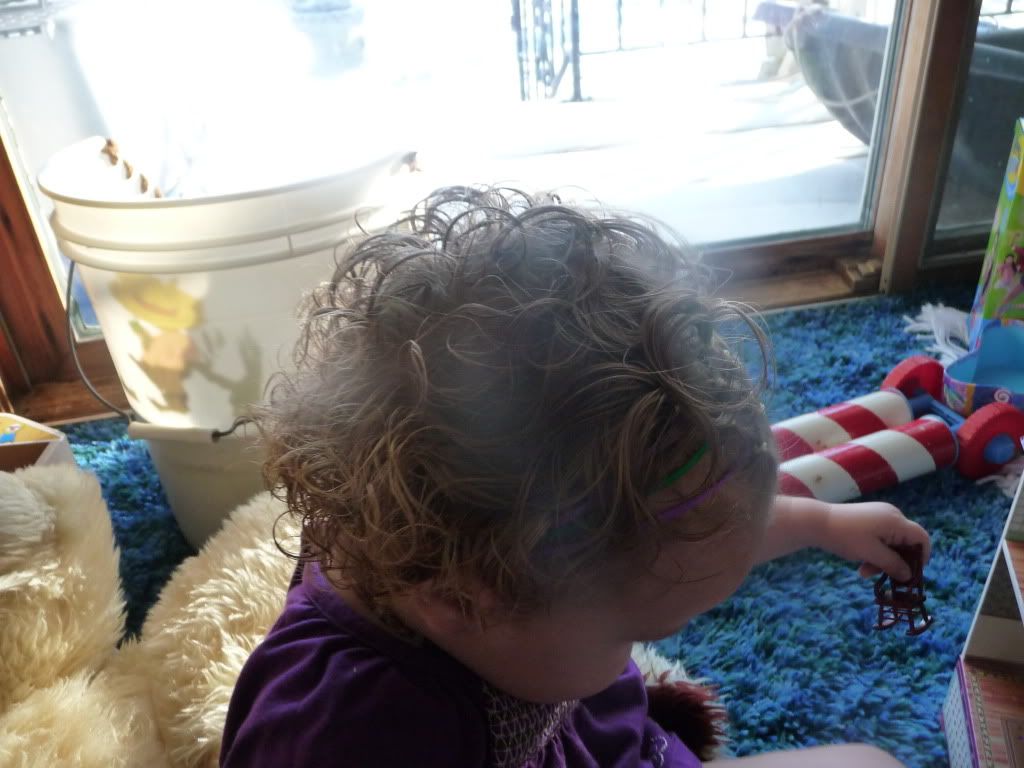
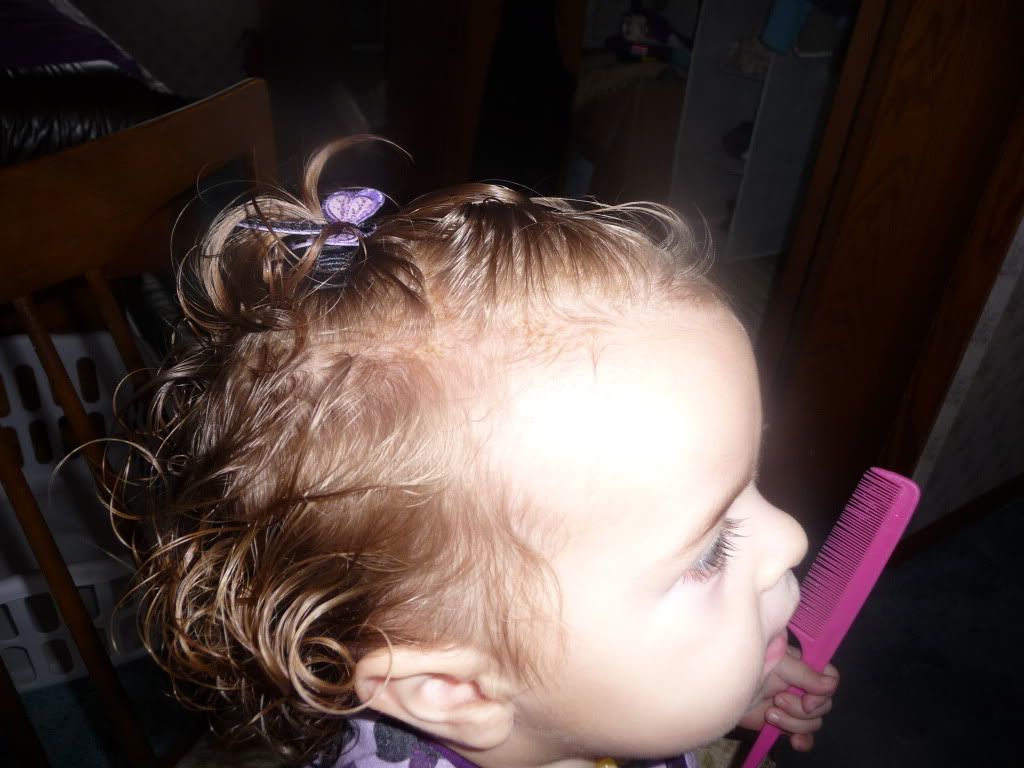
Do that on each side, then tie the ribbons together under the head ... and you're done! (and at this moment, my camera battery died, so I had to take "finished" pictures later - while Q was playing in front of the big window, so sorry for the picture quality!)


I hope you like this one as well as I do! I'm hoping it will stay in for tomorrow, too. :)

Topsy tail braid and giveaway!

For this hairdo it is super easy and I always get a lot of "how did you do that" and "that is really neat" so I thought that I would share! The other reason that I am showing this hairdo is I am giving away a "Topsy Tail" It is not that brand, in fact I don't know what brand it is because I don't read chinese but you can win one at the end of this post!


So I parted her hair from her ears forward and then started taking out small square sections and hooking them with clear elastics after you do the first one flip it through with you Topsy tail


Then move on to you second one! hooking the first tail in with the second, and just keep on going till you get all the way across the front of her head!

Here is what it looks like when you are all the way done with the "braid"

of course we added a bow and we were done!
Now for the fun part to win a "Topsy tail"
put in your first comment the best Christmas present you got!
second comment your favorite thing about new years!
then if you blog about my giveaway or my blog you get a 3rd comment,
and if you facebook or twitter about me you get a 4th
you can do the 3rd and 4th every day until the giveaway is over on... January 5th why the 5th who knows! now WIN!!!

Photobucket

Photobucket is messing with me! lol I will have all of these pictures fixed later on today. Sorry. I'm being a little lazy right now. Please forgive me, lol. :)

Happy New Year!

Photobucket

If you would have told me 1 year ago that I would be able to complete all of the above styles (and then some) and actually have a blog about my daughters hair, I would have thought you were nuts! Yet here I am, most days I still can't believe it. I remember calling my sister last year, so upset that I couldn't cornrow. I remember telling her I give up, and A would be rockin' a ponytail for the rest of her life. Obviously that is not the case. :)

Beads, Braids, & Beyond has been up for just over two months and we already have 280 followers. We have had 10 diva's participate in Diva Spotlight and 4 little handsome men participate in Littleman's Lounge. We have 172 fabulous friends on Facebook, 26 followers on Twitter, and 77 subscribers on Youtube. Needless to say, you are all amazing! I have received so much positive feedback through emails, comments, and forums and I am truly grateful.

Mixed Chicks added B,B,B to their Friends & Links section.

One of my favorite websites, http://cornrows.co.uk, the website that finally taught me how to cornrow added B,B,B to their Links section.

B,B,B submits weekly articles over at Curly Nikki now. Her website helped me tremendously when I first started learning about natural hair care.

I can't close 2009 out without giving a shout out to my BBC mama's who gave me the push to create the blog. I <3 you girls!

A special shout out to:
-Drea, who was our first follower (I was really excited, she can vouch for that)
-Lee, who has helped me so much!
-Diana, you are sooo helpful!
-Tasha, for coming up with the blog name!
-Coll, always giving me an extra push when needed.

And of course, I have to thank everyone who has helped me in various forums along the way. All of the women I have come in contact with in the natural hair community are so helpful.

A loves seeing all of the women and children with hair similar to hers, and I am so happy and thankful for that.

I look forward to 2010. More Diva Spotlight, Littleman's Lounge, and Hair Share. Here's to growing the natural hair "family" for the little one's! I'm anxious to meet new people, and learn new things.

I hope you all have a happy and blessed new year!
Photobucket

Rabu, 30 Desember 2009

My New Years Hair Resolution

Photobucket

Hey ladies!

I wanted to share my new years hair resolution with you all. I previously shared these pictures and exciting news with my BBC mamas, then shared them over on NC in the 2 section.

Both pictures I washed my hair and let it air dry with no product in. The first was taken July 18th, the second was taken December 28th.

My hair is naturally curly but I have been flat ironing my hair since I was about 13 years old. I'm talking every day, 2-3 times per day. Well, I completely flat ironed my curls out. I had 8 inches cut off a few months after having my son. (he was born in April) I have *rarely* been using heat on my hair and it seems like it is trying to come back to life. I know I still need a major cut to get rid of all of the damage. Looking at the after picture, my hair is just wavy, but when I look at older pictures (specifically when I was 9-13) my hair was curly. I'm definitely excited for my natural hair to be back. So my new years hair resolution is to put very minimal (if any) heat on my hair, and if I do happen to flat iron my hair, use a heat protectant. I look forward to learning more about my hair, and what products my hair likes. In the mean time, I will be checking out The Wavy Tales. She has a lot of great reviews and is definitely a certified product junkie. lol :) I also plan on learning more about the Curly Girl Method for my hair. Stay tuned!

By the way, don't mind the sunglasses picture, that was the only one I could find where my hair wasn't flat ironed.

Do you have a hair resolution for yourself or your little one?

A Knot

I first found this style on another hair blog and I love it! (I tried to link to the other blog... :( but I can't find it now! I'm not sure which blog it was on, and I couldn't find the style on the blog I thought I found it on.. I'm so sorry!)  It's so simple and easy and only takes one elastic. :)


First I parted Q's hair diagonally and split that section into two pieces ...


Then I just tied it - like I was starting to tie my shoe! lol


Next I gathered up some hair behind the knot (and just laid the knotted hair out of the way)


Then I gathered the tails of the knot into the bundle of new hair and wrapped an elastic around all of it!


Lastly, just for fun :) I added my favorite clip! (Which I found in Q's carseat! YAY!)


Some "in action" shots!


Stand still for a picture?! Are you crazy?! :)


Selasa, 29 Desember 2009

Diamond Headband

I didn't really know what I was going to do with Q's hair today when I started out... but I thought it would be fun to try something else with a zig zag part - so we started with that. (and I thought something a little crazy and not too symmetrical would be nice for today :) )

This is what we ended up with!


So (since I didn't know what I was going to do...) I started by parting her hair all the way down the "middle" in a zig zag ... (and I decided to give her "bangs" for the first time! So those are in a temporary clip up front...)


(the hair is held off to the sides with temporary clips)

Then I just started putting in little elastics!


One up on top of her head, then one by her ear.)

Then I brought the "tails" of both of those piggies back into a third piggy...


(sorry about the picture quality on this one!)

Then the same on the other side!


Then I combed out the back of her hair (and got rid of the rest of the zig zag part) and combed her "bangs"


and added gel to them, and combed them straight (which on Q's hair isn't hard because the top of head has much much less curls in the hair. - It's kinda crazy!)


And that's it! I might put a clip in the bangs to keep them back as the day goes on - but as of yet they are staying out of the way alright. Here's some more pics... trying to capture the essence, but I think this 'do is better in person! :)


Zig Zag Variation of the Step-Ponies!

This is what we did yesterday - I didn't even take step-by-step photos (mainly because I forgot to!) but also because it's really just this - but with a zig zag part!


Minggu, 27 Desember 2009

Simple Twist

This one is really easy!

I sectioned off quite a bit of hair on top of her head, and inserted an elastic.
Next, I split the "tail" of that section into two parts and made a twist. (Twist both strands to the left and then wrap them around each other to the right.)
Then I secured the end of the twist into a second elastic farther back on her head.
Add a cute clip (or not!) and you're done!